Makita JV001G Instruction Manual
Hide thumbs
Also See for JV001G:
- Instruction manual (93 pages) ,
- Instruction manual (41 pages) ,
- Instruction manual (92 pages)
Table of Contents
Advertisement
Quick Links
Advertisement
Table of Contents

Related Manuals for Makita JV001G


Summary of Contents for Makita JV001G
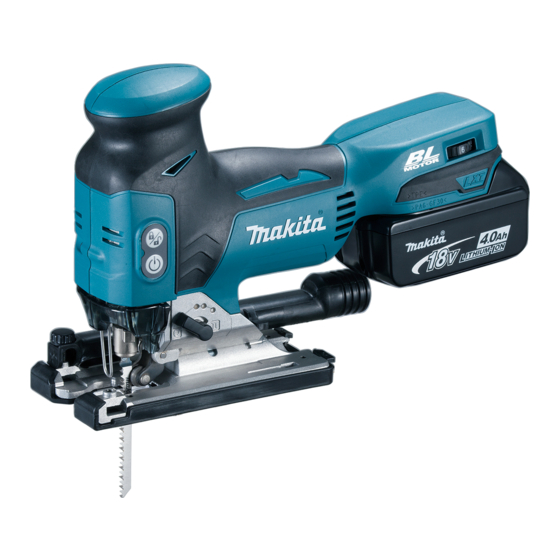
- Page 1 INSTRUCTION MANUAL Cordless Jig Saw JV001G Read before use.
-
Page 2: Specifications
SPECIFICATIONS Model: JV001G Length of stroke 26 mm Strokes per minute 800 - 3,500 min Blade type B type Max. cutting capacities Wood 135 mm Mild steel 10 mm Aluminum 20 mm Overall length (with BL4025) 283 mm Rated voltage D.C. -
Page 3: Declarations Of Conformity
Electrical safety Vibration Power tool plugs must match the outlet. Never modify the plug in any way. Do not use any The vibration total value (tri-axial vector sum) deter- adapter plugs with earthed (grounded) power mined according to EN62841-2-11: tools. Unmodified plugs and matching outlets will Work mode: cutting boards reduce risk of electric shock. - Page 4 Do not let familiarity gained from frequent use Keep handles and grasping surfaces dry, clean of tools allow you to become complacent and and free from oil and grease. Slippery handles and ignore tool safety principles. A careless action can grasping surfaces do not allow for safe handling and cause severe injury within a fraction of a second.
- Page 5 Avoid storing battery cartridge in a con- causing fires, personal injury and damage. It will tainer with other metal objects such as also void the Makita warranty for the Makita tool and nails, coins, etc. charger. Do not expose battery cartridge to water or rain.
-
Page 6: Functional Description
Tips for maintaining maximum CAUTION: Always install the battery cartridge battery life fully until the red indicator cannot be seen. If not, it may accidentally fall out of the tool, causing injury to Charge the battery cartridge before completely you or someone around you. discharged. Always stop tool operation and charge the battery cartridge when you notice CAUTION: Do not install the battery cartridge... -
Page 7: Overload Protection
Charge the battery(ies) or replace it/them with recharged battery(ies). Let the tool and battery(ies) cool down. If no improvement can be found by restoring protection system, then contact your local Makita Service Center. Selecting the cutting action Fig.4 ► 1 . Lock switch 2. Lamp This tool can be operated with an orbital or a straight line (up and down) cutting action. -
Page 8: Electronic Function
Switch action Speed adjusting dial To turn on the tool, press the lock switch. The tool turns into the standby mode. To start the tool, press the ON/ standby switch in the standby mode. To stop the tool, press the ON/standby switch again. The tool turns into the standby mode. To turn off the tool, press the lock switch in the standby mode. -
Page 9: Electric Brake
► 1 . Jig saw blade clamp lever (fixed position) 2. Jig This tool is equipped with an electric brake. If the tool saw blade clamp lever (released position) consistently fails to quickly stop after the switch trigger is released, have the tool serviced at a Makita service center. ASSEMBLY CAUTION:... -
Page 10: Cover Plate
To remove the jig saw blade, open the tool opener Cover plate forward as far as it will go. This allows the jig saw blade to be released. Use the cover plate when cutting decorative veneers, plastics, etc. It protects sensitive or delicate surfaces from damage. Fit it on the bottom of the tool base. Fig.9 ► 1 . Jig saw blade holder 2. Tool opener 3. Jig saw blade Fig.11 ► 1 . -
Page 11: Dust Extraction
With the base tilted, you can make bevel cuts at any Fig.14 angle between 0° and 45° (left or right). ► 1 . Clamp screw Then connect a Makita vacuum cleaner to the dust nozzle. Fig.17 Fig.15 ► 1 . Dust nozzle 2. Hose for vacuum cleaner... -
Page 12: Plunge Cutting
To tilt the base, loosen the bolt on the bottom of the Cutouts base with the hex wrench. Move the base so that the bolt is positioned in the center of the bevel slot in the Cutouts can be made with either of two methods: base. -
Page 13: Metal Cutting
To install, insert the rip fence into the rectangular hole Finishing edges on the side of the base with the fence guide facing down. Slide the rip fence to the desired cutting width To trim edges or make dimensional adjustments, run the position, then tighten the bolt to secure it. jig saw blade lightly along the cut edges. -
Page 14: Maintenance
To maintain product SAFETY and RELIABILITY, bar into the square hole of the base as far as it goes. repairs, any other maintenance or adjustment should Secure the bolt with the hex wrench securely. be performed by Makita Authorized or Factory Service Centers, always using Makita replacement parts. OPTIONAL ACCESSORIES... - Page 16 Makita Europe N.V. Jan-Baptist Vinkstraat 2, 3070 Kortenberg, Belgium Makita Corporation 3-11-8, Sumiyoshi-cho, Anjo, Aichi 446-8502 Japan 885982B221 www.makita.com 20221031...