Makita JV102D Instruction Manual
Hide thumbs
Also See for JV102D:
- Instruction manual (89 pages) ,
- Instruction manual (69 pages) ,
- Instruction manual (45 pages)

Related Manuals for Makita JV102D


Summary of Contents for Makita JV102D
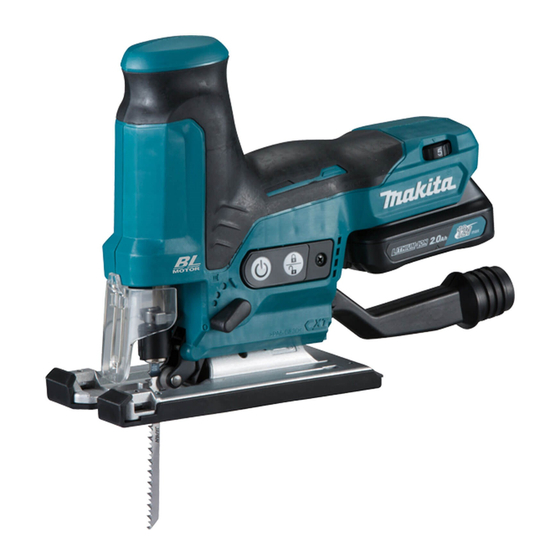
- Page 1 INSTRUCTION MANUAL Cordless Jig Saw JV102D Read before use.
- Page 2 SPECIFICATIONS Model: JV102D Length of stroke 23 mm Strokes per minute 800 - 3,000 min Blade type B type Max. cutting capacities Wood 90 mm Mild steel 10 mm Aluminum 20 mm Overall length 237 mm Rated voltage D.C. 10.8 V - 12 V max...
- Page 3 SAFETY WARNINGS wear eye protection. as a dust mask, non-skid safety shoes, hard hat or hearing protection used for appropriate conditions General power tool safety warnings WARNING: Read all safety warnings, instruc- to power source and/or battery pack, picking Carrying power tools with power tool.
- Page 4 clean and free from oil and grease. Slippery handles and grasping surfaces do not allow for form. Holding the work by hand or against your safe handling and control of the tool in unexpected body leaves it unstable and may lead to loss of situations.
- Page 5 Makita warranty for the Makita tool and charger. battery cartridge with the groove in the housing and slip it into place.
- Page 6 When the battery is operated in a manner that causes it to draw an abnormally high current, the tool automat- ically stops without any indication. In this situation, turn the tool off and stop the application that caused the tool When the tool or battery is overheated, the tool stops automatically and the lamp blinks.
- Page 7 Workpiece Number Wood 4 - 5 Mild steel 3 - 5 Stainless steel 3 - 4 Aluminum 3 - 5 Plastics 1 - 4 NOTICE: Electronic function 1. Lock/unlock button 2. Start/stop button easy operation. NOTE: If the tool is left for 10 seconds without any operation in the standby mode, the tool automatically turns off and the lamp goes off.
- Page 8 ASSEMBLY CAUTION: CAUTION: tightening of the blade, resulting in a serious personal 1. Jig saw blade holder 2. Jig saw blade CAUTION: CAUTION: position, the blade is not installed completely. Do not may be extremely hot and could burn your skin. CAUTION: damage the tool.
- Page 9 OPERATION CAUTION: CAUTION: Forcing the tool may breakage. 1. Hex wrench 2. Bolt Base the base. 1. Cutting line 2. Base tool forward along the previously marked cutting line. 1. Edge 2. Graduation CAUTION: With the base tilted, you can make bevel cuts at any 1.
-
Page 10: Plunge Cutting
Plunge cutting Dust extraction Clean cutting operations can be performed by connect- ing this tool to a Makita vacuum cleaner. You need not bore a starting hole or make a lead-in cut if you carefully do as follows. piece surface. - Page 11 1. Button 2. Dust nozzle cleaner Connect the hose of the vacuum cleaner to the dust nozzle. 1. Dust cover Insert the dust nozzle all the way into the tool. Rip fence Optional accessory CAUTION: When repeatedly cutting widths of 160 mm or less, use of the rip fence will assure fast, clean, straight cuts.
- Page 12 Slide the rip fence to the desired cutting radius, on the side of the base with the fence guide facing down. Slide the rip fence to the desired cutting width base all the way forward. position, then tighten the bolt to secure it. NOTE: B-26 or B-27 when cutting circles or arcs.
- Page 13 Secure the bolt with the hex wrench securely. for its stated purpose. If you need any assistance for more details regard- ing these accessories, ask your local Makita Service Center. 1. Hex wrench 2. Rule bar NOTE: Some items in the list may be included in the differ from country to country.
- Page 16 J an- B apt i s t Vi nk s t r aat 2, M a k i t a E u r o p e N . V . 3070 K or t enber g, B el gi um 3- 11- 8, S um i y os hi - c ho, M a k i t a C o r p o r a t i o n A nj o, A i c hi 446- 8502 J apan...