Makita DUH606 Instruction Manual
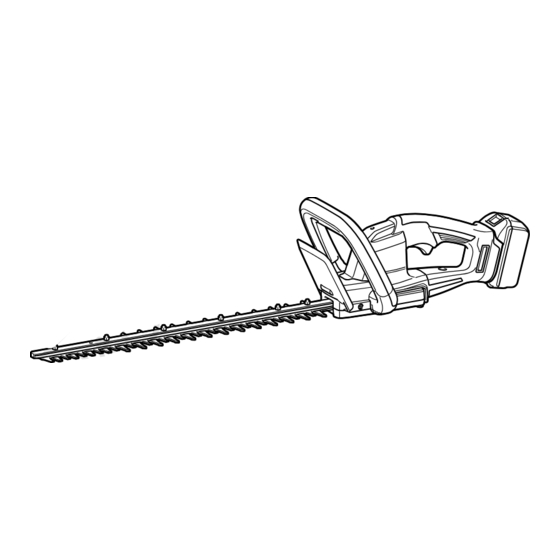
Cordless hedge trimmer
Hide thumbs
Also See for DUH606:
- Instruction manual (109 pages) ,
- Instruction manual (92 pages) ,
- Instruction manual (76 pages)
Table of Contents
Advertisement
Quick Links
Advertisement
Table of Contents

Related Manuals for Makita DUH606


Summary of Contents for Makita DUH606
- Page 1 INSTRUCTION MANUAL Cordless Hedge Trimmer DUH506 DUH606 Read before use.
-
Page 2: Specifications
SPECIFICATIONS Model: DUH506 DUH606 Blade length 500 mm 600 mm Strokes per minute 4,000 min Overall length 846 mm 965 mm (Without battery) Rated voltage D.C. 18 V Net weight 2.5 - 2.9 kg 2.7 - 3.0 kg • Due to our continuing program of research and development, the specifications herein are subject to change without notice. -
Page 3: General Power Tool Safety Warnings
Use personal protective equipment. Always SAFETY WARNINGS wear eye protection. Protective equipment such as a dust mask, non-skid safety shoes, hard hat or hearing protection used for appropriate conditions General power tool safety warnings will reduce personal injuries. Prevent unintentional starting. Ensure the WARNING: switch is in the off-position before connecting Read all safety warnings, instruc-... - Page 4 Disconnect the plug from the power source Follow all charging instructions and do not and/or remove the battery pack, if detachable, charge the battery pack or tool outside the from the power tool before making any adjust- temperature range specified in the instruc- ments, changing accessories, or storing power tions.
-
Page 5: Additional Safety Instructions
Additional Safety Instructions Electrical and battery safety Avoid dangerous environment. Don't use the tool Preparation in dump or wet locations or expose it to rain. Water Check the hedges and bushes for foreign entering the tool will increase the risk of electric shock. objects, such as wire fences or hidden wiring Do not dispose of the battery(ies) in a fire. -
Page 6: Functional Description
Avoid storing battery cartridge in a con- causing fires, personal injury and damage. It will also tainer with other metal objects such as void the Makita warranty for the Makita tool and charger. nails, coins, etc. Do not expose battery cartridge to water Tips for maintaining maximum or rain. -
Page 7: Overload Protection
Let the machine and battery(ies) cool down. 25% to 50% If no improvement can be found by restoring protection system, then contact your local Makita Service Center. 0% to 25% NOTICE: If the tool stops due to a cause... -
Page 8: Indication Lamp
This tool is equipped with an electric brake. If the tool consistently fails to quickly stop the shear blades after releasing the switch trigger, have the tool serviced at Makita Authorized Service Center. • Accidental re-start preventive function Even if you install the battery cartridge while pull- ing the switch trigger, the tool does not start. - Page 9 Turn the crank with the slotted screwdriver so that Installing or removing the shear 2 holes are perpendicular to the shear blades. blades CAUTION: Attach the blade cover before removing or installing the shear blades. You can install 500 mm or 600 mm shear blades to your tool.
- Page 10 Remove the blade cover, and then attach it to the Slide the blade cover slightly toward the tip of the shear blades, and then attach the shear blades to the new shear blades. tool. Fig.9 ► 1 . Blade cover Align the rear edges of the shear blades as shown in the figure.
- Page 11 Install the shear blades again. NOTICE: If the parts other than the shear blades such as the crank is worn out, ask Makita Authorized Service Centers for parts replacement or repairs. Installing or removing the chip receiver...
-
Page 12: Operation
Hook the claws of the chip receiver to the groove OPERATION on the shear blades. WARNING: Keep hands away from shear blades. CAUTION: Avoid operating the tool in very hot weather as much as practicable. When operat- ing the tool, be careful of your physical condition. CAUTION: Be careful not to accidentally con- tact a metal fence or other hard objects while trim-... -
Page 13: Maintenance
To maintain product SAFETY and RELIABILITY, repairs, any other maintenance or adjustment should be performed by Makita Authorized or Factory Service Centers, always using Makita replacement parts. Cleaning the tool Clean the tool by wiping off dust with a dry cloth or one Fig.26 dipped in soapy water and wrung out. - Page 14 Shear blade maintenance Storage Before the operation or once per hour during operation, The hook hole in the tool bottom is convenient for hang- apply low-viscosity oil (machine oil, or spray-type lubri- ing the tool from a nail or screw on the wall. cating oil) to the shear blades.
-
Page 15: Grease Lubrication
Set the angle of a file to 35°, and grind the upper Grease lubrication blade from 2 directions with the file. Interval of lubrication: Every 50 operating hours Remove the bolt from the hole for lubrication. Fig.33 ► ( 1) File (2) 35° Fig.35 CAUTION: Before grinding the shear blades, ► 1 . Bolt make sure that the tool is switched off and the battery cartridge is removed from the tool. -
Page 16: Troubleshooting
TROUBLESHOOTING Before asking for repairs, conduct your own inspection first. If you find a problem that is not explained in the manual, do not attempt to dismantle the tool. Instead, ask Makita Authorized Service Centers, always using Makita replace- ment parts for repairs. State of abnormality Probable cause (malfunction) Remedy Motor does not run. Battery cartridge is not installed. Install the battery cartridge. - Page 17 Makita Corporation 3-11-8, Sumiyoshi-cho, Anjo, Aichi 446-8502 Japan 885987A928 www.makita.com 20220620...