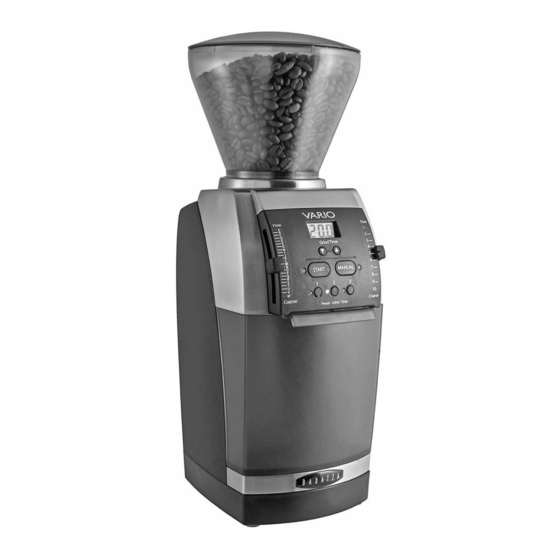
Baratza Vario Quick Start Manual
Faceplate replacement and lever shimming
Hide thumbs
Also See for Vario:
- User manual ,
- Operation manual (45 pages) ,
- Quick start manual (22 pages)
Advertisement
Quick Links
Vario Faceplate Replacement and Lever Shimming
Tools Needed: Paperclip, Phillips screwdriver, #1 flathead screwdriver, #2 flathead
Before step 1- Unplug it!
Remove the hopper and grounds bin and push the levers to the Press/Courser positions
Gently pry the lever knobs horizontally away and off the grinder (see below, we used a #2 flathead)
Push the handle of the screwdriver horizontally
The knob will come horizontally off
Flip the grinder upside down and stand it on the top. Remove the 1 Phillips screw (see below)
Advertisement

Related Manuals for Baratza Vario


Summary of Contents for Baratza Vario
- Page 1 Vario Faceplate Replacement and Lever Shimming Tools Needed: Paperclip, Phillips screwdriver, #1 flathead screwdriver, #2 flathead Before step 1- Unplug it! Remove the hopper and grounds bin and push the levers to the Press/Courser positions Gently pry the lever knobs horizontally away and off the grinder (see below, we used a #2 flathead)
- Page 2 Squeeze the faceplate from the sides as pictured below, and slip a #1 flathead screwdriver in the gap created. Pry gently to release the faceplate. Unplug the faceplate from the connector and set it aside. SHIMMING Prepare a tiny silicone shim. Flip the grinder so it is upright. Using your #1 Flathead screwdriver, gently pry open the gap on the lever arm just enough to set the shim in the top.
- Page 3 Shim fully inserted pictured below Shim RE ASSEMBLY OF THE FACEPLATE Plug the connector back into the faceplate. Have the unit upside down. Replace the faceplate, putting the bottom edge of the faceplate (in reference to the grinder standing upside down) in first. Then push in the top section, lining up the two lever arms with the appropriate slots.