Baratza Vario - Ceramic Burr Coffee Grinder Manual
- Operation manual (45 pages) ,
- Quick start manual (22 pages) ,
- Operating instructions manual (14 pages)
Advertisement
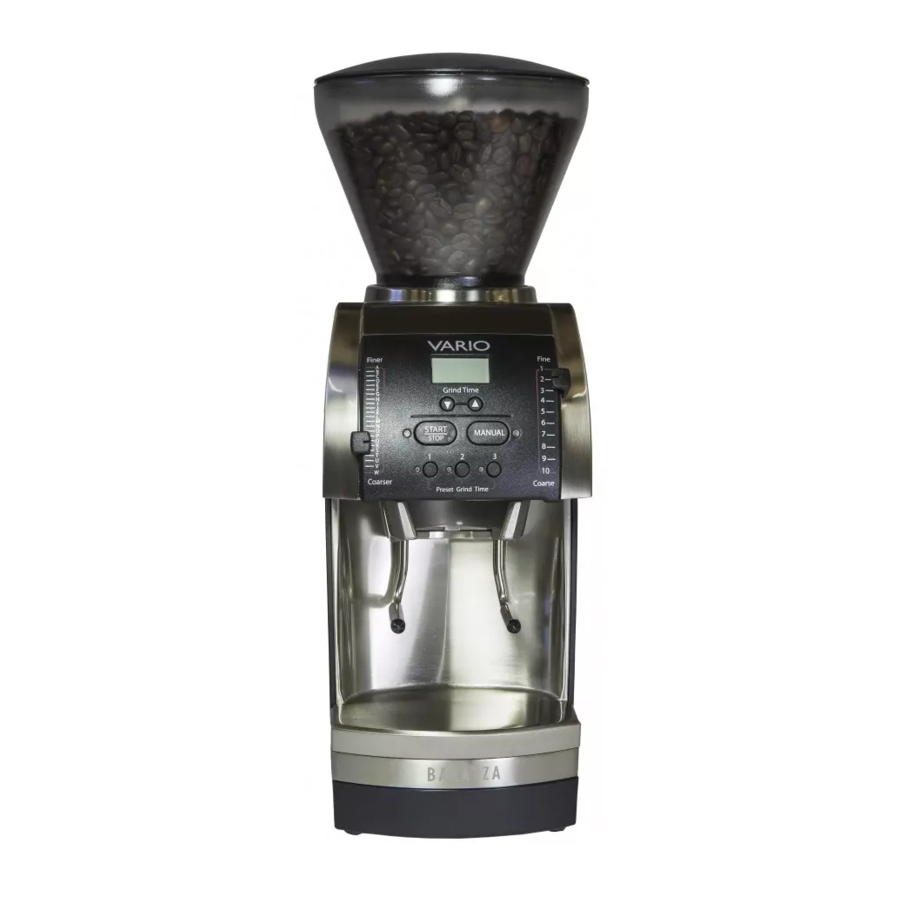
PARTS IDENTIFICATION

SAFETY INFORMATION
Please read the information below very carefully. It contains important safety information for this appliance. Please keep these instructions for future reference.
- Use only with AC current and the correct voltage. See the label on the base of the grinder to determine the correct voltage.
- Only clean the grinder housing with a dry or slightly damp cloth.
- Do not use this grinder for anything other than its intended use (i.e. grinding whole roasted coffee beans).
- Baratza will not accept any liability for damage or injury if the grinder is used other than for its intended purpose or is improperly operated or repaired. All warranty claims will be void.
- Disassemble your grinder only as directed in the Care and Cleaning Section of this manual. If you cannot remedy a malfunction, check www.baratza.com and visit our Troubleshooting page.
- Do not operate the grinder with a damaged cord or plug, or if the grinder malfunctions.
- Do not leave your grinder unattended while turned ON.
- Shut off and unplug the grinder from the electrical outlet when not in use and before cleaning.
- To unplug, grasp plug and remove from the outlet. Never pull on the cord.
- Keep your grinder out of the reach of children.
- Do not immerse the grinder, plug or cord in water or any other liquid.

ALWAYS unplug the electrical supply cord prior to cleaning the grinder.
OPERATION
Place the VARIO grinder on a level surface. With the hopper lid in place, mount the hopper on the grinder housing by lining up the two small tabs at the base of the hopper with the two slots inside the collar on the top of the grinder.
Turn the hopper clockwise until it locks into position (expect to apply force).
Insert the power plug into an AC outlet. Pour the desired quantity of roasted, whole coffee beans into the hopper. Slide the ground coffee bin into the front of the grinder.
Press one of the preset buttons, then press START.
Normal Grinding Operation
Move the Macro lever (right side) up or down, to the desired grind setting. Set the Micro adjustment lever (left side) to the middle of the scale.
Starting brew settings can be found at www.baratza.com under the Support tab.
Grind a small amount of coffee into the bin by pressing the START button, then pressing it again to stop the grinding. Check the particle size. If the particle size is close to what you desire, use the Micro lever to fine-tune the grind size. If the particle size needs a big change, then adjust the Macro lever to a new position.
The full range on the Micro scale is equal to one "click" or position change on the Macro scale. Adjusting levers UP produces a smaller particle size, adjusting levers DOWN produces a larger particle size.
Time Based Grinding Operation
Place the PortaHolder or the ground coffee bin in the grinder. Press a preset button (1,2,3). The screen will show the corresponding programmed grind time in seconds. Press START button to begin grinding. While grinding, the screen will count down the seconds to 0.0. When the screen reaches 0 seconds, the motor will stop and the display will reset again to the programmed time. For greater quantities of ground coffee press the Manual button, then START. The grinder will count up to 90 seconds, then shut off automatically. At any time during MANUAL operation you can stop the grinding by pressing the STOP button. The motor will stop and the screen will show the total amount of seconds, for 3 seconds, then it will reset to 0.0.
Programming
The VARIO is equipped with three programmable buttons. The buttons are simply labeled 1,2,3. These programmable buttons only adjust the amount of time for coffee to be ground, they do not adjust the grind setting.
Each button comes from the factory with the following presets:
Time: 1=10s, 2=15s, 3=30s
You can easily program more or less grinding time as follows:
- Select a Preset button.
- Press the up or down arrow buttons to adjust the seconds. (Press and hold the up or down arrow for two seconds)

- Once you have reached the desired time setting, press and hold the preset button for 3 seconds. The setting will blink to confirm the setting is stored.
- To program the other buttons repeat steps 1-4.

If the grinder is unplugged it will retain the stored settings.
Sleep Mode
To minimize standby power consumption, the VARIO will go into "sleep mode" automatically after a programmable time of non-use. The programmable values are (in minutes) 3, 5, 10, 20, 30, 00 (never). The factory preset is 3 minutes. While in sleep mode, the screen goes blank. To "wake up" your VARIO, press any button. Once the screen lights up, select your grinding method. To program a different sleep time, press and hold the MANUAL button for 5 seconds until the screen value changes to show the current sleep time setting. Using the up/down arrows, select the number of minutes 3, 5, 10, 20, 30 or 00 (never), then press MANUAL to save and exit.
PortaHolder Set-Up and Use
Insert the PortaHolder into the grinder until it clicks. Then insert your portafilter into the PortaHolder by tipping the basket down so the lip of the portafilter slides under and gets hooked by the hook bracket at the top rear of the PortaHolder while the base of the basket is supported by the two metal fingers that extend from the PortaHolder. If the portafilter basket is not horizontal in the holder, remove the screw holding the lower bracket and move the bracket higher or lower in order to level the portafilter basket.
To use, insert your portafilter in the PortaHolder. Press the desired preset button, then press START.
Burr Calibration
All directional indications assume you are looking down on the machine.
A 2mm Allen head calibration screw is located in the round hole behind the discharge chute (see photo). This calibration screw allows the user to easily fine-tune the calibration of the burr in the finer or coarser direction while the grinder is running. To make the adjustment, empty all beans from the grinder. Turn the grinder on and lower the Macro and Micro levers, all the way to the bottom. Let the grinder run long enough to expel any remaining ground coffee. Remove the grounds bin (For Vario-W and Forte, TARE the grinder). Now press any one of the preset buttons, then press START and insert the Calibration tool into the 2mm Allen head screw (The grinder will run until you press the STOP button). With the motor running, move the Macro arm up to the top (setting 1). You should not hear any change in motor speed. Now, slowly move the Micro arm up to the midpoint(setting M). If the motor hasn't started to slow, use the calibration tool to turn the calibration screw toward the finer direction (as indicated on tool) until you hear the motor start to slow. This setting will allow for a full range of grind. If you want a coarser grind, insert the tool and turn the opposite direction of the arrow on the tool.

CARE and CLEANING
Removing the Bean Hopper
Remove all beans from the hopper then press the START button to run any remaining beans through the grinder. Remove the plug from the power outlet. Remove the hopper by twisting it, with both hands (with the lid on) in a counterclockwise direction until it stops (about 1/4inch, or 4mm) and then lift the bean hopper off of the grinder housing.
Removing the Upper Burr
Using the Baratza Burr Tool included with the grinder, rotate the metal burr carrier clockwise about 1/6th of a turn, then lift the burr carrier straight up and out of the grinder housing. You may need to wiggle the burr carrier a little to get it free.
Cleaning the Grounds Bin, Hopper and Burrs
Wash the grounds bin, hopper, and the hopper lid in warm soapy water, then rinse and dry.
If the grinder is used daily, the burrs (steel or ceramic) should be cleaned at least every few months using tablets (see below for Automatic Cleaning) or with a stiff brush. Proper cleaning enables the burrs to achieve the most consistent grind possible. Cleaning also removes some coffee oils, which will stale and degrade the flavor of the ground coffee.
Do not put the bean hopper, hopper lid, ground coffee bin, or PortaHolder in the dishwasher. Hand wash only. Do not immerse the grinder housing in water. Do NOT wash the burrs with water.
Replacing the Burr
Make sure ALL coffee grounds and powder is removed from the mating surfaces of the grind chamber and the upper burr carrier before reinstalling. Even a very small speck of coffee powder will throw off your calibration.
With your hand, firmly press down until the burr carrier feels seated, then using the Baratza Burr Tool, rotate the burr carrier counter-clockwise 1/6th of a turn until tight.
Replacing the Bean Hopper
To replace the bean hopper, line up the two small tabs on the base of the hopper with their respective slots in the top of the grinder housing and insert the hopper into the grinder. Once the hopper is in place, rotate it clockwise until it clicks to a stop (about ¼ inch or 4mm).
Automatic Cleaning
A thorough, fast, and easy cleaning can be accomplished using Full Circle(tm) biodegradable grinder cleaning tablets. Full Circle tablets are designed to dislodge coffee particles and absorb and remove odors and coffee oil residue. Remove all beans from the hopper and run the grinder to remove any beans inside. Place the recommended amount of Grindz into the empty grinder hopper. Adjust the grind setting to 10, place insert the grounds bin and press the START button. Grind all of the tablets into the bin, then press STOP. Once complete, we recommend grinding approximately 30g coffee to remove any tablet residue. Discard the ground tablets/coffee. For information on Full Circle cleaning tablets, go to www.urnex.com.


Documents / Resources
References
Download manual
Here you can download full pdf version of manual, it may contain additional safety instructions, warranty information, FCC rules, etc.
Advertisement
Thank you! Your question has been received!


Need Assistance?
Do you have a question about the Vario that isn't answered in the manual? Leave your question here.