Table of Contents
Advertisement
Quick Links
Download this manual
See also:
User Manual
Advertisement
Table of Contents

Related Manuals for Draytek VigorAP 810


Summary of Contents for Draytek VigorAP 810
-
Page 2: Quick Start Guide
Declaration of Conformity Hereby, DrayTek Corporation declares that the radio equipment type VigorAP 810 is in compliance with Directive 2014/53/EU The full text of the EU Declaration of Conformity is available at the following internet address: http://www.draytek.com.tw/ftp/VigorAP 810/Document/CE/... -
Page 3: Package Content
Package Content Take a look at the package content. If there is anything missed or damaged, please contact DrayTek or dealer immediately. Access Point Antenna RJ-45 Cable (Ethernet) Quick Start Guide The type of the power adapter depends on the country that the AP will be... -
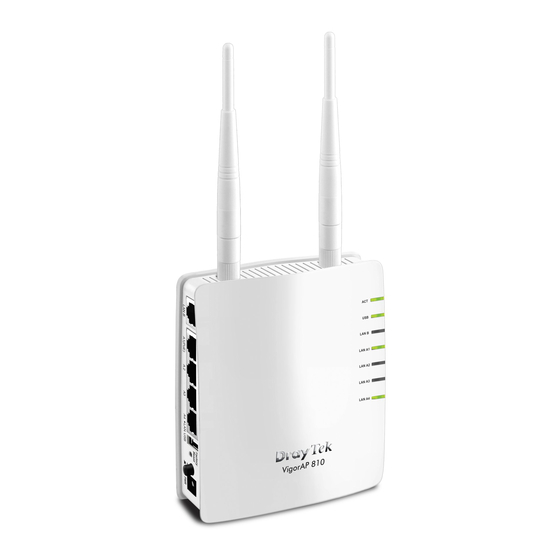
Page 4: Descriptions Of Components
Descriptions of Components Status Explanation The system is not ready or is failed. Blinking The system is ready and can work normally. A USB device is connected and active. Blinking The data is transmitting. LAN B A normal connection is through its corresponding port. - Page 5 wireless client to connect with it. Connector for a printer. Interface Description LAN B Connecter for xDSL / Cable modem or router. LAN A1 Connecter for xDSL / Cable modem or router. (PoE) - A4 Restore the default settings. Usage: Turn on the router.
-
Page 6: Installation
1. Connect VigorAP 810 to ADSL modem, router, or switch/hub in your network through the LAN A port of the access point by Ethernet cable. Note: You can also connect VigorAP 810 to a Vigor router via wireless connection. For detailed information, refer to VigorAP 810 User’s Guide. - Page 7 You may either simply set up your computer to get IP dynamically from the router or set up the IP address of the computer to be in the same subnet as the IP address of VigorAP 810. If there is no DHCP server on the network, then VigorAP 810 will have an IP address of 192.168.1.2.
- Page 8 3. The Main Screen will pop up. Click Quick Start Wizard. 4. This page displays general settings (enable/disable wireless LAN 2.4GHz) for the operation mode selected. 5. There are several operation modes for you to choose. Simply click any one of modes.
- Page 9 6. After finished the configuration for wireless LAN (2.4GHz) and click Next. When you see this page, it means the wireless setting wizard is almost finished. Just click Finish to save the settings and complete the setting procedure. Under System Maintenance, you can change the access Note point’s default administrator password.
-
Page 10: Contacting Draytek
GPL Notice This DrayTek product uses software partially or completely licensed under the terms of the GNU GENERAL PUBLIC LICENSE. The author of the software does not provide any warranty. A Limited Warranty is offered on DrayTek products. This Limited Warranty does not cover any software applications or programs.