Makita 4334D Instruction Manual
Hide thumbs
Also See for 4334D:
- Instruction manual (88 pages) ,
- Instruction manual (65 pages) ,
- Instruction manual (21 pages)
Table of Contents
Advertisement
Quick Links
Download this manual
See also:
Instruction Manual
Advertisement
Table of Contents

Related Manuals for Makita 4334D


Summary of Contents for Makita 4334D
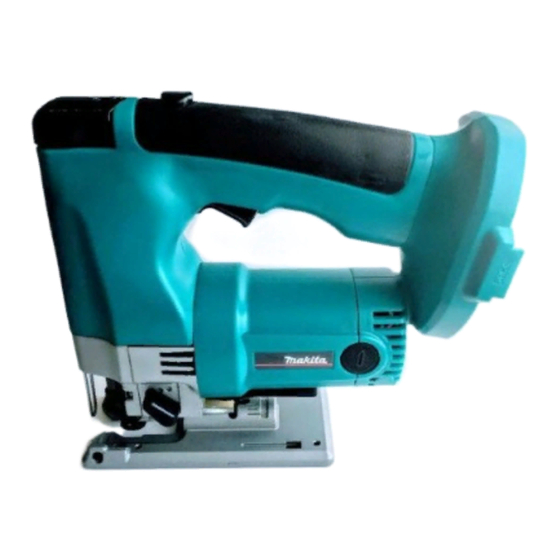
- Page 1 Cordless Jig Saw MODEL 4334D 002701 I N S T R U C T I O N M A N U A L WARNING: For your personal safety, READ and UNDERSTAND before using. SAVE THESE INSTRUCTIONS FOR FUTURE REFERENCE.
-
Page 2: Specifications
As a result of the extensive accessory and saw blade MAKITA INTERNATIONAL EUROPE LTD. program, the tool can be used for many purposes and is Michigan Drive, Tongwell, Milton Keynes, Bucks MK15 very well suited for curved or circular cuts. 8JD, ENGLAND Responsible manufacturer: Makita Corporation Anjo Aichi Japan... -
Page 3: General Safety Rules
GENERAL SAFETY RULES GEA002-3 WARNING: Read all instructions. Failure to follow all instructions listed below may result in electric shock, fire and/or serious injury. The term “power tool” in all of the warnings listed below refers to your mains-operated (corded) power tool or battery- operated (cordless) power tool. -
Page 4: Specific Safety Rules
20. Maintain power tools. Check for misalignment or GEB016-1 binding of moving parts, breakage of parts and any other condition that may affect the power tools operation. If damaged, have the power tool SPECIFIC SAFETY RULES repaired before use. Many accidents are caused DO NOT let comfort or familiarity with product by poorly maintained power tools. - Page 5 IMPORTANT SAFETY INSTRUCTIONS FOR BATTERY CARTRIDGE ENC004-1 (1) Do not touch the terminals with any con- Before using battery cartridge, read all instruc- tions and cautionary markings on (1) battery ductive material. charger, (2) battery, and (3) product using bat- (2) Avoid storing battery cartridge in a con- tery.
-
Page 6: Functional Description
FUNCTIONAL CAUTION: DESCRIPTION • Always be sure that the tool is switched off and the battery cartridge is removed before adjusting or checking function on the tool. Installing or removing battery cartridge 002703 • Always switch off the tool before insertion or removal of the battery cartridge. - Page 7 Speed adjusting dial 002712 The tool speed can be infinitely adjusted between 500 and 2,800 strokes per minute by turning the adjusting dial. Higher speed is obtained when the dial is turned in the direction of number 5; lower speed is obtained when it is turned in the direction of number 1.
- Page 8 Pull the blade installing lever in the (2) direction until it stops with a little 002720 click. If you have difficulty pulling it out, try to do so while moving it back and forth in the (3) direction. Rotate the blade installing lever in the (4) direction until the clamp pro- trudes 5 - 7 mm from the blade holder.
- Page 9 Removal 002719 Push the blade installing lever in the (1) direction to release it. 1. Blade installing lever Pull the blade installing lever in the (2) direction until it stops with a little 002720 click. If you have difficulty pulling it out, try to do so while moving it back and forth in the (3) direction.
- Page 10 Plastic base plate (optional accessory) 002736 Use the plastic base plate when cutting decorative veneers, plastics, etc. It protects sensitive surfaces from damage. To replace the base plate, remove the four screws. 1. Screw 2. Plastic base plate Rip fence (optional accessory) 002738 When cutting widths of under 150 mm repeatedly, use of the rip fence (guide rule) will assure fast, clean, straight cuts.
-
Page 11: Operation
To attach the vacuum head on the tool, insert the hooks of the vacuum head 002741 into the hole in the base. The vacuum head can be installed on either left or right side of the base. Then connect a Makita vacuum cleaner to the vacuum head. 1. Vacuum head 2. Base 002742... - Page 12 Tilt the base until the desired bevel angle is obtained. The edge of the motor 002755 housing indicates the bevel angle by graduations. Then tighten the base securing lever to secure the base. NOTE: • Always remove the plastic cover (chip shield) from the tool when you make bevel cuts using an optional rip fence (guide rule) or circular guide.
-
Page 13: Maintenance
Finishing edges 002770 To trim edges or make dimensional adjustments, run the blade lightly along the cut edges. Metal cutting Always use a suitable coolant (cutting oil) when cutting metal. Failure to do so will cause significant blade wear. The underside of the workpiece can be greased instead of using a coolant. - Page 14 Rotate the blade installing lever in the (4) direction until it stops. The 002993 clamp will protrude from the blade holder. 1. Blade holder 2. Clamp Remove the clamp from the blade holder while rotating the clamp in the 002781 (5) direction.
- Page 15 CAUTION: • These accessories or attachments are recommended for use with your Makita tool specified in this manual. The use of any other accessories or attachments might present a risk of injury to persons. Only use accessory or attachment for its stated purpose.
- Page 16 Makita Corporation Anjo, Aichi, Japan 884361D220...