Table of Contents
Advertisement
Quick Links
Advertisement
Table of Contents

Related Manuals for Makita CL001GZ04


Summary of Contents for Makita CL001GZ04
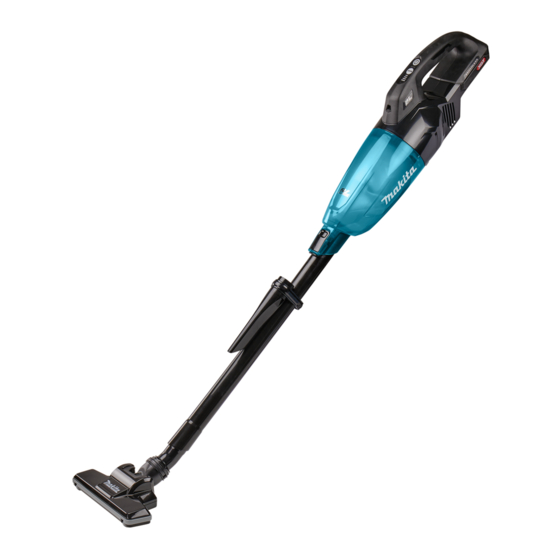
- Page 1 INSTRUCTION MANUAL Cordless Cleaner CL001G Read before use.
-
Page 2: Specifications
WARNING This appliance can be used by children aged from 8 years and above and persons with reduced physical, sensory or mental capa- bilities or lack of experience and knowledge if they have been given supervision or instruction concerning use of the appliance in a safe way and understand the hazards involved. -
Page 3: Intended Use
10. Do not use to pick up flammable or combusti- Symbols ble liquids, such as gasoline, or use in areas where they may be present. The followings show the symbols which may be used Use only the charger supplied by the manufac- for the equipment. - Page 4 Do not short the battery cartridge: causing fires, personal injury and damage. It will Do not touch the terminals with any con- also void the Makita warranty for the Makita tool and ductive material. charger. Avoid storing battery cartridge in a con-...
-
Page 5: Functional Description
To remove the battery cartridge, slide it from the tool FUNCTIONAL while sliding the button on the front of the cartridge. DESCRIPTION To install the battery cartridge, align the tongue on the battery cartridge with the groove in the housing and slip it into place. -
Page 6: Parts Description
Lighting up the lamp Indicator lamps Remaining capacity CAUTION: Do not look in the light or see the Lighted Blinking source of light directly. 75% to 100% To turn on the lamp, push the suction power change button. The lamp goes off in approximately 10 seconds. 50% to 75% While the cleaner is running, the lamp turns on. - Page 7 Prefilter or high performance filter In order to drop dust sticking on the filter in the capsule, tap the capsule 4 or 5 times with your hand. and HEPA filter ► 1 . Capsule 2. Suction inlet ► 1 . Capsule 2. Prefilter 3. High performance filter 4. HEPA filter Point suction inlet downwards, turn capsule in direction of arrow in diagram, and disconnect capsule slowly and straight.
- Page 8 Twist high performance filter in direction of arrow to NOTICE: Always be sure to check that high perfor- unfasten securing lip from cleaner unit and then pull off mance filter is loaded correctly prior to using cleaner. the filter. If they are not loaded correctly, dust will get into the motor housing, and cause motor failure. If the problem as described later occurs, high per- formance filter is not loaded correctly. Reload them correctly to rectify problem.
-
Page 9: Operation
Installing or removing stay / HEPA filter Optional accessory For the stay and sponge filter To remove the stay, push up the bottom part of pillars of the stay with your fingers and release its groove from the protrusion on the cleaner. After that, remove the sponge filter. ► 1 . HEPA filter 2. High performance filter OPERATION ► 1 . - Page 10 Cleaning (Suction) NOTE: When installing the attachment with lock function, be sure to align the release button with the hook on the attachment. If they are not aligned, Nozzle the wand will not be locked and may come off from the cleaner. Attach the nozzle to clean off tables, desks, furniture, etc. The nozzle slips on easily. To remove, pull the attachment while pushing the release button.
-
Page 11: Maintenance
To maintain product SAFETY and RELIABILITY, repairs, any other maintenance or adjustment should be performed by Makita Authorized or Factory Service Centers, always using Makita replacement parts. After use NOTICE: Putting the cleaner against the wall without any other support cause the cleaner to fall down and be damaged. - Page 12 Clogged HEPA filter cause poor suction performance. Cleaning Clean out the filter from time to time. Occasionally wash the HEPA filter in water, rinse and NOTICE: Never use gasoline, benzine, thinner, dry thoroughly in the shade before use. Never wash the alcohol or the like. Discoloration, deformation or filter in a washing machine. cracks may result. NOTICE: Do not blow dust sticking on the cleaner and filters by air duster. It brings dust into the housing and causes failure.
-
Page 13: Troubleshooting
CAUTION: These accessories or attachments NOTE: Some items in the list may be included in the are recommended for use with your Makita tool tool package as standard accessories. They may specified in this manual. The use of any other differ from country to country. - Page 14 Cyclone attachment NOTE: Check that the cyclone attachment, cleaner, and straight pipe are locked properly before use. NOTE: Empty the dust case of the cyclone attach- ment and the capsule of the cleaner when dust has accumulated. Continued use will result in weakened suction force.
- Page 15 Remove the dust on the mesh filter and then wash NOTE: Check that the cyclone attachment, cleaner, it with water. After that, dry it thoroughly. and straight pipe are locked properly before restarting operation. Insert the mesh filter into the base while the hooks are aligned with the port. Turn the mesh filter clockwise NOTE: If the suction force does not recover even until the hooks are locked with a click. Make sure that after disposing of the dust and cleaning the mesh the mesh filter is installed securely.
- Page 16 Makita Europe N.V. Jan-Baptist Vinkstraat 2, 3070 Kortenberg, Belgium Makita Corporation 3-11-8, Sumiyoshi-cho, Anjo, Aichi 446-8502 Japan 885886-227 www.makita.com 20210113...