Makita GA5010 Instruction Manual
Hide thumbs
Also See for GA5010:
- Instruction manual (56 pages) ,
- Technical information (9 pages) ,
- Instruction manual (41 pages)
Table of Contents
Advertisement
Quick Links
Advertisement
Table of Contents

Related Manuals for Makita GA5010


Summary of Contents for Makita GA5010
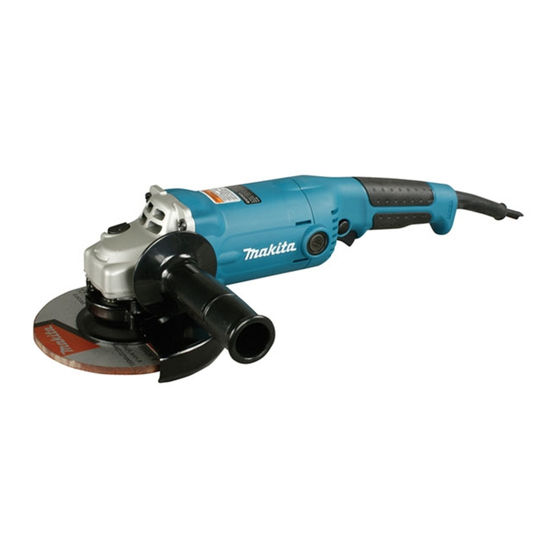
- Page 1 INSTRUCTION MANUAL Angle Grinder GA5010 GA5010Y GA5010Z GA5011 GA5011Y GA6010 GA6010Z GA6011 GA6011Y 007990 DOUBLE INSULATION WARNING: For your personal safety, READ and UNDERSTAND before using. SAVE THESE INSTRUCTIONS FOR FUTURE REFERENCE.
-
Page 2: Specifications
ENGLISH SPECIFICATIONS Model GA5010, GA5010Y, GA5010Z GA5011,GA5011Y GA6010,GA6010Z GA6011,GA6011Y Wheel diameter 125 mm (5") 150 mm (6") Spindle thread 5/8" No load speed (RPM) 11,000/min 10,000/min Overall length 356 mm (14") 384 mm (15-1/8") 356 mm (14") 384 mm (15-1/8") Net weight 2.2 kg (4.9 lbs) -
Page 3: Specific Safety Rules
16. Do not force tool. Use the correct tool for your manufacturer your model. application. The correct tool will do the job better Accessories that may be suitable for one tool, and safer at the rate for which it is designed. may become hazardous when used on another 17. -
Page 4: Functional Description
USD292-2 flange (especially the installing surface) or the lock nut. Damage to these parts could result in Symbols wheel breakage. The followings show the symbols used for tool. NEVER use tool with wood cutting blades or ・ volts other sawblades. Such blades when used on a grinder frequently kick and cause loss of ・... - Page 5 For tool with type A switch trigger the lock lever (B), pull the switch trigger and then push the lock lever further in (B). To stop the tool from the 1. Lock button / locked position, pull the switch trigger (A) fully, then Lock-off button release it.
- Page 6 For tool with clamp lever type wheel guard 1. Loop handle 2. Hex wrench 1. Bearing box 3. Bolt 2. Wheel guard 3. Screw 4. Lever 008047 008343 1. Loop handle 2. Bolt 1. Screw 3. Hex wrench 008048 008344 Installing or removing wheel guard Loosen the lever on the wheel guard after loosening the CAUTION:...
-
Page 7: Operation
For USA/Canada only OPERATION 1. Lock nut 2. Depressed center grinding WARNING: wheel/Multi-disc It should never be necessary to force the tool. The • 3. Inner flange weight of the tool applies adequate pressure. Forcing and excessive pressure could cause dangerous wheel breakage. - Page 8 Operation with wire cup brush (optional 1. Wire wheel accessory) brush CAUTION: Check operation of brush by running tool with no • load, insuring that no one is in front of or in line with brush. Do not use brush that is damaged, or which is out •...
-
Page 9: Maintenance
If you need any assistance for more details regarding time. Use only identical carbon brushes. these accessories, ask your local Makita Service Center. Use a screwdriver to remove the brush holder caps. Take out the worn carbon brushes, insert the new ones... - Page 10 GA5010/GA5010Y/GA5010Z/GA5011/GA5011Y GA6010/GA6010Z/GA6011/GA6011Y Grip 36 Wheel guard Inner flange 45 Inner flange 82 Depressed center grinding wheel/Multi-disc Lock nut 5/8-45 Rubber pad 115 Abrasive disc Sanding lock nut 5/8-48 Wire wheel brush Urethane washer 14 Wire cup brush Wheel guard (For cut-off wheel)
- Page 11 < USA only > WARNING Some dust created by power sanding, sawing, grinding, drilling, and other construction activities contains chemicals known to the State of California to cause cancer, birth defects or other reproductive harm. Some examples of these chemicals are: •...