Makita DUA301 Instruction Manual
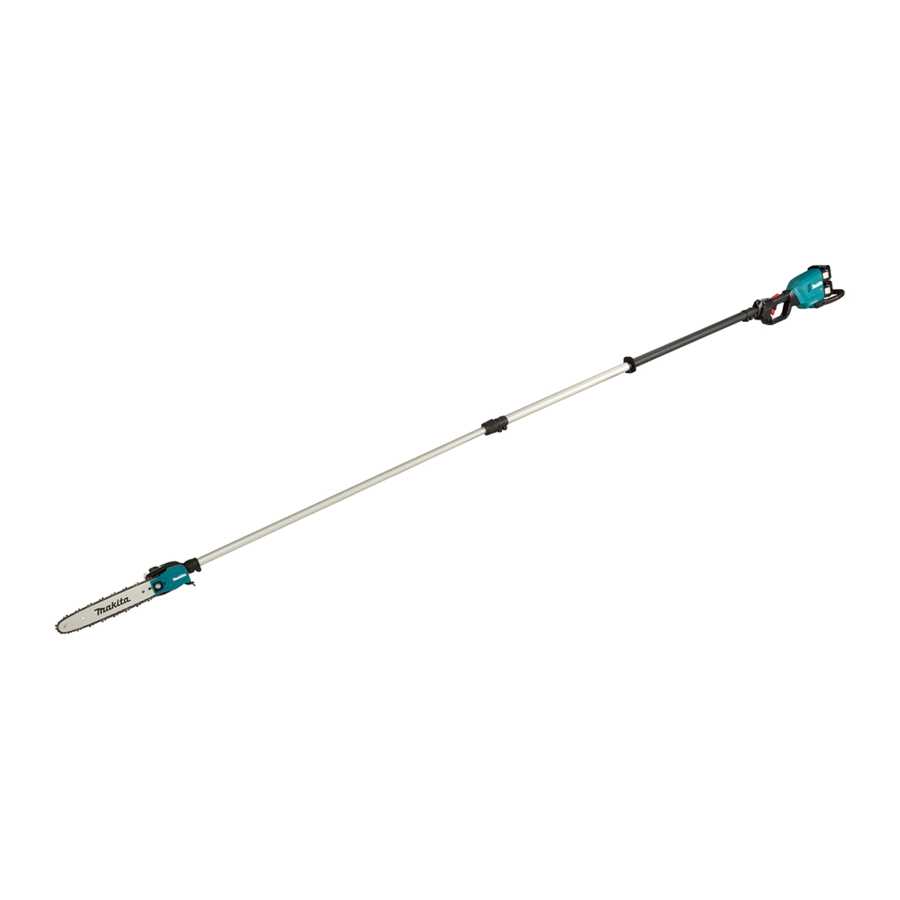
Cordless telescopic pole saw
Hide thumbs
Also See for DUA301:
- Instruction manual (161 pages) ,
- Instruction manual (25 pages) ,
- Instruction manual (129 pages)
Table of Contents
Advertisement
Quick Links
Advertisement
Table of Contents

Related Manuals for Makita DUA301


Summary of Contents for Makita DUA301
- Page 1 INSTRUCTION MANUAL Cordless Telescopic Pole Saw DUA301 Read before use.
-
Page 2: Specifications
SPECIFICATIONS Model: DUA301 Overall length (without guide bar) 2,530 - 3,760 mm Rated voltage D.C. 36 V Net weight 7.8 kg 7.8 - 8.5 kg Standard guide bar length 300 mm Recommended guide bar with 90PX 250 - 300 mm... -
Page 3: General Power Tool Safety Warnings
Saw chain type 91PX Number of drive links Guide bar Guide bar length 300 mm Cutting length 296 mm Pitch 3/8″ Gauge 1.3 mm Type Sprocket nose bar Sprocket Number of teeth Pitch 3/8″ WARNING: Use appropriate combination of the guide bar and saw chain. Otherwise personal injury may result. Symbols SAFETY WARNINGS The followings show the symbols which may be used General power tool safety warnings for the equipment. - Page 4 Power tools can produce electromagnetic fields Power tool use and care (EMF) that are not harmful to the user. However, Do not force the power tool. Use the correct users of pacemakers and other similar medical power tool for your application. The correct devices should contact the maker of their device and/ power tool will do the job better and safer at the or doctor for advice before operating this power tool.
- Page 5 Do not use a battery pack or tool that is dam- Work area safety aged or modified. Damaged or modified batteries Keep the tool at least 15 m away from electric may exhibit unpredictable behaviour resulting in lines and communication cables (including fire, explosion or risk of injury. any branches contacting them). Touching or Do not expose a battery pack or tool to fire or approaching high-voltage lines with the tool excessive temperature. Exposure to fire or tem-...
- Page 6 If there is cartridge. If the tension is loose, tighten it. any damage or doubt, ask Makita authorized Transport service center for the inspection and repair. Before transporting the tool, switch off the tool Do not touch the head of the tool.
- Page 7 Avoid storing battery cartridge in a con- also void the Makita warranty for the Makita tool and tainer with other metal objects such as charger. nails, coins, etc.
-
Page 8: Parts Description
PARTS DESCRIPTION Main power lamp Mode indicator Main power switch Hanger Lock-off lever Battery cartridge Switch trigger Rear grip Saw chain Guide bar Oil tank cap Lock ring Retaining nut Chain adjusting screw Guide bar cover Front grip 8 ENGLISH... -
Page 9: Functional Description
Indicating the remaining battery capacity FUNCTIONAL DESCRIPTION Only for battery cartridges with the indicator CAUTION: Always be sure that the tool is switched off and the battery cartridge is removed before adjusting or checking function on the tool. Installing or removing battery cartridge CAUTION: Always switch off the tool before... -
Page 10: Overheat Protection
Overheat protection NOTE: You can use the tool in the Torque Boost mode up to 60 seconds. Depending on the usage When the tool or battery is overheated, the tool stops conditions, this mode shifts to the normal mode in automatically and the main power lamp lights up in red. -
Page 11: Electronic Function
Loosen 3 bolts, and then remove 1 bolt using the Adjusting the pipe length hex wrench. To extend or shorten the pipe, loosen the lock ring by turning the lock ring counterclockwise, then adjust the length of the pipe, and then tighten the ring by turning the lock ring clockwise. ► 1 . - Page 12 Tighten 3 bolts using the hex wrench. Insert the pipe into the head of the tool all the way, and then align the hole on the pipe with the hole on the head of the tool. ► 1 . Bolt Loosen 2 bolts, and then remove 1 bolt.
-
Page 13: Adjusting Saw Chain Tension
To remove the saw chain, perform the following steps: Tighten the retaining nut to secure the sprocket cover, then loosen it a bit for tension adjustment. Loosen the chain adjusting screw, then the retaining nut. ► 1 . Retaining nut ► 1 . Chain adjusting screw 2. Retaining nut Adjusting saw chain tension Remove the sprocket cover, and then remove the saw chain and guide bar from the tool body. -
Page 14: Operation
The oil delivery may otherwise be impaired. NOTICE: Use the saw chain oil exclusively for Makita chain saws or equivalent oil available in the market. NOTICE: Never use oil including dust and parti- cles or volatile oil. - Page 15 Makita. If you put on the shoulder harness included in the tool package and the shoulder harness of the back-...
-
Page 16: Working With The Tool
Working with the tool NOTE: When removing the shoulder harness, unlock the buckle and remove the shoulder harness. CAUTION: Keep all parts of the body away Adjust the shoulder harness to a comfortable from the saw chain when the motor is operating. working position. CAUTION: Hold the tool firmly with both hands when the motor is running. - Page 17 When cutting thick branches, first make a shallow Using the tool with battery adapter undercut and then make the finish cut from the top. Optional accessory Use the hanging band when you use the tool with bat- tery adapter. Attaching the hanging band Attach the hooks of the hanging band to the rings of the shoulder harness or waist belt as shown in the figure. Select the type of band and the connecting method appropriate for your usage.
-
Page 18: Maintenance
NOTICE: Never use gasoline, benzine, thinner, alcohol or the like. Discoloration, deformation or cracks may result. To maintain product SAFETY and RELIABILITY, repairs, any other maintenance or adjustment should be performed by Makita Authorized or Factory Service Centers, always using Makita replacement parts. 18 ENGLISH... -
Page 19: Sharpening The Saw Chain
— The sharpening angle of 30° must be the same on Sharpening the saw chain all cutters. Different cutter angles cause the chain to run roughly and unevenly, accelerate wear, and Sharpen the saw chain when: lead to chain breaks. • Mealy sawdust is produced when damp wood is cut; —... -
Page 20: Cleaning The Guide Bar
Before fitting a new saw chain, check the condition of Cleaning the sprocket cover the sprocket. If the sprocket is worn or damaged, ask Makita Authorized Service Centers for replacement. Chips and saw dust will accumulate inside of the sprocket cover. Remove the sprocket cover and saw chain from the tool then clean the chips and saw dust. -
Page 21: Storing The Tool
Storing the tool Clean the tool before storing. Remove any chips and sawdust from the tool after removing the sprocket cover. After cleaning the tool, run it under no load to lubri- cate the saw chain and guide bar. Cover the guide bar with the guide bar cover, and then shorten the pipe. -
Page 22: Troubleshooting
TROUBLESHOOTING Before asking for repairs, conduct your own inspection first. If you find a problem that is not explained in the manual, do not attempt to dismantle the tool. Instead, ask Makita Authorized Service Centers, always using Makita replace- ment parts for repairs. Malfunction status Cause Action The tool does not start. Battery cartridge is not installed. Install a charged battery cartridge. -
Page 23: Optional Accessories
OPTIONAL ACCESSORIES CAUTION: These accessories or attachments are recommended for use with your Makita tool specified in this manual. The use of any other accessories or attachments might present a risk of injury to persons. Only use accessory or attachment for its stated purpose. If you need any assistance for more details regard- ing these accessories, ask your local Makita Service Center. - Page 24 Makita Corporation 3-11-8, Sumiyoshi-cho, Anjo, Aichi 446-8502 Japan 885798-921 www.makita.com 20200926...