Makita M4301 Instruction Manual
Hide thumbs
Also See for M4301:
- Instruction manual (53 pages) ,
- Instruction manual (40 pages) ,
- Instruction manual (12 pages)
Table of Contents
Advertisement
Quick Links
Advertisement
Table of Contents

Related Manuals for Makita M4301


Summary of Contents for Makita M4301
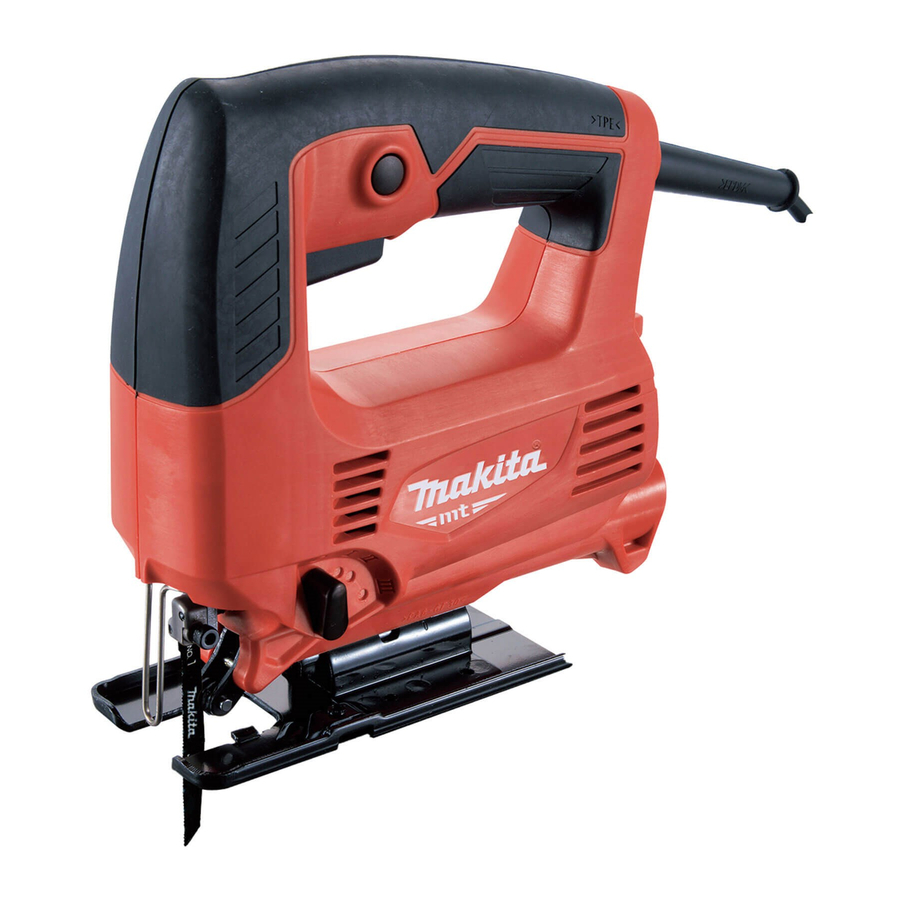
- Page 1 INSTRUCTION MANUAL Jig Saw M4301 DOUBLE INSULATION Read before use.
-
Page 2: Specifications
SPECIFICATIONS Model: M4301 Length of stroke 18 mm Blade type B type Max. cutting capacities Wood 65 mm Mild steel 6 mm Strokes per minute (min 0 - 3,100 Overall length 214 mm Net weight 1.9 kg Safety class •... -
Page 3: Ec Declaration Of Conformity
If operating a power tool in a damp location WARNING: The vibration emission during actual is unavoidable, use a residual current device use of the power tool can differ from the declared val- (RCD) protected supply. Use of an RCD reduces ue(s) depending on the ways in which the tool is used the risk of electric shock. -
Page 4: Jig Saw Safety Warnings
Service Have your power tool serviced by a qualified repair person using only identical replacement parts. This will ensure that the safety of the power tool is maintained. Follow instruction for lubricating and chang- ing accessories. Jig saw safety warnings Hold the power tool by insulated gripping surfaces, when performing an operation where the cutting accessory may contact hidden wir-... -
Page 5: Functional Description
Switch action FUNCTIONAL DESCRIPTION CAUTION: Before plugging in the tool, always check to see that the switch trigger actuates properly and returns to the "OFF" position when CAUTION: Always be sure that the tool is released. switched off and unplugged before adjusting or checking function on the tool. -
Page 6: Operation
To install the jig saw blade, loosen the bolt counter- OPERATION clockwise on the jig saw blade holder with the hex wrench. CAUTION: Always hold the base flush with the workpiece. Failure to do so may cause jig saw blade breakage, resulting in a serious injury. CAUTION: Advance the tool very slowly when cutting curves or scrolling. Forcing the tool may cause a slanted cutting surface and jig saw blade breakage. ► 1 . Jig saw blade holder 2. Bolt 3. Hex wrench With the blade teeth facing forward, insert the jig saw blade into the jig saw blade holder as far as it will go. -
Page 7: Plunge Cutting
Loosen the bolt on the back of the base with the hex Cutouts wrench. Move the base so that the bolt is positioned in the center of the cross-shaped slot in the base. Cutouts can be made with either of two methods “Boring a starting hole”... -
Page 8: Straight Cuts
When cutting circles or arcs of 170 mm or less in radius, install the rip fence as follows. Clean cutting operations can be performed by con- necting this tool to a Makita vacuum cleaner. Insert the hose of the vacuum cleaner into the hole at the rear of the tool. -
Page 9: Maintenance
To maintain product SAFETY and RELIABILITY, repairs, carbon brush inspection and replacement, any other maintenance or adjustment should be performed by Makita Authorized or Factory Service Centers, always using Makita replacement parts. ► 1 . Threaded knob 2. Fence guide 3. Rip fence (Guide rule) 4. Pin Slide the rip fence to the desired cutting radius, and tighten the bolt to secure it in place. - Page 12 Makita Europe N.V. Jan-Baptist Vinkstraat 2, 3070 Kortenberg, Belgium Makita Corporation 3-11-8, Sumiyoshi-cho, Anjo, Aichi 446-8502 Japan 885476A226 www.makita.com 20181109...