Advertisement
Quick Links
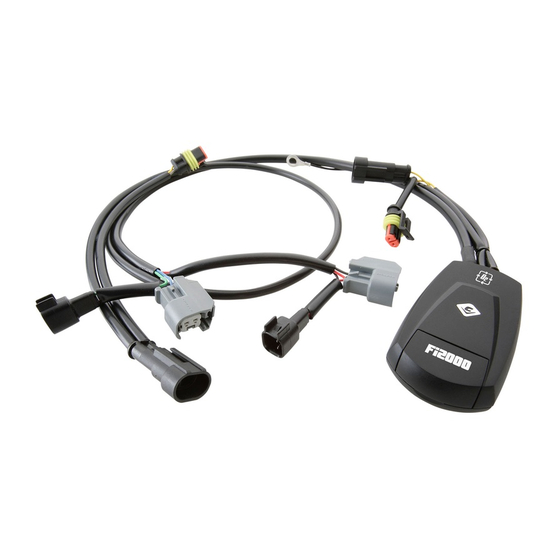
Items Supplied >
1 – Fi2000 Fuel Injection Module
4 – T-Tap Connectors (1 spare)
2 – Zip Ties
Instruction Manual >
Read all instructions carefully and completely before installing your new Fi2000 module.
It is recommended however, that a qualified mechanic or technician install this product.
1. Remove the seat by unbolting the two hex bolts attaching the seat.
2. Remove the battery cross brace by unscrewing the phillips head screw and unattach the fuse
holder from the brace. See figure 1.
3. Locate the ECU next to the battery and lift it straight up and out to locate the BLUE w/RED stripe
wire and the BLUE w/GREEN stripe wire on the harness going to the ECU. Attach a t-tap
connector to each of these wires about an inch from the connector on the ECU. See figure 1
4. Plug the Fi2000 module's BLUE w/RED stripe and BLUE w/GREEN stripe wires to the
corresponding ECU wires with the t-tap connectors and replace the ECU to its original location.
Make sure to route the wires so they do not get pinched by the seat when installed as shown in
figure 1. Note: Make sure not to attach the t-tap connectors closer than 1" to the stock ECU
connector.
5. Reinstall the battery cross brace, phillips head screw and fuse holder.
6. Locate the RED wire at the tail light harness plug (the wire harness goes through the grommet in
the rear fender) and attach a t-tap connector there. See figure 1.
7. Attach the Fi2000 module's RED wire to the t-tap connector installed in step 6 and the BLACK
wire to the negative post of the battery. Make sure to route the wires so they do not get pinched
by the seat when installed as shown in figure 1
8. Remove the backing from the Velcro and attach the Cobra module on the rear fender between
the two grommets as shown in figure 1.
9. Before re-installing the seat, verify your connections. Remove the door from the Fi2000 box to
expose the LED's. Verify the wire connections by (1) turning the ignition on, prior to starting, and
see if all three LED's are on steady. If you have no light, either your ground connection (BLACK
wire) is not solid or, (more likely) your RED wire connection is incorrect. You have either tapped
on the wrong wire or the tap has not made contact. (2) After achieving a steady light from all
three LED's, start the motorcycle and let it idle, the green light should now be the only LED on. If
all three LED's are still on after start up, your BLUE w/RED stripe wire connection is incorrect; if
all three LED's are flashing, your BLUE w/GREEN stripe wire connection is wrong. Again verify
correct color and tap contact. Reattach the door when finished. Note: Make sure the ignition is
turn off before changing any connection.
10. Re-install the seat and hex bolts.
* Cobra recommends you always wear a helmet while riding. Please never operate your motorcycle while under
the influence of alcohol and/or drugs. Enjoy the new look of your motorcycle and please ride safely.
DOCUMENT NO. 0017
REV. A
03/04
23801 E. La Palma Ave., Yorba Linda, Ca 92887 Ph. 714.692.8180 Fax. 714.692.5016
Application(s) >
KAWASAKI VULCAN NOMAD Fi
92-0941
www.cobrausa.com
Page 1 of 3
Advertisement

Related Manuals for Cobra Fi2000


Summary of Contents for Cobra Fi2000
- Page 1 See figure 1. 7. Attach the Fi2000 module’s RED wire to the t-tap connector installed in step 6 and the BLACK wire to the negative post of the battery. Make sure to route the wires so they do not get pinched by the seat when installed as shown in figure 1 8.
- Page 2 Page 2 of 3 92-0941 RED WIRE REAR FENDER BLUE w/RED BLUE w/GREEN Fi2000 WIRES MODULE (next to battery) Fi2000 DOOR FUSE HOLDER BATTERY CROSS BRACE BATTERY GROUND FIGURE 1 Blue/Red and Blue/Green Injector Wires: Red (tail light) Power Wire:...
- Page 3 92-0941 ADVANCED TUNING Your Cobra Fi2000 fuel injection module has been tested and preset for best function and drivability on a stock motorcycle with a Cobra exhaust. The Fi2000 does however, have 3 important adjustments that allow you to tune the module for optimum performance, especially if you have performed other changes to your motorcycle.