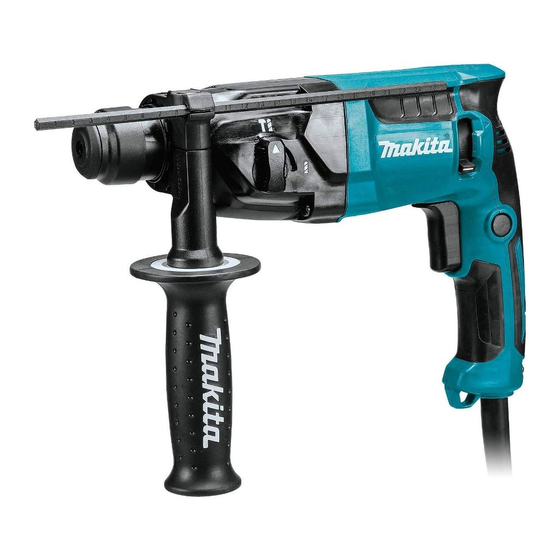
Makita HR1840 Instruction Manual
Hide thumbs
Also See for HR1840:
- Instruction manual (69 pages) ,
- Instruction manual (61 pages) ,
- Instruction manual (22 pages)

Related Manuals for Makita HR1840


Summary of Contents for Makita HR1840
- Page 1 INSTRUCTION MANUAL Rotary Hammer HR1840 HR1841F DOUBLE INSULATION Read before use.
-
Page 2: Specifications
The following show the symbols used for the equip- The typical A-weighted noise level determined accord- ment. Be sure that you understand their meaning before ing to EN60745: use. Model HR1840 Sound pressure level (L ) : 87 dB(A) Read instruction manual. Sound power level (L... -
Page 3: Ec Declaration Of Conformity
When operating a power tool outdoors, use an WARNING: The vibration emission during actual extension cord suitable for outdoor use. Use of use of the power tool can differ from the declared a cord suitable for outdoor use reduces the risk of emission value depending on the ways in which the electric shock. - Page 4 Maintain power tools. Check for misalignment 12. Do not point the tool at any one in the area when operating. The bit could ly out and or binding of moving parts, breakage of parts and any other condition that may affect the injure someone seriously.
-
Page 5: Functional Description
FUNCTIONAL CAUTION: Do not look in the light or see the source of light directly. DESCRIPTION To turn on the lamp, pull the switch trigger. Release the switch trigger to turn it off. CAUTION: Always be sure that the tool is NOTICE: Do not use thinner or gasoline to clean switched off and unplugged before adjusting or... - Page 6 Rotation with hammering ASSEMBLY For drilling in concrete, masonry, etc., rotate the action mode changing knob to the symbol. Use a car- CAUTION: Always be sure that the tool is bide-tipped drill bit. switched off and unplugged before carrying out any work on the tool.
-
Page 7: Depth Gauge
Insert the drill bit into the tool. Turn the drill bit and push Dust cup (optional accessory) it in until it engages. After installing the drill bit, always make sure that the Use the dust cup to prevent dust from falling over the drill bit is securely held in place by trying to pull it out. - Page 8 Install the side grip (optional grip base set and the grip removed from standard side grip) so that the groove on the grip it in the protrusion on the spacer. Turn the grip clockwise to secure it. ► 1 . Bolt 2. Grip 3. Optional grip base set ► 1 . Side grip NOTICE: Do not use the dust cup set when drill- Install the dust cup set so that the claws of the dust cup...
-
Page 9: Operation
► 1 . Dust cap To remove the drill bit, pull the chuck cover down all the OPERATION way and pull the drill bit out. CAUTION: Always use the side grip (auxiliary handle) and irmly hold the tool by both side grip and switch handle during operations. -
Page 10: Maintenance
NOTICE: Never use gasoline, benzine, thinner, alcohol or the like. Discoloration, deformation or cracks may result. To maintain product SAFETY and RELIABILITY, repairs, any other maintenance or adjustment should be performed by Makita Authorized or Factory Service Centers, always using Makita replacement parts. 10 ENGLISH... -
Page 11: Optional Accessories
OPTIONAL ACCESSORIES CAUTION: These accessories or attachments are recommended for use with your Makita tool speciied in this manual. The use of any other accessories or attachments might present a risk of injury to persons. Only use accessory or attachment for its stated purpose. If you need any assistance for more details regard- ing these accessories, ask your local Makita Service Center. - Page 12 Jan-Baptist Vinkstraat 2, Makita Europe N.V. 3070 Kortenberg, Belgium 3-11-8, Sumiyoshi-cho, Makita Corporation Anjo, Aichi 446-8502 Japan 885579B226 www.makita.com 20170911...