
Related Manuals for Toro Power Plex 51491T


Summary of Contents for Toro Power Plex 51491T
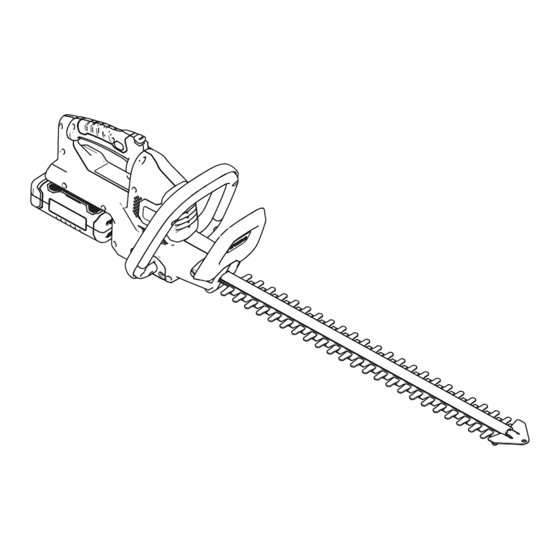
- Page 1 Form No. 3408-733 Rev A Power Plex™ 24in 40V MAX Hedge Trimmer Model No. 51491—Serial No. 317000001 and Up Model No. 51491T—Serial No. 317000001 and Up *3408-733* A Register at www.Toro.com. Original Instructions (EN)
- Page 2 A. Stay alert; watch what you are doing and use common sense when operating a power tool. Register your product at www.Toro.com to ensure that Toro Do not use a power tool while you are tired can notify you in the case of a safety or warranty product or under the influence of drugs, alcohol, or recall.
-
Page 3: Hedge Trimmer Safety Warnings
F. Dress properly. Do not wear loose clothing C. When battery pack is not in use, keep it away or jewelry. Keep your hair tied back and your from other metal objects, such as paper clips, clothing and gloves away from moving parts. coins, keys, nails, screws, or other small metal Loose clothes, jewelry, or long hair can be caught in moving objects that can make a connection from one... - Page 4 • • Check the cutting device regularly for damage, and if Do not place any object on top of the charger as it could damaged, repair immediately. cause overheating. Do not place the charger near any heat source. • Do not overload the product. •...
-
Page 5: Safety And Instructional Decals
Safety and Instructional Decals Safety decals and instructions are easily visible to the operator and are located near any area of potential danger. Replace any decal that is damaged or missing. Symbol Designation/Explanation Read the instruction manual. Wear hearing protection. decal136-2462 136-2462 Wear eye protection. - Page 6 decal136-2476 136-2476 1. The battery pack is 3. The battery pack is too charging. warm. 2. The battery pack is fully 4. Replace the battery pack. charged. decal136-2534 136-2534 1. The battery does not 4. Stop—follow these come out of the box fully instructions before first charged.
-
Page 7: Product Overview
Setup Product Overview Note: The battery pack is not fully charged when it is purchased. Before using the tool for the first time, refer to Charging the Battery Pack (page Mounting the Battery Charger (Optional) If desired, mount the battery charger securely on a wall using the wall-mount key holes on the back of the charger. -
Page 8: Operation
Operation lock switch may be released once the hedge trimmer is running (Figure Starting the Hedge Trimmer Rotating the Hedge Trimmer 1. Remove the protective cover from the cutter blades Handle (Figure 1. Press and hold the rotational lock button (A of Figure WARNING The hedge trimmer blades can cause cuts or... -
Page 9: Charging The Battery Pack
4. Slide the battery pack into the charger until it is fully seated (Figure g194190 Figure 6 1. Battery latch Charging the Battery Pack Important: Read all safety precautions. g194423 Figure 8 Important: For best results, charge your battery pack 1. -
Page 10: Operating Tips
Operating Tips • Use the power tool for cutting in either direction in a slow, sweeping action from side to side. • Stand so that you are stable and balanced on both feet. Do not overreach. • Inspect and clear the area of any hidden objects. •... -
Page 11: Maintenance
Maintenance Preparing the Battery Pack for Recycling Disconnect the product from the power supply (i.e. remove the plug from the power supply or the battery pack) before Important: Upon removal, cover the terminals of the maintenance or cleaning work. battery pack with heavy-duty adhesive tape. Do not attempt to destroy or disassemble the battery pack or Use only the manufacturer’s recommended replacement parts remove any of its components. -
Page 12: Troubleshooting
Troubleshooting Perform only the steps described in these instructions. All further inspection, maintenance, and repair work must be performed by an authorized service center or a similarly qualified specialist if you cannot solve the problem yourself. Problem Possible Cause Corrective Action The tool does not start. - Page 13 Notes:...
- Page 14 Notes:...
- Page 15 Notes:...
- Page 16 Does not include the battery. 1 Year Battery Warranty for Residential Use. If you think your Toro Product contains a defect in materials or workmanship, if you have questions or problems, and before returning this product call toll free:...