Makita HS009G Instruction Manual
Hide thumbs
Also See for HS009G:
- Instruction manual (158 pages) ,
- Instruction manual (24 pages) ,
- Instruction manual (112 pages)
Table of Contents
Advertisement
Quick Links
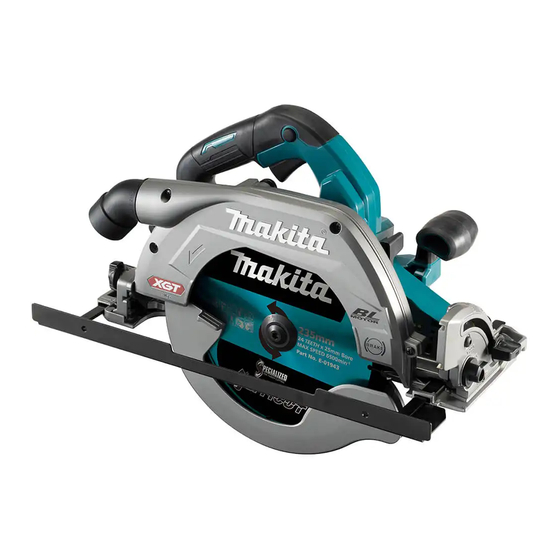
Cordless Circular Saw
EN
Scie Circulaire sans Fil
FR
Akku-Handkreissäge
DE
Sega circolare a batteria
IT
Accucirkelzaag
NL
Sierra Circular Inalámbrica
ES
Serra Circular a Bateria
PT
Ledningsfri rundsav
DA
Φορητό δισκοπρίονο
EL
Akülü Sunta Kesme
TR
HS009G
INSTRUCTION MANUAL
MANUEL D'INSTRUCTIONS
BETRIEBSANLEITUNG
ISTRUZIONI PER L'USO
GEBRUIKSAANWIJZING
MANUAL DE
INSTRUCCIONES
MANUAL DE INSTRUÇÕES
BRUGSANVISNING
ΕΓΧΕΙΡΙΔΙΟ ΟΔΗΓΙΩΝ
KULLANMA KILAVUZU
10
23
37
53
69
84
99
114
127
143
Advertisement
Table of Contents

Related Manuals for Makita HS009G


Summary of Contents for Makita HS009G
- Page 1 Scie Circulaire sans Fil MANUEL D’INSTRUCTIONS Akku-Handkreissäge BETRIEBSANLEITUNG Sega circolare a batteria ISTRUZIONI PER L’USO Accucirkelzaag GEBRUIKSAANWIJZING MANUAL DE Sierra Circular Inalámbrica INSTRUCCIONES Serra Circular a Bateria MANUAL DE INSTRUÇÕES Ledningsfri rundsav BRUGSANVISNING Φορητό δισκοπρίονο ΕΓΧΕΙΡΙΔΙΟ ΟΔΗΓΙΩΝ Akülü Sunta Kesme KULLANMA KILAVUZU HS009G...
- Page 2 Fig.1 Fig.5 Fig.2 Fig.6 Fig.3 Fig.4 Fig.7...
- Page 3 Fig.8 Fig.12 Fig.9 Fig.13 Fig.10 Fig.14 Fig.11...
- Page 4 Fig.15 Fig.19 Fig.16 Fig.17 Fig.20 Fig.18 Fig.21...
- Page 5 Fig.26 Fig.22 Fig.27 Fig.23 Fig.28 Fig.24 Fig.25 Fig.29...
- Page 6 Fig.33 Fig.30 Fig.34 Fig.35 Fig.31 Fig.36 Fig.32...
- Page 7 Fig.37 Fig.39 Fig.40 Fig.38 Fig.41...
- Page 8 Fig.42 Fig.45 Fig.43 Fig.44 Fig.46...
- Page 9 Fig.47 Fig.50 Fig.48 Fig.49...
-
Page 10: Specifications
Makita genuine saw blades, other materials processed. can also be sawed. WARNING: Be sure to identify safety mea-... -
Page 11: Ec Declaration Of Conformity
Hold the power tool by insulated gripping NOTE: The declared vibration total value(s) has been surfaces, when performing an operation where measured in accordance with a standard test method the cutting tool may contact hidden wiring. and may be used for comparing one tool with another. Contact with a “live” wire will also make exposed NOTE: The declared vibration total value(s) may also metal parts of the power tool “live”... - Page 12 Do not use dull or damaged blades. Do not attempt to remove cut material when blade is moving. Wait until blade stops before Unsharpened or improperly set blades produce narrow kerf causing excessive friction, blade grasping cut material. Blades coast after turn off. binding and kickback. Avoid cutting nails. Inspect for and remove all Blade depth and bevel adjusting locking levers nails from lumber before cutting.
- Page 13 (1) Do not touch the terminals with any con- CAUTION: Only use genuine Makita batteries. ductive material. Use of non-genuine Makita batteries, or batteries that (2) Avoid storing battery cartridge in a con- have been altered, may result in the battery bursting tainer with other metal objects such as causing fires, personal injury and damage. It will...
-
Page 14: Functional Description
25. When storing the wireless unit, keep it in the When the tool/battery is operated in a manner that supplied case or a static-free container. causes it to draw an abnormally high current, the tool 26. Do not insert any devices other than Makita automatically stops. In this situation, turn the tool off wireless unit into the slot on the tool. and stop the application that caused the tool to become overloaded. -
Page 15: Overdischarge Protection
Turn the tool off, and then turn it on again to ing the lock-off button. A switch in need of repair restart. may result in unintentional operation and serious Charge the battery(ies) or replace it/them with personal injury. Return tool to a Makita service center recharged battery(ies). for proper repairs BEFORE further usage. Let the tool and battery(ies) cool down. To prevent the switch trigger from being accidentally If no improvement can be found by restoring protection pulled, a lock-off button is provided. To start the tool, system, then contact your local Makita Service Center. -
Page 16: Electronic Function
CAUTION: Do not look in the light or see the CAUTION: Use only the Makita wrench to source of light directly. install or remove the circular saw blade. To turn on the lamp without running the tool, pull the Loosen the lever on the depth guide and move the switch trigger without pressing the lock-off button. -
Page 17: Operation
For tool with the inner flange for a OPERATION 15.88 mm hole-diameter saw blade (country specific) This tool is intended to cut wood products. With appro- priate Makita genuine circular saw blades, following Mount the inner flange with its recessed side facing materials can also be sawed: outward onto the mounting shaft and then place circu- •... - Page 18 Cutting operation Guide rail Optional accessory CAUTION: Wear dust mask when performing cutting operation. CAUTION: Always be sure that the tool is switched off and the battery cartridge is removed CAUTION: Be sure to move the tool forward before loosening the adjusting screws on the tool in a straight line gently.
- Page 19 ► Fig.42: 1. Wireless activation button 2. Wireless cleaner activation lamp Turn on the tool. Check if the vacuum cleaner runs NOTE: A Makita vacuum cleaner supporting the while the tool is operating. wireless activation function is required for the tool registration. To stop the wireless activation of the vacuum cleaner, push the wireless activation button on the tool.
- Page 20 Description of the wireless activation lamp status ► Fig.43: 1. Wireless activation lamp The wireless activation lamp shows the status of the wireless activation function. Refer to the table below for the meaning of the lamp status. Status Wireless activation lamp Description Color Duration Blinking Standby Blue...
- Page 21 Troubleshooting for wireless activation function Before asking for repairs, conduct your own inspection first. If you find a problem that is not explained in the manual, do not attempt to dismantle the tool. Instead, ask Makita Authorized Service Centers, always using Makita replace- ment parts for repairs. State of abnormality Probable cause (malfunction) Remedy The wireless activation lamp does The wireless unit is not installed into the tool. Install the wireless unit correctly. not light/blink. The wireless unit is improperly installed into the tool. The terminal of the wireless unit and/or Gently wipe off dust and dirt on the terminal of the the slot is dirty.
-
Page 22: Maintenance
Centers, always using Makita replacement parts. CAUTION: These accessories or attachments Adjusting 0°-cut or 45°-cut accuracy are recommended for use with your Makita tool specified in this manual. The use of any other NOTICE: Do not engage the levers for -1° bevel accessories or attachments might present a risk of angle when adjusting 0°-cut accuracy.