Table of Contents
Advertisement
Quick Links
Advertisement
Table of Contents

Related Manuals for Makita DTD153RJT


Summary of Contents for Makita DTD153RJT
- Page 1 INSTRUCTION MANUAL Cordless Impact Driver DTD153 Read before use.
-
Page 2: Specifications
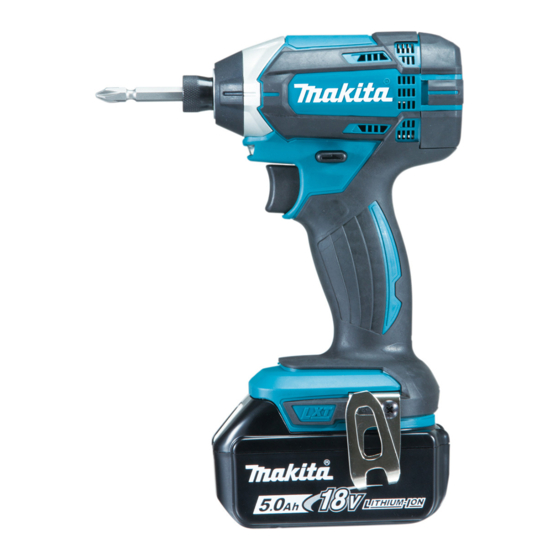
SPECIFICATIONS Model: DTD153 Fastening capacities Machine screw 4 mm - 8 mm Standard bolt 5 mm - 16 mm High tensile bolt 5 mm - 14 mm No load speed 0 - 3,400 min Impacts per minute 0 - 3,600 min Overall length 126 mm Rated voltage... -
Page 3: Save All Warnings And Instruc- Tions For Future Reference
Save all warnings and instruc- Do not overreach. Keep proper footing and balance at all times. This enables better control tions for future reference. of the power tool in unexpected situations. The term "power tool" in the warnings refers to your Dress properly. Do not wear loose clothing or mains-operated (corded) power tool or battery-operated jewellery. Keep your hair, clothing, and gloves (cordless) power tool. - Page 4 WARNING: DO NOT let comfort or familiarity causing fires, personal injury and damage. It will with product (gained from repeated use) replace also void the Makita warranty for the Makita tool and strict adherence to safety rules for the subject charger. product. Tips for maintaining maximum...
-
Page 5: Functional Description
Indicating the remaining battery FUNCTIONAL capacity DESCRIPTION Only for battery cartridges with "B" at the end of the model number CAUTION: Always be sure that the tool is switched off and the battery cartridge is removed before adjusting or checking function on the tool. Installing or removing battery cartridge CAUTION:... -
Page 6: Overheat Protection
Overheat protection Lighting up the front lamp When the tool/battery is overheated, the tool stops automatically. In this situation, let the battery cool before turning the tool on again. Overdischarge protection When the battery capacity is not enough, the tool stops automatically. In this case, remove the battery from the tool and charge the battery. NOTE: Overload protection will work only with batter- ies with star marking. -
Page 7: Installing Hook
For tool with one-touch type sleeve ASSEMBLY To install the driver bit, insert the driver bit into the sleeve as far as it will go. CAUTION: Always be sure that the tool is Procedure 2 switched off and the battery cartridge is removed before carrying out any work on the tool. In addition to Procedure 1, insert the bit-piece into the sleeve with its pointed end facing in. -
Page 8: Operation
Proper fastening torque for high tensile bolt OPERATION N•m (kgf•cm) (2040) (1836) (M14) (1632) (1428) (1224) (M12) (1020) (816) The proper fastening torque may differ depending upon (M10) the kind or size of the screw/bolt, the material of the (612) workpiece to be fastened, etc. The relation between fas- tening torque and fastening time is shown in the figures. (408) (M8) Proper fastening torque for standard bolt (204) N•m (kgf•cm) (1428) ► 1 . Fastening time (second) 2. Fastening torque Hold the tool firmly and place the point of the driver bit (1224) in the screw head. Apply forward pressure to the tool to... -
Page 9: Maintenance
Centers, always using Makita replacement parts. OPTIONAL ACCESSORIES CAUTION: These accessories or attachments are recommended for use with your Makita tool specified in this manual. The use of any other accessories or attachments might present a risk of injury to persons. Only use accessory or attachment for its stated purpose. If you need any assistance for more details regard- ing these accessories, ask your local Makita Service Center. - Page 12 Makita Europe N.V. Jan-Baptist Vinkstraat 2, 3070 Kortenberg, Belgium Makita Corporation 3-11-8, Sumiyoshi-cho, Anjo, Aichi 446-8502 Japan 885505-225 www.makita.com 20160308...