Advertisement
Quick Links
Advertisement

Related Manuals for GE Invenia ABUS


Summary of Contents for GE Invenia ABUS
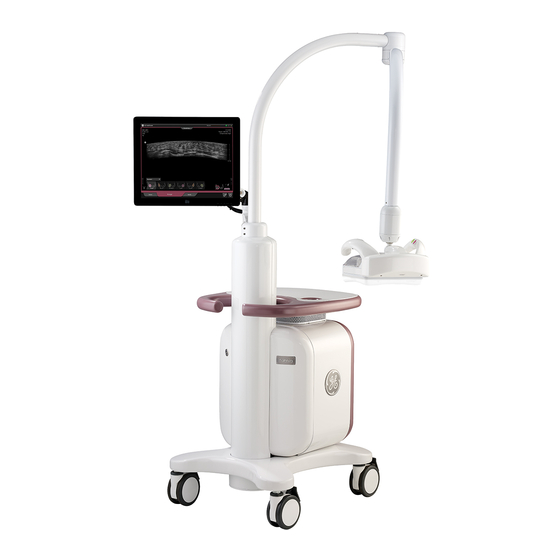
- Page 1 Invenia ABUS ™ Scan Station Positioning Guide...
-
Page 2: About This Guide
• Always check to make sure a membrane has been replaced on the scanner assembly. using the Invenia ABUS Scan Station. It describes techniques and procedures for • If the membrane is torn or damaged in any way, do not use. - Page 3 Positioning for an Invenia ABUS Exam Ultrasound Coupling Lotion • Lay the patient supine and elevate the head if needed to create a breast mound. • Ultrasound coupling lotion is applied to the breast in a thick, even layer creating a “white” appearance on the skin.
- Page 4 Lotion is applied to the upper outer quadrant of the breast extending into the axilla. Standard Views Depending on the indication, an Invenia ABUS View Type Description Transducer Positioning exam may be Bilateral or Unilateral. A standard screening exam is Bilateral and is typically...
-
Page 5: Lateral View
AP View Lateral View • This view includes the central tissue and nipple. • This view includes lateral and superior tissue including the axillary tail. The nipple is in the • Lotion is applied to the entire breast surface. inferior-medial corner of the scanner assembly. •... - Page 6 Medial View Superior View • This view includes medial tissue, the nipple and • This view is used when the AP view does not inferior tissue including inframmary fold (IMF). cover superior tissue. The nipple will appear in Move to the opposite side of the patient turning the center at the inferior edge.
- Page 7 Inferior View Upper Outer Quadrant View • This view is used when the AP view does not • This view includes superior and lateral tissue cover the inferior tissue. The nipple will appear and also the axillary tail. The nipple may not in the center at the superior edge of the active appear in the active scan area or will be at the scan area.
- Page 8 Apply Compression Begin the Scan • Minimum bed height should be 30” to achieve proper compression. The compression range indicator • Press the green start scan button on the left handle to begin the scan. The multi-axis lock engages arrows on the articulating arm notify the user when the arm is at its lowest point and compression when the button is pressed.
-
Page 9: Scanning Tips
• Remind the patient they can breathe normally but should refrain from talking or moving during the scan to avoid motion artifacts. For a complete summary of Invenia ABUS Scan Station operation and positioning information, please refer to the Invenia ABUS Scan Station Basic User Manual (DOC. No. 4700-0014-00).