Makita LS1045 Instruction Manual
Hide thumbs
Also See for LS1045:
- Instruction manual (40 pages) ,
- Instruction manual (27 pages) ,
- Instruction manual (40 pages)

Related Manuals for Makita LS1045


Summary of Contents for Makita LS1045
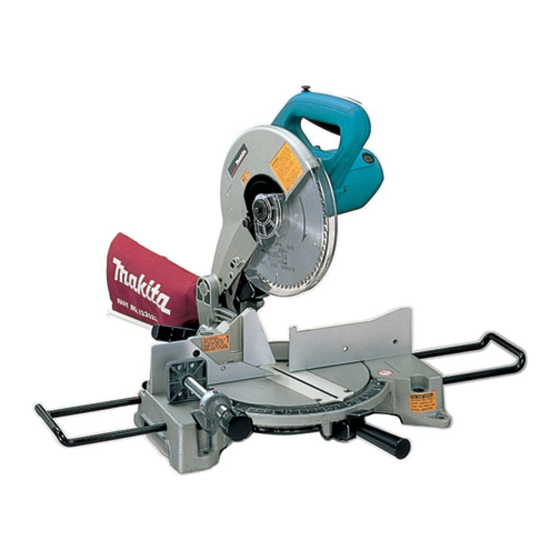
- Page 1 INSTRUCTION MANUAL Compound Miter Saw LS1045 011890 DOUBLE INSULATION IMPORTANT: Read Before Using.
-
Page 2: Specifications
ENGLISH (Original instructions) SPECIFICATIONS Model LS1045 Blade diameter 255 mm -260 mm Hole diameter 25.4 mm and 25 mm Max. Cutting capacities (H x W) with blade 260 mm in diameter Miter angle Bevel angle 0° 45° (left and right) -
Page 3: Additional Safety Rules For Tool
Guard against electric shock. 16. Remove adjusting keys and wrenches. Avoid body contact with earthed or grounded Form the habit of checking to see that keys and surfaces (e.g. pipes, radiators, ranges, adjusting wrenches are removed from the tool refrigerators). before turning it on. - Page 4 operations. Never use your hand to secure the 28. Connect miter saws to a dust collecting device workpiece. when sawing. Never reach around saw blade. 29. Select saw blades in relation to the material to Turn off tool and wait for saw blade to stop be cut.
-
Page 5: Installation
Do not remove spring holding blade guard. If guard becomes discolored 1. Bolt through age or UV light exposure, contact a Makita service center for a new guard. DO NOT DEFEAT OR REMOVE GUARD. -
Page 6: Adjusting The Bevel Angle
points to the desired angle on the miter scale, securely Maintaining maximum cutting capacity tighten the grip clockwise. 1. Adjusting bolt CAUTION: 2. Socket wrench When turning the turn base, be sure to raise the • handle fully. After changing the miter angle, always secure the •... - Page 7 Return tool to a Makita service of the blade matches the direction of the arrow on the center for proper repairs BEFORE further usage.
-
Page 8: Securing Workpiece
1. Sub-fence NOTE: If you connect a Makita vacuum cleaner to your saw, more efficient and cleaner operations can be performed. Securing workpiece WARNING: It is extremely important to always secure the •... -
Page 9: Operation
Position the vise arm according to the thickness and CAUTION: shape of the workpiece and secure the vise arm by Grip the workpiece only when the projection is at • tightening the screw. If the screw to secure the vise arm the topmost position. - Page 10 without significant decrease in blade speed. CAUTION: Gently press down the handle to perform the cut. If • Always be sure that the blade will move down to • the handle is pressed down with force or if lateral bevel direction during a bevel cut. Keep hands out force is applied, the blade will vibrate and leave a of path of saw blade.
-
Page 11: Carrying Tool
Carrying tool Wood facing Use of wood facing helps to assure splinter-free 1. Stopper pin cuts in workpieces. Attach a wood facing to the guide fence using the holes in the guide fence. See the figure concerning the dimensions for a suggested wood facing. -
Page 12: Adjusting The Cutting Angle
turn base two or three revolutions clockwise Adjusting the cutting angle to tilt the blade to the right. This tool is carefully adjusted and aligned at the factory, Carefully square the side of the blade with the but rough handling may have affected the alignment. If top surface of the turn base using the your tool is not aligned properly, perform the following: triangular rule, try-square, etc. -
Page 13: Replacing Carbon Brushes
Only use accessory or attachment for its stated purpose. If you need any assistance for more details regarding these accessories, ask your local Makita Service Center. Steel & Carbide-tipped saw blades • Vise assembly (Horizontal vise) • Vertical vise... - Page 16 Makita Corporation www.makita.com 884142A979...