Makita LS1040 Instruction Manual
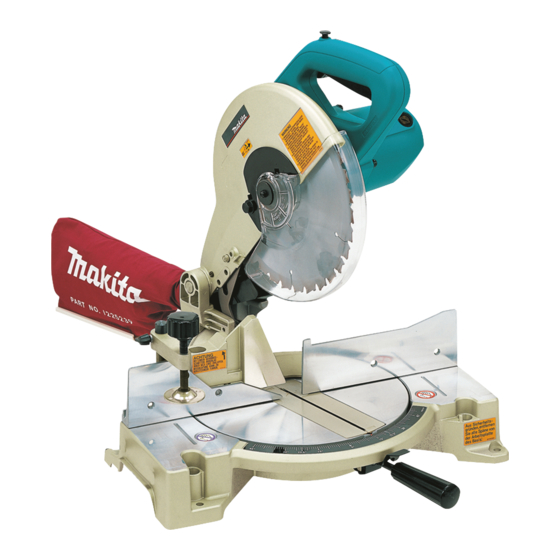
Compound miter saw
Hide thumbs
Also See for LS1040:
- User manual ,
- Instruction manual (113 pages) ,
- Parts breakdown (5 pages)
Advertisement
Table of Contents
- 1 Specifications
- 2 Additional Safety Rules for Tool
- 3 Installation
- 4 Bench Mounting
- 5 Functional Description
- 6 Adjusting the Bevel Angle
- 7 Adjusting the Miter Angle
- 8 Switch Action
- 9 Securing Workpiece
- 10 Operation
- 11 Carrying Tool
- 12 Maintenance
- 13 Adjusting the Cutting Angle
- 14 Replacing Carbon Brushes
- 15 After Use
- Download this manual
See also:
Instruction Manual
Advertisement
Table of Contents

Related Manuals for Makita LS1040


Summary of Contents for Makita LS1040
- Page 1 INSTRUCTION MANUAL Compound Miter Saw LS1040 LS1040S 001854 DOUBLE INSULATION WARNING: For your personal safety, READ and UNDERSTAND before using. SAVE THESE INSTRUCTIONS FOR FUTURE REFERENCE.
-
Page 2: Specifications
ENGLISH (Original instructions) SPECIFICATIONS Model LS1040 / LS1040S Blade diameter 255 mm -260 mm Hole diameter For all countries other than European countries 25.4 mm and 25 mm For European countries 30 mm Max. Cutting capacities (H x W) with blade 260 mm in diameter... - Page 3 Makita Corporation responsible high or locked up place, out of reach of children. manufacturer declare that the following Makita Do not force the tool. machine(s): It will do the job better and safer at the rate for Designation of Machine: Compound Miter Saw which it was intended.
-
Page 4: Additional Safety Rules For Tool
working outdoors. Wear protecting hair covering instruction manual. Have defective switches to contain long hair. replaced by an authorized service facility. Do not Use safety glasses and hearing protection. use the tool if the switch does not turn it on and Also use face or dust mask if the cutting operation off. -
Page 5: Installation
14. Make sure that the turn base is properly secured specially designed to filter out microscopic so it will not move during operation. particles. 15. For your safety, remove the chips, small pieces, 34. To reduce the emitted noise, always be sure etc. -
Page 6: Functional Description
Do not 1. Bolt remove spring holding blade guard. If guard becomes discolored through age or UV light exposure, contact a Makita service center for a new guard. DO NOT DEFEAT OR REMOVE GUARD. 1. Blade guard 001856... -
Page 7: Adjusting The Bevel Angle
Maintaining maximum cutting capacity Loosen the grip by turning counterclockwise. Turn the 1. Socket wrench turn base while pressing down the lock lever. When you 2. Adjusting bolt have moved the grip to the position where the pointer points to the desired angle on the miter scale, securely tighten the grip clockwise. - Page 8 Always be sure that the tool is switched off and • unplugged before installing or removing the blade. Use only the Makita socket wrench provided to • install or remove the blade. Failure to do so may result in overtightening or insufficient tightening of the hex bolt.
-
Page 9: Securing Workpiece
001787 NOTE: CAUTION: If you connect a Makita vacuum cleaner to your saw, For all countries other than European countries more efficient and cleaner operations can be performed. 1. Spindle Securing workpiece 2. - Page 10 This tool is equipped with the sub-fence. It should be Horizontal vise (optional accessory) positioned as shown in the figure. 1. Vise knob 2. Projection CAUTION: 3. Vise shaft When performing left bevel cuts, flip the fence over 4. Base •...
-
Page 11: Operation
When cutting long workpieces, use the holder-rod THE BLADE HAS COME TO A COMPLETE STOP assembly (optional accessory). It consists of two holder before returning the blade to its fully elevated assemblies and two rods 12. position. Miter cutting 1. Holder Refer to the previously covered "Adjusting the assembly miter angle". -
Page 12: Carrying Tool
When the wood facing is attached, do not turn the • Miter angle Bevel angle turn base with the handle lowered. The blade Left and Right 0 - 45 and/or the wood facing will be damaged. 006366 Cutting repetitive lengths When performing compound cutting, refer to 1. -
Page 13: Maintenance
1. Triangular rule 2. Grip 3. Guide fence 002259 001774 Bevel angle CAUTION: 0° bevel angle Always secure all moving portions before carrying • the tool. 1. Arm 2. Lever Stopper pin is for carrying and storage purposes • 3. 0 ゚ adjusting only and not for any cutting operations. -
Page 14: Replacing Carbon Brushes
45°. If you need any assistance for more details regarding Replacing carbon brushes these accessories, ask your local Makita Service Center. Steel & Carbide-tipped saw blades • 1. Limit mark Auxiliary plate •... - Page 16 Makita Corporation Anjo, Aichi, Japan 884085E228...