
Related Manuals for Makita XCV02 Series


Summary of Contents for Makita XCV02 Series
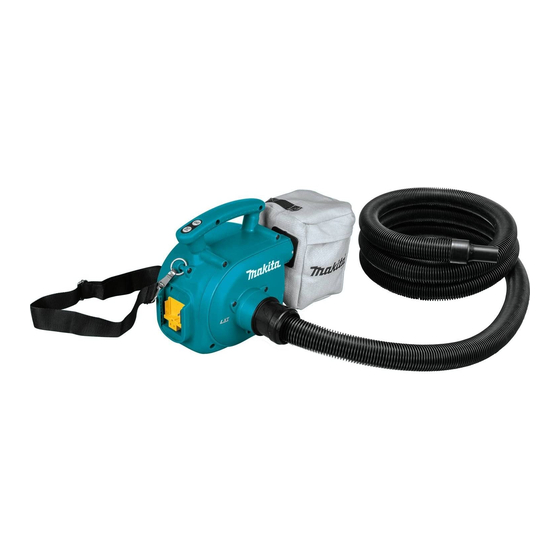
- Page 1 INSTRUCTION MANUAL MANUAL DE INSTRUCCIONES Cordless Vacuum Cleaner Aspiradora Inalámbrica XCV02 IMPORTANT: Read Before Using. IMPORTANTE: Lea antes de usar.
-
Page 2: Specifications
ENGLISH (Original instructions) SPECIFICATIONS Model XCV02 Capacity Volume 3.0 L (0.79 gal.) Max. Air volume 3.4 m /min (120 cu.ft/min) Continuous use (Approx.) HIGH 7 min (with BL1815N) 8 min (with BL1820B) 13 min (with BL1830 / BL1830B) 18 min (with BL1840B) 21 min (with BL1850B) 26 min (with BL1860B) 14 min (with BL1815N) - Page 3 Do not use with damaged battery. When battery pack is not in use, If appliance is not working as it keep it away from other metal should, has been dropped, dam- objects, like paper clips, coins, aged, left outdoors, or dropped into keys, nails, screws or other small water, return it to a service center.
-
Page 4: Additional Safety Rules
ADDITIONAL never point the nozzle at anyone • in the vicinity; SAFETY RULES Keep all nuts, bolts and screws • tight to be sure the cleaner is in safe working condition; Read this instruction manual and Store the cleaner only in a dry place; •... -
Page 5: Functional Description
If not, it may causing fires, personal injury and damage. It will accidentally fall out of the cleaner, causing injury also void the Makita warranty for the Makita tool and to you or someone around you. charger. -
Page 6: Battery Protection System
Press the check button on the battery cartridge to indi- Battery protection system cate the remaining battery capacity. The indicator lamps light up for few seconds. The cleaner is equipped with the protection system, which automatically cuts off the output power for its long service life. Indicator lamps The cleaner stops during operation when the cleaner Remaining... -
Page 7: Installing Dust Bag
Tighten the ring inside the dust bag firmly so Installing dust bag that the pins and the ring are positioned as shown in the figure. ► 1. Dust outlet 2. Dust bag joint 3. Pins 4. Dust bag Hold the square section of the dust bag joint and fit the pins inside the dust bag joint to the notches in the dust ►... -
Page 8: Operation
Adjusting the shoulder strap Replacing the front cuff Change the front cuff of the hose according to the dust outlet size of a power tool you use. ► 1. Pull out 2. For shortening 3. For extending To adjust the length of the shoulder strap, pull it out to ►... - Page 9 Using as a blower When using the cleaner as a portable cleaner, cross-hanging the shoulder strap before the breast is difficult to drop the cleaner. ► 1. Outlet (air vent) 2. Nozzle 3. Pin Install the nozzle onto the outlet (air vent) without fail. To install the nozzle, fit the pin protruding from the inside of nozzle to one of the cleaner notches and then turn the nozzle clockwise securely.
-
Page 10: Maintenance
Discoloration, deformation or cracks may result. To maintain product SAFETY and RELIABILITY, repairs, any other maintenance or adjustment should be performed by Makita Authorized or Factory Service Centers, always using Makita replacement parts. OPTIONAL ACCESSORIES Open the fastener and dispose of the dust. - Page 11 Some items in the list may be included in the tool package as standard accessories. They may differ from country to country. MAKITA LIMITED WARRANTY Please refer to the annexed warranty sheet for the most current warranty terms applicable to this product.
-
Page 12: Especificaciones
ESPAÑOL (Instrucciones originales) ESPECIFICACIONES Modelo XCV02 Capacidad Volumen 3,0 L (0,79 gal) Volumen de aire máximo 3,4 m /min (120 cu.ft/min) Uso continuo (Aprox.) Alta 7 min (con BL1815N) 8 min (con BL1820B) 13 min (con BL1830 / BL1830B) 18 min (con BL1840B) 21 min (con BL1850B) 26 min (con BL1860B) Baja... - Page 13 Utilícelo solamente como se describe Recargue sólo con el cargador en este manual. Sólo use aditamen- especificado por el fabricante. Un tos recomendados por el fabricante. cargador que es adecuado para un solo tipo de paquete de baterías puede No lo utilice con una batería dañada. generar riesgo de incendio al ser utili- Si el aparato no está...
-
Page 14: Reglas De Seguridad Adicionales
Pida que el servicio lo realice un Tal acción podría ocasionar un incen- técnico en reparaciones calificado dio, lesiones y/o daños materiales. y que utilice únicamente piezas de Detenga la operación de inmediato repuesto idénticas a las originales. si nota algo anormal. Esto garantizará... - Page 15 Asimismo, esto inva- Un cortocircuito en la batería lidará la garantía de Makita para la herramienta y el puede causar un flujo grande de cargador Makita. corriente, sobrecalentamiento, Consejos para alargar al máximo...
-
Page 16: Descripción Del Funcionamiento
• Cuando las celdas de la batería se calientan DESCRIPCIÓN DEL (refiérase a la nota a continuación): El motor permanecerá detenido, en cual- FUNCIONAMIENTO quier operación del botón de activación “HIGH/LOW” y el botón de apagado “OFF”. En este momento, descontinúe el uso de PRECAUCIÓN: la aspiradora y deje que se enfríe, o recar- •... - Page 17 Instalación de la bolsa para polvo Luces indicadoras Capacidad restante Encendido APAGADO Intermitencia 75% a 100% 50 % a 75 % 25% a 50% 0 % a 25 % Recargue la batería. ► 1. Salida para el polvo 2. Junta de la bolsa recolec- Puede que haya tora 3.
-
Page 18: Conexión De La Manguera
Apriete el aro en el interior de la bolsa reco- Ajuste de la correa para hombro lectora con firmeza de tal forma que las clavijas y el aro queden orientados como se ilustra en la figura. ► 1. Sacar 2. Para acortar 3. Para alargar Para ajustar la longitud de la correa para hombro, ►... -
Page 19: Operación
Cambio de la boca delantera Aspiradora Cambie la boca delantera de la manguera de acuerdo al tamaño de la entrada de la bolsa recolectora de la herramienta que use. ► 1. Boca delantera 2. Manguera 3. Extraer 4. Instalar Para quitar la boca delantera, sujete la manguera y gire en dirección contrario a las agujas del reloj. - Page 20 Coloque la boquilla en la salida (ventilación de aire) con NOTA: precisión. • Puede que se ocasione obstrucción de la Para instalar la boquilla, ajuste la clavija protuberante succión que puede atascarse en la manguera desde el interior de la boquilla en una de la ranuras de al usar papel decorativo de corte largo con la la aspiradora y luego gire la boquilla en sentido de las intención de producir un entablillado depen-...
-
Page 21: Mantenimiento
Abra el sujetador y elimine el polvo. ducto, las reparaciones, y cualquier otra tarea de man- tenimiento o ajuste deberán ser realizadas en Centros PRECAUCIÓN: de Servicio Autorizados por Makita, empleando siempre • Elimine todos los residuos que hayan quedado repuestos Makita. -
Page 22: Accesorios Opcionales
• Estos accesorios o aditamentos (incluidos o no) están recomendados para utilizarse con su aspiradora Makita que se especifica en este manual. El empleo de cualquier otro accesorio o aditamento puede conllevar el riesgo de lesio- nes personales. Use solamente accesorios o aditamentos para su propósito designado. - Page 24 Para reducir la exposición a estos productos químicos: trabaje en un área bien ventilada y póngase el equipo de seguridad indicado, tal como las máscaras contra polvo que están especialmente diseñadas para filtrar partículas microscópicas. Makita Corporation 3-11-8, Sumiyoshi-cho, 885299-931 Anjo, Aichi 446-8502 Japan...