Table of Contents
Advertisement
Advertisement
Table of Contents

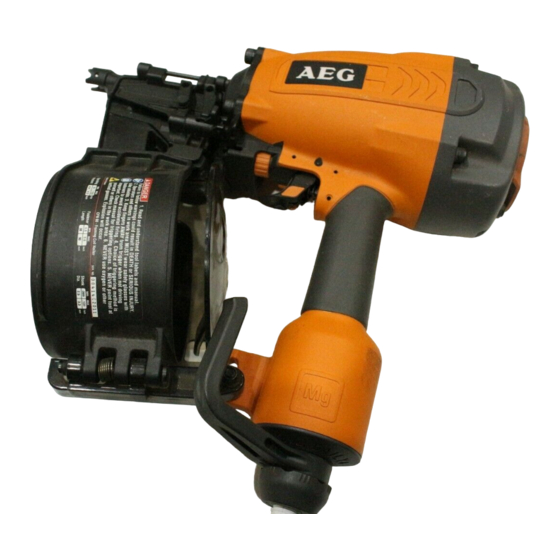
Summary of Contents for AEG CFN90
- Page 1 CFN90 FRAMING COIL NAILER ORIGINAL INSTRUCTIONS...
- Page 2 Fig. 1 Fig. 2 Fig. 3 Fig. 5 Fig. 4...
- Page 3 Fig. 6 Fig. 8 Fig. 7 Fig. 9 Fig. 10 Fig. 11 Fig. 12...
- Page 4 Fig. 13 Fig. 14 Fig. 15 Fig. 16 Fig. 17 Fig. 18 Fig. 19 Fig. 20 Fig. 21...
- Page 5 Important! It is essential that you read the instructions in this manual before operating this machine. Subject to technical modifications.
-
Page 6: General Safety Warnings
g. Do not overreach. Keep proper footing and GENERAL SAFETY WARNINGS balance at all times. Proper footing and balance enables better control of the tool in unexpected situations. DANGER h. Use safety equipment. Always wear eye READ AND UNDERSTAND TOOL LABELS AND protection. -
Page 7: Operation
tool. Following this rule will reduce the risk of serious tool is in operation as accidental actuation may injury. occur, possibly causing injury. ■ Choice of triggering method is important. Check ■ Always wear safety glasses with side shields manual for triggering options. marked to comply with ANSI Z87.1. -
Page 8: Product Specifications
fitting is used, the tool can remain charged with air Air Inlet 3/8 in. NPT after disconnecting and thus will be able to drive a fastener even after the air line is disconnected, Weighted sound 96.5 dB(A) possibly causing injury. impulse power level ■... - Page 9 DEPTH OF DRIVE ADJUSTMENT ■ Inspect the tool carefully to make sure no breakage or damage occurred during shipping. The tool-free depth of drive adjustment lets you select precise driving depth of the fastener. ■ Do not discard the packing material until you have carefully inspected and satisfactorily operated the EZ LOAD™...
-
Page 10: Preparing The Tool For Use
WARNING WARNING Always wear eye protection. Eye protection does Disconnect the tool from the air supply before leaving not fit all operators in the same way. Make sure the the work area, moving the tool to another location, or eye protection chosen has side shields or provides handing the tool to another person. -
Page 11: Adjusting The Offset Magazine
supply line and fittings are required. points down. Uncoil about 7 cm of nails from the coil of framing nails. ADJUSTING THE OFFSET MAGAZINE 5. Close the magazine. The feeder cover should remain open. See figure 7 - 8. 6. Insert the first nail into the nail chamber. The first nail The EZ Load™... -
Page 12: Clearing A Jammed Fastener
NOTE: The trigger lever pivot pin is spring loaded and 4. Drive a test nail after each adjustment until the held in position by locking tab to prevent movement desired depth is set. during operation. WARNING 5. Reconnect the tool to the air supply. 6. -
Page 13: General Maintenance
trace the air supply from the tool to the supply source WARNING for restrictive connectors, low points containing water and Always wear eye protection with side shields marked anything else that would prevent full volume flow of air to the tool. to comply with ANSI Z87.1. - Page 14 To remove the wire deflector: 1. Remove the pin that holds the deflector on the tool. 2. Using a 10 mm wrench, hold the nut in place. With a 5 mm hex key, loosen and remove the bolt. 3. Remove and discard the wire deflector. NOTE: There is a gasket attached to the wire deflector where the nut screws onto the bolt.
-
Page 15: Troubleshooting
TROUBLESHOOTING PROBLEM CAUSE POSSIBLE SOLUTION Air leak near the top of the tool Loose screws Tighten screws or in the trigger area Worn or damaged O-rings or seals Install overhaul kit Air leak near the bottom of the Loose screws Tighten screws tool Worn or damaged O-rings or bumper...


