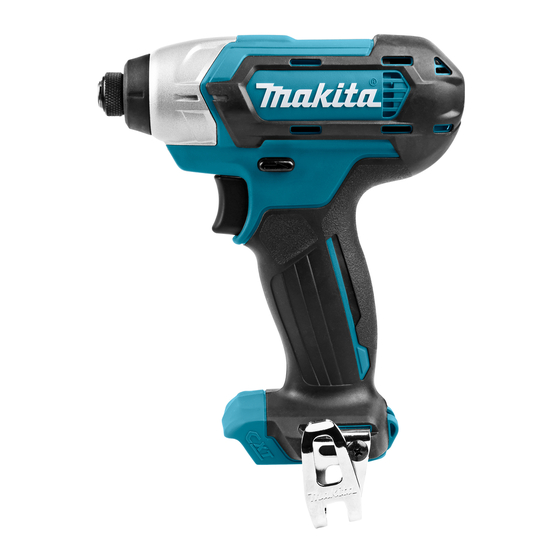
Makita TD110D Instruction Manual
Cordless impact driver
Hide thumbs
Also See for TD110D:
- Instruction manual (73 pages) ,
- Instruction manual (61 pages) ,
- Instruction manual (19 pages)
Table of Contents
Advertisement
Quick Links
Advertisement
Table of Contents

Summary of Contents for Makita TD110D
- Page 1 INSTRUCTION MANUAL Cordless Impact Driver TD110D Read before use.
-
Page 2: Specifications
EC Declaration of Conformity ronmentally compatible recycling facility. Intended use For European countries only Makita declares that the following Machine(s): The tool is intended for screw driving in wood, metal Designation of Machine: Cordless Impact Driver and plastic. Model No./ Type: TD110D... -
Page 3: General Power Tool Safety Warnings
Remove any adjusting key or wrench before General power tool safety warnings turning the power tool on. A wrench or a key left attached to a rotating part of the power tool may WARNING: result in personal injury. Read all safety warnings and all Do not overreach. -
Page 4: Functional Description
liquid contacts eyes, additionally seek medical A battery short can cause a large current help. Liquid ejected from the battery may cause flow, overheating, possible burns and even a breakdown. irritation or burns. Service Do not store the tool and battery cartridge in Have your power tool serviced by a qualified locations where the temperature may reach or repair person using only identical replacement exceed 50 °C (122 °F). -
Page 5: Battery Protection System
1. Red indicator 2. Button 3. Battery cartridge 1. Indicator lamps 2. Check button To remove the battery cartridge, slide it from the tool Press the check button on the battery cartridge to indi- while sliding the button on the front of the cartridge. cate the remaining battery capacity. - Page 6 A side for clockwise rotation or from the B side for coun- Lighting up the front lamp terclockwise rotation. When the reversing switch lever is in the neutral posi- tion, the switch trigger cannot be pulled. ASSEMBLY CAUTION: Always be sure that the tool is switched off and the battery cartridge is removed before carrying out any work on the tool.
-
Page 7: Operation
1. Groove 2. Hook 3. Screw The hook is convenient for temporarily hanging the tool. This can be installed on either side of the tool. To install the hook, insert it into a groove in the tool housing on either side and then secure it with a screw. To remove, loosen the screw and then take it out. -
Page 8: Using Holster
Proper fastening torque for high tensile bolt Using holster Optional accessory N•m (kgf•cm) CAUTION: When using the holster, remove a driver bit/drill bit from the tool. (1020) CAUTION: Turn off the tool and wait until it comes to a complete stop before placing it in the holster. -
Page 9: Maintenance
Never use gasoline, benzine, thinner, alcohol or the like. Discoloration, deformation or cracks may result. To maintain product SAFETY and RELIABILITY, repairs, any other maintenance or adjustment should be performed by Makita Authorized or Factory Service Centers, always using Makita replacement parts. OPTIONAL ACCESSORIES CAUTION: These accessories or attachments are recommended for use with your Makita tool specified in this manual. - Page 12 Makita Jan-Baptist Vinkstraat 2, 3070, Belgium Makita Corporation Anjo, Aichi, Japan 885438-921 www.makita.com 20150428...


