
Related Manuals for Barbeques Galore MC2CBL


Summary of Contents for Barbeques Galore MC2CBL
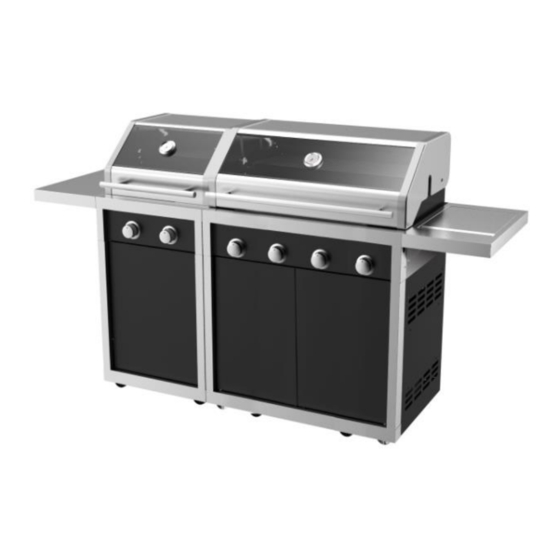
- Page 1 WELCOME TO THE WORLD OF BARBEQUES GALORE OUTDOOR COOKING INSTRUCTIONS FOR ASSEMBLY AND USE OF CORDON BLEU L2-SERIES BARBEQUE CARTS For the safe use and enjoyment of your new barbeque. For Models: MC2CBL, MC4CBL Page 1...
- Page 2 Contents List 1 x right side panel 1 x left side panel 1 x base shelf 1 x rear panel (CP9095528+CP9095530) (CP909905528+CP9095530) 2B (CP9095529) 2B(CP9095531+CP9095532) 4B (CP9095579) 4B(CP9095581+CP9095582) 2 x castors with lock (each 2 x castors without lock 1 x Left side door bracket 1 x right side door with 1 x M10 Nut) (each with 1 x M10 Nut)
-
Page 3: Assembly Instructions
Assembly Instructions STEP 1: Attach the castors WHAT YOU NEED 2 x Castors with lock (each with M10 nut) 2 x Castors without lock (each with M10 nut) 4 x M10 Flat Washers 4 x M10 Spring Washers Castor with lock Castor without lock (a) Remove the M10 nuts, then screw the 4 castors onto the underside of the base shelf (2 castors without lock at the front and 2 castors with lock at the back). - Page 4 Assembly Instructions (continued) STEP 2: Fit the anti-tilt feet (For the 2B stand alone only – ignore for 6B or for 4B stand alone) WHAT YOU NEED 4 x springs 4 x support plate 4 x M6 nuts For the 2B barbeque on cart as a stand-alone unit, the anti-tilt feet need to be extended as in above image.
- Page 5 Assembly Instructions (continued) STEP 3: Attach the side panels WHAT YOU NEED 6 X M6*15mm Round Head Screws (4B) 6 X M6*15mm Round Head Screws (2B) a) Position 2 side panels onto the base shelf, and fix in place with M6x15mm screws. b) Lock the two "L"...
- Page 6 Assembly Instructions (continued) STEP 4: Attach the rear panel WHAT YOU NEED 6 X M6*15mm screws Using a M6 screw, secure the rear panel. You do not need any nuts – the screws go into the The threaded holes in the base shelf or the side panel.
- Page 7 Assembly Instructions (continued) STEP 6: Attach the doors Start by locating the door lower pin into the hole in the base panel. Swing the top of the door into position near the upper door bracket. Push the hinge pin down and allow it to the spring back into the hole in the upper bracket The door alignment can be changed by adjusting the lower pin height.
- Page 8 Assembly Instructions (continued) STEP 7: If purchased, fit the optional slide out drawer WHAT YOU NEED 8 X M6*15mm screws 8 x M6 flange nuts 1 X Slide out drawer Follow the instructions with the bbq to connect and fit a gas cylinder where required.
- Page 9 Assembly Instructions (continued) STEP 8: If purchased, fit the optional storage rack. For units that do not require gas cylinders, the racks can fit in place of the optional slide out drawer. The racks can also fit onto the optional slide out drawer to create a slide out storage rack system. In the large size cart, the racks and drawers can fit either or both sides of the cart.
- Page 10 Fine tune as required, then tighten all the lock nuts firmly to fix the castor height. Need More Information? You can call your local Barbeques Galore store where barbeque experts will be happy to help you. Phone 1 300 301 392 Or visit us online at: www.barbequesgalore.com.au...
Need help?
Do you have a question about the MC2CBL and is the answer not in the manual?
Questions and answers