
Related Manuals for GE BK MEDICAL 8815 Series


Summary of Contents for GE BK MEDICAL 8815 Series
- Page 1 User Guide Type 8815 Intraoperative Transducer English BB1312-N April 2023 For Professional Users Only...
- Page 2 BK MEDICAL Mileparken 34 2730 Herlev Denmark Tel.:+45 4452 8100 / Fax:+45 4452 8199 www.bkmedical.com Email: info@bkmedical.com If you have comments about the user documentation, please write to us at the email address above. We would like to hear from you. BK Medical Customer Satisfaction Input from our customers helps us improve our products and services.
-
Page 3: Table Of Contents
Contents Introduction ............5 Indications for Use . -
Page 5: Introduction
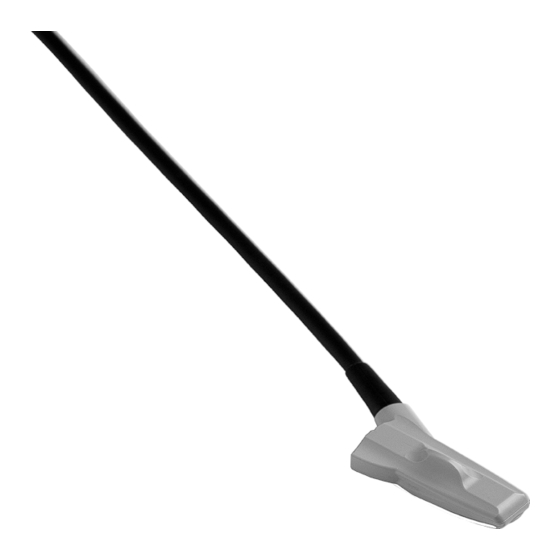
Introduction This is the user guide for Intraoperative Transducer Type 8815 and must be used together with Care, Cleaning & Safety which contains important safety information. Figure 1. Intraoperative Transducer Type 8815. Indications for Use 8815 is an intraoperative transducer (for Breast, Liver, Pancreas, Biliary system and Kidney, including Pediatric application) suitable for ultrasound- guided interventional procedures. -
Page 6: General Information
General Information Product specifications for this transducer can be found in the Product Data sheet that accompanies this user guide. Acoustic output data and data about EMC (electromagnetic compatibility) for this transducer are in Technical Data (BZ2100) that accompanies this user guide. A full explanation of acoustic output data is given in your scanner user guide. -
Page 7: Starting Scanning
WARNING Users of this equipment have an obligation and responsibility to provide the highest degree of infection control possible to patients, co-workers and themselves. To avoid cross contamination, follow all infection control policies for personnel and equipment that have been established for your office, department, or hospital. Starting Scanning All equipment must be cleaned and disinfected before use. -
Page 8: Changing Orientation
Note: For Intraoperative Applications Apply sterile gel to the tip of the transducer or fill the cover with 1 to 2ml of sterile water. This improves the screen images by preventing image artifacts caused by air bubbles. Pull the transducer cover over the transducer. WARNING Use only water-soluble agents or gels. -
Page 9: Single-Use Needle Guide Ua1336
Single-Use Needle Guide UA1336 Wire clip Needle guide insert Needle guide Figure 4. Needle guide UA1336 assembled with 3-angle insert. Needle guide UA1336 is supplied together with two needle guide insert palettes. Each palette contains a set of 9 needle guide inserts, one 3-angle and one free-angle. Figure 5. -
Page 10: Sterile Needle Guide Ua1336
The puncture line pattern is shown in Figure 6 The distance between the guide channel of the needle guide to the first dot on the scan image puncture line is 12- 15mm depending on which angle is chosen. The distance between the dots is 5 mm. blind spot Figure 6. -
Page 11: Assembling The Needle Guide And Mounting It On The Transducer
Assembling the Needle Guide and Mounting it on the Transducer Apply a small amount of scanning gel to the tip of the transducer and carefully cover the transducer with a sterile cover (for readability, the transducer here is shown without transducer cover). Select the required needle guide insert by breaking it off the palette. -
Page 12: Performing Puncture And Biopsy
WARNING If the needle guide is detached from the transducer during interventional procedures, cover the transducer with a new transducer cover before reattaching the needle guide.. Performing Puncture and Biopsy WARNING It is essential for the patient’s safety that only the correct needle guide, as described in this guide, are used. -
Page 13: Rf And Microwave Ablation
WARNING If the needle guide is detached from the transducer during interventional procedures, cover the transducer with a new transducer cover. To remove the puncture line from the scan image, refer to the applicable scanner user guide for instructions. RF and Microwave Ablation When performing RF or Microwave ablation, you must always follow the instructions provided by the manufacturer of the ablation equipment. - Page 14 April-2023 8815 User Guide (BB1312-N)