Honeywell Thor VM1 Instruction Manual
Field replaceable front panel
Hide thumbs
Also See for Thor VM1:
- Reference manual (324 pages) ,
- User manual (272 pages) ,
- Quick start manual (17 pages)
Advertisement
Quick Links
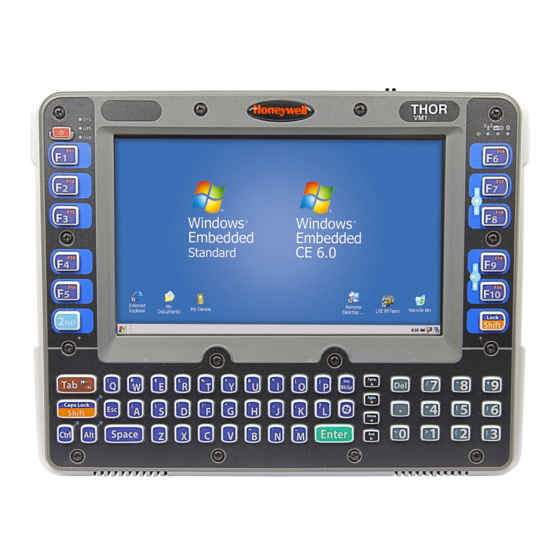
Thor VM1 Field Replaceable Front Panel
The front panel of the Thor VM1 is field replaceable. The front panel assembly contains the keyboard, touchscreen and optional
defroster. Should any of these components fail, the front panel assembly can easily be replaced to minimize downtime. The replacement
front panel is available in several configurations.
Requirements - User Supplied
• Torquing tool capable of measuring inch pounds
• #2 Phillips screwdriver bit
Replacing Front Panel
1.
If the Thor VM1 has a Windows CE operating system, place the Thor VM1 in Suspend by pressing the Power button on the front of
the Thor VM1. If the Thor VM1 has a Windows Embedded Standard operating system, select Shut Down from the Windows Shut
Down menu.
2.
Remove the Thor VM1 from the Quick Mount Smart Dock by pulling
down on the red quick release handle, lifting the bottom of the Thor VM1
away from the dock, and lifting the Thor VM1 up and away from the
dock.
3.
Place the Thor VM1 face down on a clean, well lit stable surface.
4.
Use a #2 Phillips bit to loosen the captive M3 screws
on the tethered access panel with the SIM label.
164007-0001 Rev C 1/13
© 2011-2013 Honeywell International Inc. All Rights Reserved.
SIM Label
Page 1
Advertisement

Related Manuals for Honeywell Thor VM1


Summary of Contents for Honeywell Thor VM1
- Page 1 Replacing Front Panel If the Thor VM1 has a Windows CE operating system, place the Thor VM1 in Suspend by pressing the Power button on the front of the Thor VM1. If the Thor VM1 has a Windows Embedded Standard operating system, select Shut Down from the Windows Shut Down menu.
- Page 2 Use a #2 Phillips bit to loosen the fourteen (14) captive M3 screws that hold on the front panel. Carefully lift the front panel away from the device. 164007-0001 Rev C 1/13 © 2011-2013 Honeywell International Inc. All Rights Reserved. Page 2...
- Page 3 10. Position the replacement front panel so the tab on the back of the front panel lines up with the slot on the Thor VM1. Be sure the two wiring connectors are also aligned. Wiring Connector Slot Wiring Connector Thor VM1 with Front Panel Removed Back of Thor VM1 Front Panel 11.
- Page 4 164007-0001 Rev C 1/13 © 2011-2013 Honeywell International Inc. All Rights Reserved. Page 4...