Table of Contents
Advertisement
Quick Links
Advertisement
Table of Contents

Related Manuals for HIKVISION AE-VC1B11-ISF


Summary of Contents for HIKVISION AE-VC1B11-ISF
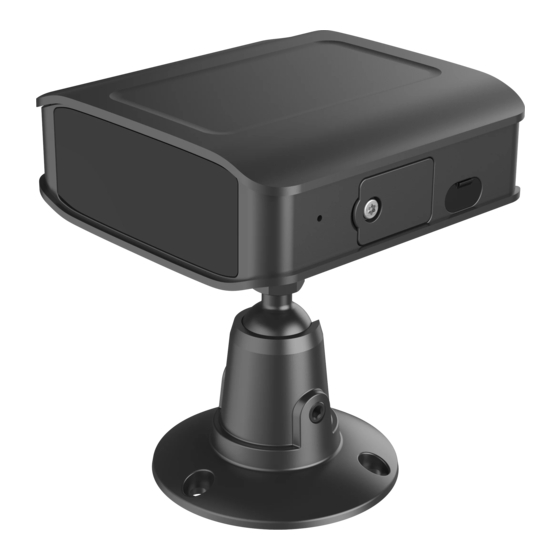
- Page 1 Mobile Network Camera Installation Guide...
- Page 2 The Manual includes instructions for using and managing the Product. Pictures, charts, images and all other information hereinafter are for description and explanation only. The information contained in the Manual is subject to change, without notice, due to firmware updates or other reasons. Please find the latest version of this Manual at the Hikvision website (https://www.hikvision.com/).
- Page 3 Mobile Network Camera • Installation Guide Regulatory Information FCC Information Please take attention that changes or modification not expressly approved by the party responsible for compliance could void the user’s authority to operate the equipment. FCC Compliance This equipment has been tested and found to comply with the limits for a Class A digital device, pursuant to part 15 of the FCC Rules.
- Page 4 Mobile Network Camera • Installation Guide The symbols that may be found in this document are defined as follows. Symbol Description Provides additional information to emphasize or supplement important points of the main text. Indicates a potentially hazardous situation, which if not avoided, could result in equipment damage, data loss, performance degradation, or unexpected results.
-
Page 5: Table Of Contents
Mobile Network Camera • Installation Guide TABLE OF CONTENTS Chapter 1 Usage Instructions ...................... 5 Packing List................................5 Left Panel ................................6 Right Panel ................................6 Back Panel ................................7 Cable Description ..............................8 Chapter 2 Installation ......................... 9 Preparations................................9 2.1.1 Installation Environment.......................... -
Page 6: Chapter 1 Usage Instructions
Mobile Network Camera • Installation Guide Chapter 1 Usage Instructions Packing List Please check the package of the camera for damages. After opening the package, please check the whether all the items are complete according to the table shown bellow. When all items are complete, the camera is ready for installation. -
Page 7: Left Panel
Mobile Network Camera • Installation Guide M3 Hexagon Wrench QUG and QSG Left Panel The left panel and its interfaces are shown in the follows. Left Panel Left Panel Interface Interface Name Description Indicator Power light being red steady, the camera power is normal. Amplifier Send alarm and the announcement from the platform Right Panel... -
Page 8: Back Panel
Mobile Network Camera • Installation Guide Right Panel Right Panel Interface Interface Name Description Connected to the back end as an intercom device TF Card Slot Local storage Type-C Interface For professionals to calibrate the camera Back Panel The back panel and its interfaces are shown in the follows. The I/O interface is for power and network connection. -
Page 9: Cable Description
Mobile Network Camera • Installation Guide Cable Description Two types of cables are available for the camera, as shown in the follows. Please refer to the actual device. Optional Cable Type I Optional Cable Type II Power Interface: the camera support 9-36 V power supply. Type I is DC power interface and Type II is Molex interface. -
Page 10: Chapter 2 Installation
Mobile Network Camera • Installation Guide Chapter 2 Installation Preparations When unpacking and wiring the camera, make sure that the power is off. Before installation, first survey and inspect the installation site and the wires to secure the safety and steadiness of the power and wire. ... -
Page 11: Adjust The Camera Angle
Mobile Network Camera • Installation Guide TF Card Slot Insert the TF card slowly into the slot until hearing the “tick” sound. Restore the TF card cover to complete the installation. Fix the camera base tentatively and open the Preview function in the browser. Pre-position: aim the camera at the driver’s seat and adjust the camera left and right, until the middle of the seat appears in the middle of the image. -
Page 12: Fix The Camera
Mobile Network Camera • Installation Guide Drill holes in the chosen position and align the camera with the holes. Tighten the screws and finally make sure that the image of camera meet the following requirements: The middle of the seat appear in the middle of the image. ...