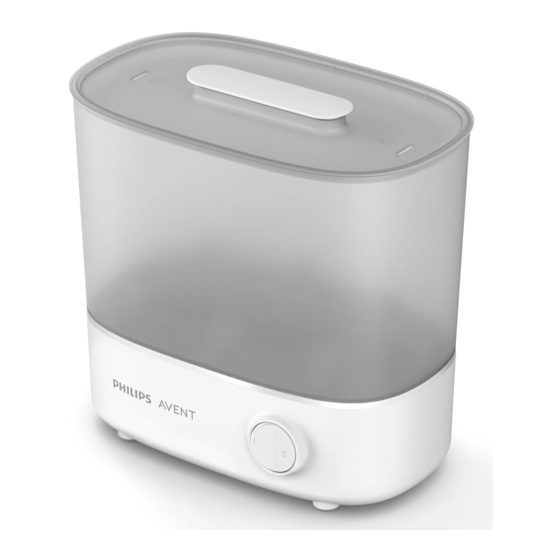
Philips AVENT SCF291 User Manual
Hide thumbs
Also See for AVENT SCF291:
- Manual (355 pages) ,
- User manual (169 pages) ,
- Manual (113 pages)
Table of Contents
Advertisement
Quick Links
Advertisement
Table of Contents

Summary of Contents for Philips AVENT SCF291
- Page 1 SCF291 User manual...
-
Page 2: Table Of Contents
Table of Contents Important � � � � � � � � � � � � � � � � � � � � � � � � � � � � � � � � � � � � � � � � � � � � � � � � � � � � � � � � � � � � � �3 Danger �... -
Page 3: Important
- Do not use the appliance if the plug, the power cord or the appliance itself is damaged� - If the power cord is damaged, it must be replaced by Philips, a service center authorized by Philips or similarly qualified persons in order to avoid a hazard�... -
Page 4: Caution
- Do not use the appliance if it has fallen or is damaged in any way� Take it to an authorized Philips service center for repair� - Always place and use the appliance on a dry, stable, level and horizontal surface�... - Page 5 - Cleaning and user maintenance shall not be made by children� - Always disconnect the device from supply if it’s left unattended� Electromagnetic fields (EMF) This Philips appliance complies with all applicable standards and regulations regarding exposure to electromagnetic fields. - 5 -...
-
Page 6: Introduction
Introduction Congratulations on your purchase and welcome to Philips Avent! To fully benefit from the support that Philips Avent offers, register your product at www.philips.com/welcome� General description 130ml Lid with grip Power cord Small basket Tongs Bottom plate for large basket... -
Page 7: Things To Note
Things to Note 130ml • Don’t immerse the base unit in water� • Use 130 ml water� • Clean the items to be sterilised before • Disassemble all bottle parts completely putting them into the steriliser� and place them in steriliser with openings pointing down to prevent from filling up with water. -
Page 8: Getting To Know The Settings
Getting to know the settings Note: Before you sterilise bottles and other items, clean them first. Only place items in the steriliser which are suitable for sterilising� Do not sterilise items that are filled with liquid, e.g. a teether with cooling fluid. •... - Page 9 Place the bottom plate in the large basket� Place the small basket on the large basket� Place the lid on top of the small basket� Put the plug in the wall socket� Press the power on button to switch on the appliance� Note: If you plug in the appliance after you have pressed the power on button, the steriliser starts working immediately.
-
Page 10: Preparing For Use
After the appliance has cooled down completely, remove the lid, the small basket, the bottom plate, the large basket and wipe them dry� Note: When you remove the large basket from the base, be aware of the remaining water on the base drip tray. Let the appliance cool down completely for approximately 10 minutes before you use it again�... -
Page 11: Using The Appliance
Note: When you fill the small basket, put screw rings on the bottom, place the teats and the bottle caps loosely on top of the screw rings. Note: Make sure all parts that need to be sterilised are completely disassembled and place them in the basket with their openings pointing down to prevent them from filling up with water. - Page 12 Press the power on button to switch on the appliance� Caution: The base, the baskets and the lid become hot during or shortly after operation. Note: You can switch the appliance off by pressing the power off button. • The on/off indicator light lights up to indicate that the appliance starts sterilising�...
-
Page 13: Cleaning
Cleaning Do not use abrasive or aggressive cleaning agents (e�g� bleach) or a scouring pad to clean this appliance� Never immerse the base and the power cord in water or any other liquid� Note: The steriliser is not dishwasher-proof. The baskets, the bottom plate and the lid can be cleaned with hot water and liquid dishwashing detergent. -
Page 14: Descaling
Descaling The sterilisation process is extremely important to ensure the most hygienic standards for your baby� Limescale deposits can slow down the sterilisation cycle and even impair its effectiveness. Limescale is the hard and chalky deposit� Depending on the water type in your area, limescale can have different appearances ranging from snow white looking powder to brownish stains�... -
Page 15: Ordering Accessories
Note: Do not use other types of descalers. Ordering accessories To buy accessories or spare parts, visit www.philips.com or go to your Philips dealer� You can also contact the Philips Consumer Care Centre in your country (see the worldwide guarantee leaflet for contact details). -
Page 16: Troubleshooting
Troubleshooting This chapter summarizes the most common problems you could encounter with the appliance� If you are unable to resolve the problem with the information below, contact the Consumer Care Centre in your country� Problem Solution When should I descale When you use the steriliser, you may notice that there are my steriliser? small spots ranging from snow white to brownish appearing... - Page 17 Problem Solution Coating is peeling It does not affect the function of the sterilizer. off from the heating Make sure you do not use any abrasive or aggressive cleaning plate. Does it affect the agents (e�g� bleach) or a scouring pad to clean the heating function? plate�...
- Page 18 © 2022 Koninklijke Philips N�V� All rights reserved� 24/02/2022...


