Table of Contents
Advertisement
Quick Links
MT20 Installation Guide - Open/Close Detection
Overview
The Cisco Meraki MT20 is a cloud-managed intrusion-detection sensor that is exceptionally simple to configure and deploy due to its integration with the Meraki
dashboard and the use of Bluetooth Low Energy technology. The MT family eliminates the complex and costly setup required by traditional solutions by
removing the limitations of placement of these sensors.
Pre-Installation Preparation
You should complete the following steps before going on-site to perform an installation:
Configure Your Network in the Dashboard
The following is a brief overview only of the steps required to add an MT20 to your network. For detailed instructions about creating, configuring, and managing
Meraki sensor networks, refer to the
1. Log in to http://dashboard.meraki.com. If this is your first time, create a new account.
2. Find the network to which you plan to add your sensor, or create a new network.
3.
Add
the sensors to your network. You will need your Meraki order number (found on your invoice) or the serial
number of each sensor, which looks like Qxxx-xxxx-xxxx, and can be found on the back of the unit or included in
the box.
4. Add the gateway (MV or MR) to the same network as the sensor.
NOTE: Make sure the gateway is online and operational.
Click here for
MV setup instructions
WARNING: Environmental sensors are only supported with second-generation MV cameras and Wi-Fi 6-compatible APs.
Quickly Scan and Claim Multiple Devices through the Meraki Mobile App
If you have to claim multiple devices, the quickest way is by scanning their barcode using the Meraki app.
1. Log in to your Meraki
have one.
2. Navigate to the correct
MT - Sensors
online documentation.
and
MR setup
instructions.
iOS
or
Android
app with your Meraki dashboard account.
network
through left-side bar.
Create a new account
if you do not
1
Advertisement
Table of Contents

Related Manuals for Cisco Meraki MT20


Summary of Contents for Cisco Meraki MT20
- Page 1 Overview The Cisco Meraki MT20 is a cloud-managed intrusion-detection sensor that is exceptionally simple to configure and deploy due to its integration with the Meraki dashboard and the use of Bluetooth Low Energy technology. The MT family eliminates the complex and costly setup required by traditional solutions by removing the limitations of placement of these sensors.
- Page 2 3. Go to the Devices tab from the bottom navigation bar. 4. Select the + icon on the top right of the screen and pick Scan new device barcode. 5. Point your phone camera toward the hardware barcode to claim the device. 6.
-
Page 3: Installation Instructions
Installation Instructions NOTE: Each MT20 comes with an instruction pamphlet within the box. This pamphlet contains detailed step-by-step guides and images to assist you in the physical installation of the sensors. Choosing Your Mounting Location Ideal mounting locations: 1. Doors and rack enclosures with a flushed frame. In this scenario, the installation is pretty straightforward, and either mounting options can be used. - Page 4 Screws Mount As shown in the picture below, once the battery cover is removed, the two screws can be inserted through the holes. After the screws are tightly fitted, the battery compartment needs to be closed to ensure security of the sensor. Ideally, the main sensor body should be mounted on the door. Make sure that the grey panel with the magnet icon faces toward the outer edge of the door where you intend to install the magnet cover.
- Page 5 Since the magnet mount is made of plastic, a high amount of torque can be damaging. Below is the recommended dimensions and parameters for the install. 1. Drill a hole 2.0mm (soft wood) ~ 2.5mm (hard wood). 2. Use 0.5 N-m (soft wood) ~ 1.0 N-m (hard wood) to screw it VHB Tape Alternatively, the double-sided VHB tape can be used for a less permanent solution.
- Page 6 Additional accessories are only available in later revisions of MT20. If you purchased the MT20 prior to April 2021, and require the accessories for installation, please contact our Support Team and refer to this article. Spacers In certain scenarios where the door doesn’t sit flush with the frame, spacers can be used to reduce the gap between the sensor body and the magnet. The box includes spacers of different thickness: 5 mm, 10 mm and 15 mm.
- Page 7 To install using the spacer: Use the included screws or the VHB tape to secure the spacer on the surface. Remove the battery compartment on the main sensor body and attach it to the spacers using the included screws. NOTE: Make sure the arrows on the spacers point toward the grey side of the sensor body. 90°...
-
Page 8: Incorrect Installation
To use this mount: Using the included screws, secure the mount to the wall while ensuring the arrows on the other side are pointing toward the sensor. Apply the smaller VHB tape on the other side and stick the magnet mount to it while ensuring the magnet symbol points toward the arrows. Incorrect Installation In order for the MT20 to detect the correct magnetic field, the main sensor body and the magnet must be aligned properly. - Page 9 As noted in the illustration above, all of these orientations are an example of an incorrect installation and can result in inaccurate readings.
-
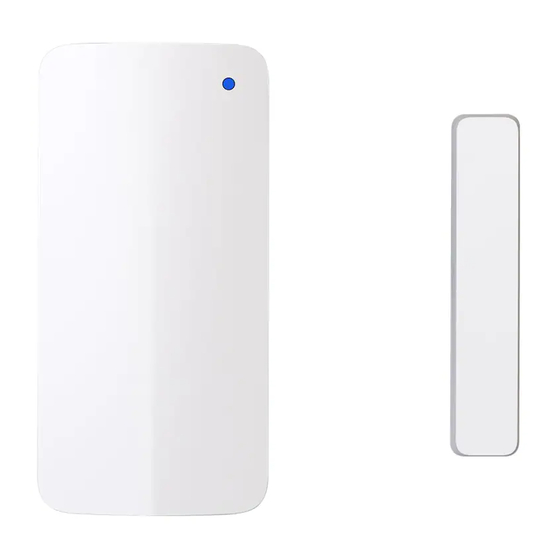
Page 10: Product Overview
WARNING: Magnet polarity can also cause incorrect readings. When installing the magnet cover, ensure that the arrows on the plastic are facing the sensor body. Product Overview Physical Specifications Main device: 81.2 mm x 39.7 mm x 19.5 mm (length x width x height) Dimensions Magnet cover: 59.5 mm x 12 mm x 13.35 mm (length x width x height) -
Page 11: Led Indicators
• Reset button • Main device and a magnet enclosure LED Indicators • Rainbow = MT is initializing or looking for a gateway • Solid green (for n seconds) = connected to a gateway • Solid amber (for n seconds) = MT could not find a gateway to connect •... -
Page 12: Package Contents
Package Contents Unit MT20-HW Guides Quick Installation Guide Battery 1x AA battery Magnet Enclosure Cover with a magnet attached to the bottom 1x Torx key 4x long screws 2x VHB tape Mounting equipment 3x spacers (5 mm, 10 mm, 15 mm) 1x 90°... - Page 13 For additional information on Meraki hardware, and for other installation guides, please refer to documentation.meraki.com.