Table of Contents
Advertisement
Advertisement
Table of Contents

Related Manuals for Makita DMR113


Summary of Contents for Makita DMR113
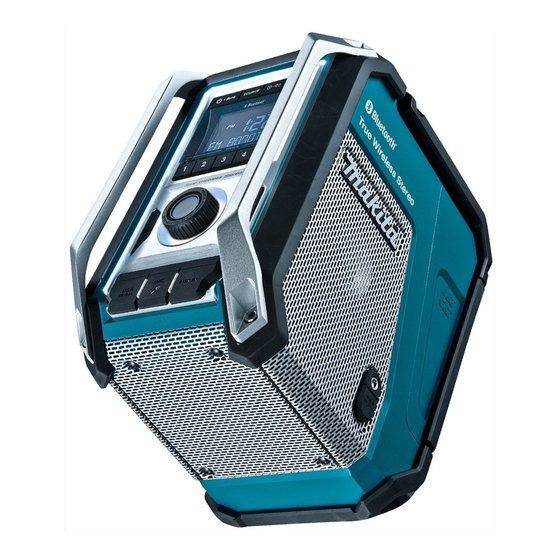
- Page 1 Job Site Radio DMR113 INSTRUCTION MANUAL IMPORTANT: Read Before Using.
- Page 2 8 9 10 11...
- Page 3 ENGLISH (Original instructions) EXPLANATION OF GENERAL VIEW (Fig. 1) 1. Handle/Built-in antenna (FM) 15. Preset 4/Next track button 2. Battery compartment locker 16. Volume/Tuning control/Select knob 3. Built-in antenna (AM) 17. EQ control button 4. Battery compartment cover (covering battery 18.
-
Page 4: Lcd Display
the specified charger for the battery. A charger that LCD DISPLAY may be suitable for one type of battery may create a risk of fire when used with another battery. A. Radio alarm 7. Use battery operated radio only with specifically B. - Page 5 SPECIFIC SAFETY RULES ● Replace only with the same or equivalent type. ● Only use genuine Makita batteries. Use of non- FOR BATTERY CARTRIDGE genuine Makita batteries, or batteries that have 1. Before using battery cartridge, read all instructions been altered, may result in the battery bursting causing fires, personal injury and damage.
-
Page 6: Operating Time
OPERATING TIME The suitable battery packs for this radio listed as the following table. The following table indicates the operating time on a single charge. AT SPEAKERS OUTPUT = 100mW Battery cartridge voltage Unit: Hour (Approximately) Battery capacity In Bluetooth + 10.8V–12Vmax 14.4V In Radio or AUX... -
Page 7: Installation And Power Supply
INSTALLATION AND POWER SUPPLY CAUTION: ● Be careful not to pinch your fingers when opening and closing the battery cover. ● Return the battery compartment locker to the original position, after installing or removing battery cartridge. If not, battery cartridge may accidentally fall out of the radio, causing injury to you or someone around you. -
Page 8: Listening To The Radio
● Use the AC power adaptor supplied with the product or specified by Makita only. LISTENING TO THE RADIO ● Do not hold the power supply cable and plug by your mouth. - Page 9 5. To find other station, press and hold the Tuning control Display modes – FM knob as before. Your radio has a range of display options for FM radio 6. When the end of the waveband is reached your radio mode.
-
Page 10: Miscellaneous Settings
1. When tuning to a station transmitting RDS data, the MISCELLANEOUS SETTINGS RDS symbol will be shown on the display. Press and hold the Menu/Info button. Setting the time and date format 2. Rotate the Tuning control knob until “RDS CT” and a The clock display used in stand-by mode and on the clock symbol appear on the display. - Page 11 ● If the selected AM/FM alarm station is not available preset time has elapsed. The Sleep Timer setting can be when the alarm is sounding, the buzzer alarm will be adjusted between 60, 45, 30, 15, 120 and 90 minutes. used instead.
-
Page 12: Listening To Music Via Bluetooth Streaming
Press the Tuning control knob to enter the device again to the radio. ● If ‘DMR113’ shows in your Bluetooth device list but your “TREBLE” setting. 5. Rotate the Tuning control knob to select your required device cannot connect with it, please delete the item treble level. - Page 13 You can between the speakers. use the TWS function to connect it to a second DMR113 Disconnecting the TWS Function and play your music through two speakers.
-
Page 14: Microphone Socket
the “MUL PAIR” mode. If no buttons are pressed for 10 speakers group, press and hold the Plus button of the seconds, the speaker will also enter the “MUL PAIR” master speaker. mode. When the connection is successful, the display MICROPHONE SOCKET will be shown “PARENT”... -
Page 15: Specifications
SPECIFICATIONS Power requirements DC 12V 2.5A, center pin AC power adaptor positive UM-3 (AA size) x 2 for Battery back up Slide battery: 10.8V - 18V FM 87.50-108 MHz (0.05MHz/step) Frequency coverage AM (MW) 522-1,710 kHz (9kHz/step) ® Bluetooth ® (The Bluetooth word mark and logos are registered trademarks owned by Bluetooth SIG, Inc.) - Page 16 Makita Corporation 3-11-8, Sumiyoshi-cho, Anjo, Aichi 446-8502 Japan DMR113-ENAU-2001 www.makita.com 3A81d35Z2000A...