Advertisement
Quick Links
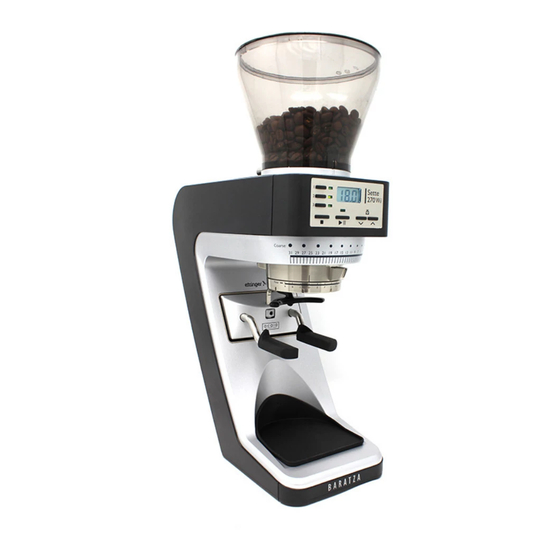
Sette 270, 270W Fuse Replacement
Tools Needed: T-10 Torx (CAN USE 2mm hex key provided in shim kit that is included
with the grinder), Phillips Screw driver, Pliers (not necessary), Fuse*
*For 120v units: T3.15A250v Fuse
*For 220v units: T2.0A250v Fuse
*** Unplug the power supply cord from the rear of the machine. ***
1
Advertisement

Related Manuals for Baratza Sette 270


Summary of Contents for Baratza Sette 270
- Page 1 Sette 270, 270W Fuse Replacement Tools Needed: T-10 Torx (CAN USE 2mm hex key provided in shim kit that is included with the grinder), Phillips Screw driver, Pliers (not necessary), Fuse* *For 120v units: T3.15A250v Fuse *For 220v units: T2.0A250v Fuse...
- Page 2 1. Tilt the machine forward on a hand towel, resting the machine on its face 2. Remove the rear rubber foot (use pliers if needed)
- Page 3 3. Remove the four Torx screws from the rear of the machine, and the one Torx screw that lies inside the rear foot slot. Screw positions indicated below. These can be removed with the 2mm hex key that is included with the grinder’s shim kit. 4.
- Page 4 Although the capacitor will be discharged unless there are extenuating circumstances, exercise caution as it potentially has a high voltage charge that can shock you if both contacts are touched.
- Page 5 5. There will be two wires attached the casing. I recommend leaving these wires connected, but if the case is bothersome you can pull to remove the spade connectors and set the case to the side. 6. Gently pry out the old fuse and replace it Fuse (specs above) Bottom of grinder...
- Page 6 Reassembly 1. (IF REMOVED) Slide the spade clips back onto the interlock switch. *Pay attention to how the wires naturally want to sit. The wires will want to slide on and lie in the grinder a certain way and if you put it back the way it came apart, it will go together much easier.
- Page 7 2. Get the case roughly in position, as shown above 3. Work the case on such that it is flush with the sides and ready to slide forward to finish installation...
- Page 8 4. Alternate pushing on the bottom and on the top, as depicted above, to slide the case the rest of the way forward into position. 5. Reinstall the screws and feet If you have any questions or concerns, please email support@baratza.com or call at 425-641-1245.