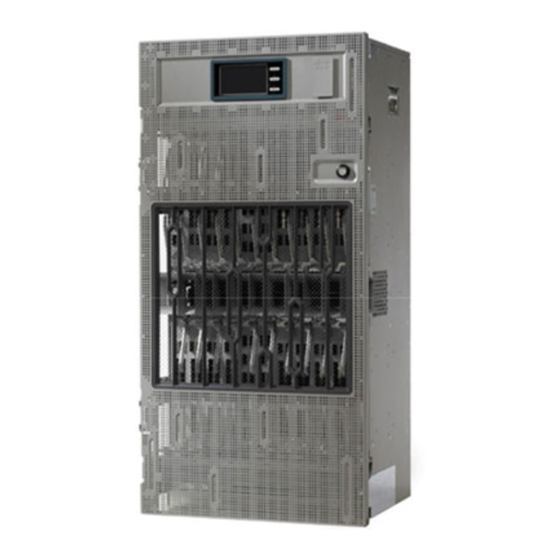
Cisco NCS 4016 Unpacking And Installing
Hide thumbs
Also See for NCS 4016:
- Installation manual (85 pages) ,
- Manual (24 pages) ,
- Hardware installation manual (82 pages)
Advertisement
Quick Links
Unpacking the Chassis
This chapter describes how to unpack the Cisco NCS 4016 chassis.
Caution
Use the complete Cisco Systems packaging for shipment of product or components. Failure to properly use
Cisco packaging may result in damage or loss of the product.
•
Unpacking the Chassis
The chassis is shipped on a pallet by itself and is enclosed in a corrugated box, held in place by plastic bands.
Prerequisites
Before performing this task, be sure to have sufficient room around the chassis pallet for unpacking.
Required Tools and Equipment
• Cutters to cut strapping (plastic bands)
Steps
To unpack the Cisco NCS 4016 chassis, follow these steps:
SUMMARY STEPS
1. Carefully move the pallet containing the Cisco NCS 4016 chassis to the staging area where you plan on
unpacking it.
2. Cut the plastic bands holding the chassis shipping box in place.
3. Remove the six plastic clips on the outer sleeve using a flat head screw driver.
4. Remove the accessories, corrugated accessory tray and the top foam cap.
5. Leave the chassis on the pallet until you are ready to move and install the chassis in a rack.
DETAILED STEPS
Step 1
Carefully move the pallet containing the Cisco NCS 4016 chassis to the staging area where you plan on unpacking it.
Unpacking the Chassis, on page 1
Unpacking the Chassis
1
Advertisement

Summary of Contents for Cisco NCS 4016
- Page 1 5. Leave the chassis on the pallet until you are ready to move and install the chassis in a rack. DETAILED STEPS Step 1 Carefully move the pallet containing the Cisco NCS 4016 chassis to the staging area where you plan on unpacking it. Unpacking the Chassis...
- Page 2 Unpacking the Chassis Unpacking the Chassis The Cisco NCS 4016 chassis with pallet should be handled carefully to eliminate the risk of tipping over the Caution package. Step 2 Cut the plastic bands holding the chassis shipping box in place.
- Page 3 Unpacking the Chassis Unpacking the Chassis Figure 2: Chassis in Original Packaging Unpacking the Chassis...
- Page 4 Unpacking the Chassis Removing the Chassis from the Pallet Step 4 Remove the accessories, corrugated accessory tray and the top foam cap. Step 5 Leave the chassis on the pallet until you are ready to move and install the chassis in a rack. Be sure to save the packaging in case you need to return any of the components.
-
Page 5: Summary Steps
Unpacking the Chassis Removing the Chassis from the Pallet SUMMARY STEPS 1. Using the Phillips #2 screwdriver, remove the fourteen M4 screws that connect the right support bracket to the chassis. 2. Using the 3/8-in. socket wrench, remove the 4 hex cap bolts that connect the right support bracket to the pallet. - Page 6 Unpacking the Chassis Removing the Chassis from the Pallet Figure 4: Removing the Chassis Support Brackets Step 2 Using the 3/8-in. socket wrench, remove the 4 hex cap bolts that connect the right support bracket to the pallet. Unpacking the Chassis...
- Page 7 Unpacking the Chassis Removing the Chassis from the Pallet Step 3 Set the support bracket aside carefully. Step 4 Repeat Step 1 through Step 3 for the left support bracket. What to do next What to Do Next After you have removed the support brackets that secure the chassis to the pallet, go to the Transferring the Chassis to a Mechanical Lifting Device.
- Page 8 Unpacking the Chassis Removing the Chassis from the Pallet Unpacking the Chassis...


