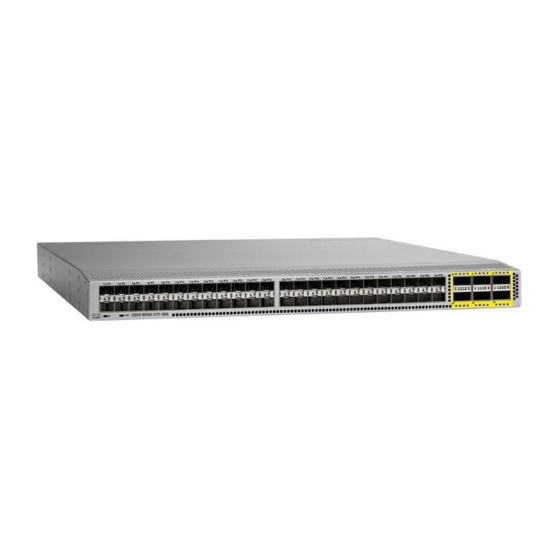
Cisco Nexus 3000 Series Installing
Switch chassis
Hide thumbs
Also See for Nexus 3000 Series:
- Command reference manual (356 pages) ,
- Configuration manual (338 pages) ,
- Installation manual (112 pages)
Advertisement
Quick Links
Installing the Switch Chassis
•
•
•
•
•
•
•
Safety
Before you install, operate, or service the switch, see the Regulatory, Compliance, and Safety Information for
the Cisco Nexus 3000 and 9000 Series for important Safety Information.
Warning
Statement 1071 Warning Definition
IMPORTANT SAFETY INSTRUCTIONS
This warning symbol means danger. You are in a situation that could cause bodily injury. Before you work
on any equipment, be aware of the hazards involved with electrical circuitry and be familiar with standard
practices for preventing accidents. Use the statement number provided at the end of each warning to locate
its translation in the translated safety warnings that accompanied this device.
SAVE THESE INSTRUCTIONS
Warning
Statement 1017 Restricted Area
This unit is intended for installation in restricted access areas. A restricted access area can be accessed by
skilled, instructed or qualified personnel.
Safety, on page 1
Installation Guidelines, on page 2
Unpacking and Inspecting the Switch, on page 2
Attaching L-Brackets to the Chassis, on page 3
Attaching Magnet to the Chassis, on page 4
Grounding the Chassis, on page 5
Starting the Switch, on page 6
Installing the Switch Chassis
1
Advertisement

Related Manuals for Cisco Nexus 3000 Series


Summary of Contents for Cisco Nexus 3000 Series
-
Page 1: Table Of Contents
Starting the Switch, on page 6 Safety Before you install, operate, or service the switch, see the Regulatory, Compliance, and Safety Information for the Cisco Nexus 3000 and 9000 Series for important Safety Information. Warning Statement 1071 Warning Definition IMPORTANT SAFETY INSTRUCTIONS This warning symbol means danger. -
Page 2: Installation Guidelines
Installing the Switch Chassis Installation Guidelines Warning Statement 1030 Equipment Installation Only trained and qualified personnel should be allowed to install, replace, or service this equipment. Installation Guidelines When installing the switch, follow these guidelines: • Ensure that there is adequate clearance space around the switch to allow for servicing the switch and for adequate airflow. -
Page 3: Attaching L-Brackets To The Chassis
Installing the Switch Chassis Attaching L-Brackets to the Chassis Keep the shipping container in case the chassis requires shipping at a later time. Before you begin Before you unpack the switch and before you handle any switch components, be sure that you are wearing a grounded electrostatic discharge (ESD) strap. -
Page 4: Attaching Magnet To The Chassis
Installing the Switch Chassis Attaching Magnet to the Chassis L-bracket (4) Screw (4) Step 2 Use screws to attach the brackets to a flat surface. Attaching Magnet to the Chassis You attach the magnet to the bottom of the chassis. The magnet holds the chassis in place on a flat surface. Before you begin •... -
Page 5: Grounding The Chassis
Installing the Switch Chassis Grounding the Chassis Magnet Step 2 Use the magnet on the bottom of the chassis to attach the chassis to a flat surface. Grounding the Chassis The switch chassis is automatically grounded when you properly install the switch in a grounded rack with metal-to-metal connections between the switch and rack. -
Page 6: Starting The Switch
Installing the Switch Chassis Starting the Switch Chassis grounding pad 2 M4 screws are used to secure the grounding lug to the chassis Grounding cable, with 0.75 in. (19 mm) of insulation that is stripped from one end, which is inserted into the grounding lug and crimped in place Step 3... - Page 7 A setup utility automatically launches the first time that you access the switch and guides you through the basic configuration. For instructions on how to configure the switch and check module connectivity, see the appropriate Cisco Nexus 9000 configuration guide.
- Page 8 Installing the Switch Chassis Starting the Switch Installing the Switch Chassis...