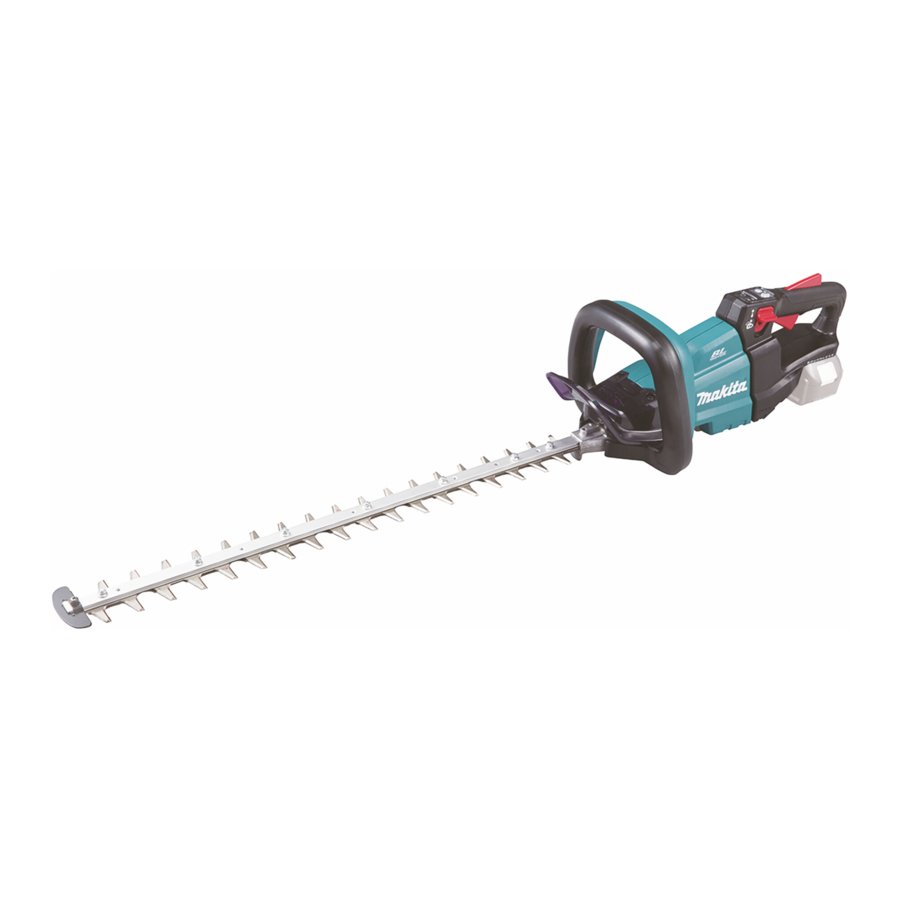
Makita DUH501 Instruction Manual
Cordless hedge trimmer
Hide thumbs
Also See for DUH501:
- Instruction manual (113 pages) ,
- Instruction manual (109 pages) ,
- Instruction manual (104 pages)
Summary of Contents for Makita DUH501
- Page 1 INSTRUCTION MANUAL Cordless Hedge Trimmer DUH501 DUH601 DUH751 DUH502 DUH602 DUH752 Read before use.
-
Page 2: Specifications
SPECIFICATIONS Model: DUH501 DUH601 DUH751 Blade length 500 mm 600 mm 750 mm Strokes per minute 0 - 2,000 / 0 - 3,600 / 0 - 4,400 min Overall length 1,016 mm 1,121 mm 1,261 mm Rated voltage D.C. 18 V Net weight 3.8 - 4.5 kg... - Page 3 Avoid body contact with earthed or grounded Always wear protective goggles to protect surfaces, such as pipes, radiators, ranges and your eyes from injury when using power tools. refrigerators. There is an increased risk of elec- The goggles must comply with ANSI Z87.1 in tric shock if your body is earthed or grounded.
- Page 4 When using the tool, do not wear cloth work Hold the power tool by insulated gripping gloves which may be entangled. The entangle- surfaces only, because the cutter blade may ment of cloth work gloves in the moving parts may contact hidden wiring. Cutter blades contacting result in personal injury. a "live" wire may make exposed metal parts of the power tool "live" and could give the operator an Battery tool use and care electric shock.
- Page 5 SAVE THESE INSTRUCTIONS. CAUTION: Only use genuine Makita batteries. Use of non-genuine Makita batteries, or batteries that WARNING: have been altered, may result in the battery bursting DO NOT let comfort or familiarity causing fires, personal injury and damage. It will with product (gained from repeated use) replace...
-
Page 6: Functional Description
Indicating the remaining battery FUNCTIONAL capacity DESCRIPTION Only for battery cartridges with the indicator CAUTION: Always be sure that the tool is switched off and the battery cartridge is removed before adjusting or checking function on the tool. Installing or removing battery cartridge CAUTION: Always switch off the tool before... -
Page 7: Overload Protection
Tool / battery protection system Angle setting of the handle The tool is equipped with a tool/battery protection sys- CAUTION: Always make sure that the handle tem. This system automatically cuts off power to the is locked in the desired position before operation. motor to extend tool and battery life. The tool will auto- CAUTION: matically stop during operation if the tool or battery is Do not pull down the lever to placed under one of the following conditions: unlock the handle while pulling the switch trigger. - Page 8 Press and hold the main power button to turn on the tool. Indicator Mode Stroke speed The power lamp lights up when the tool is turned on. To High 4,400 min turn off the tool, press and hold the main power button again.
- Page 9 Remove the rod. ASSEMBLY CAUTION: Always be sure that the tool is switched off and the battery cartridge is removed before carrying out any work on the tool. CAUTION: When replacing the shear blades, always wear gloves so that your hands do not directly contact the blades.
- Page 10 Align the protrusions on the shear blades vertically 10. Insert the protrusion on the shear blades to the at the same position. hole on the rod, then align the position of the felt pad with the holes on the tool, and then attach new sleeves and washers. ► 1 .
- Page 11 Install the shear blades again. NOTICE: If the parts other than the shear blades such as the rods are worn out, ask Makita Authorized Service Centers for parts replacement or repairs. Installing or removing the chip receiver...
-
Page 12: Operation
NOTICE: Make sure that the chip receiver does CAUTION: Avoid operating the tool in very not overlap the branch catcher. hot weather as much as practicable. When operat- ing the tool, be careful of your physical condition. CAUTION: Be careful not to accidentally contact a metal fence or other hard objects while trimming. The shear blades may break and cause an injury. -
Page 13: Maintenance
Always be sure that the tool is switched off and the battery cartridge is removed before attempting to perform inspection or maintenance. To maintain product SAFETY and RELIABILITY, repairs, any other maintenance or adjustment should be performed by Makita Authorized or Factory Service Centers, always using Makita replacement parts. Cleaning the tool Clean the tool by wiping off dust with a dry cloth or one dipped in soapy water and wrung out. NOTICE: Never use gasoline, benzine, thinner, alcohol or the like. - Page 14 Shear blade maintenance Storage Before the operation or once per hour during operation, The hook hole in the tool bottom is convenient for hang- apply low-viscosity oil (machine oil, or spray-type lubri- ing the tool from a nail or screw on the wall. cating oil) to the shear blades. Attach the blade cover to the shear blades so that the blades are not exposed.
-
Page 15: Grease Lubrication
Place the tool upside down, and then remove the burrs from the shear blades with the file. Attach the bottom cover, and then tighten 3 screws. OPTIONAL ACCESSORIES CAUTION: These accessories or attachments are recommended for use with your Makita tool spec- ified in this manual. The use of any other accessories or attachments might present a risk of injury to persons. Only use accessory or attachment for its stated purpose. If you need any assistance for more details regarding these accessories, ask your local Makita Service Center. - Page 16 Makita Corporation 3-11-8, Sumiyoshi-cho, Anjo, Aichi 446-8502 Japan 885633A884 www.makita.com 20181022...


