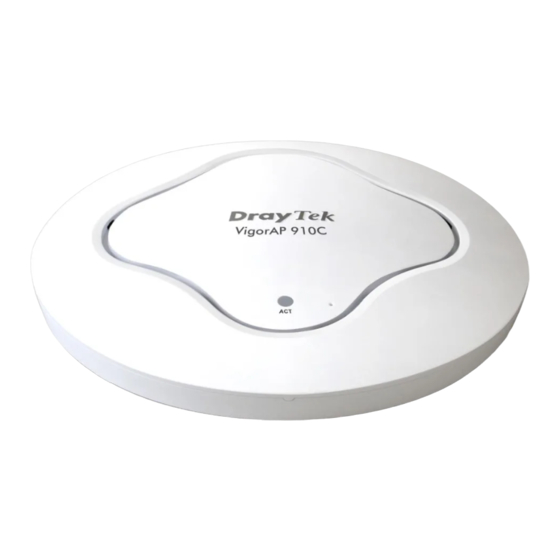
Draytek VigorAP 910C Quick Start Manual
802.11ac ceiling-mount access point
Hide thumbs
Also See for VigorAP 910C:
- User manual (223 pages) ,
- Quick start manual (19 pages) ,
- Quick start manual (18 pages)
Table of Contents
Advertisement
Quick Links
Advertisement
Table of Contents

Summary of Contents for Draytek VigorAP 910C
-
Page 2: Quick Start Guide
No. 26, Fu Shing Road, HuKou Township, HsinChu Industrial Park, Hsin-Chu, Taiwan 303 Product: VigorAP 910C DrayTek Corp. declares that VigorAP 910C is in compliance with the following essential requirements and other relevant provisions of R&TTE Directive 1999/5/EEC ErP 2009/125/EC and RoHS 2011/65/EU. -
Page 3: Package Content
Package Content VigorAP Bracket (for ceiling-mount) T-Rail Mounting Kits Screws Quick Start Guide RJ-45 Cable (Ethernet) Screws (for wall-mount) The type of the power adapter depends on the country that the router will be installed: UK-type power adapter EU-type power adapter USA/Taiwan-type power adapter AU/NZ-type Power Adapter... -
Page 4: Descriptions Of Components
Descriptions of Components Factory Reset Status Explanation Blue LED Blinking VigorAP is ready and can work normally. VigorAP is not ready or fails. Purple LED Power adapter is plugged in and VigorAP is initiating. Orange LED Blinking The firmware upgrade is in process. VigorAP is powered off. -
Page 5: Installation
Installation There are three ways to install VigorAP, installing onto wooden ceiling, cement or hard ceilings, and light-weighted steel frame. 1. Place the bracket under the wooden ceiling and fasten two screws firmly (as shown in Figure below, Step 1). 2. - Page 6 1. Place the bracket under the wooden ceiling and fasten two turnbuckles firmly (as shown in Figure below, Step 1). 2. Make the screws pass through the bracket and insert into the turnbuckles (as shown in Figure below, Step 2). Fasten them to offer more powerful supporting force.
- Page 7 1. Choose one set of T-Rail mounting kits from the bundled package. 2. Put the T-Rail brackets on the holes of the bottom side of the device. Fasten them with suitable screws. T-Rail Bracket T-Rail Bracket If larger space is required, the heightening bracket can be placed between the device and the bracket (for ceiling mount).
- Page 8 3. Use the T-Rail brackets to fasten the device on Light-weighted Steel Frame.
-
Page 9: Connection And Configuration
Connection and Configuration If required, remove the protective cap of VigorAP to create extra space for the cables to pass through. Connect VigorAP to Vigor router (via LAN port) with Ethernet cable. Connect VigorAP to PoE switch (via LAN port) with Ethernet cable. For connecting with PoE switch, do not connect the power adapter. - Page 10 VigorAP 910C can be connected to Vigor router with AP management (such as Vigor2860 series, Vigor2925 series). Then, VigorAP 910C can be accessed through Vigor router for advanced web page configuration. 1. Connect one end of the power adapter to power port of VigorAP, and the other side into a wall outlet.
- Page 11 3. Check the box of External Device Auto Discovery and click OK. When the the IP address assigned by Vigor router appears, click it to access into web user interface of VigorAP 910C. 4. After typing username and password (admin/admin), the main screen will be...
- Page 12 3. Open the router status page. 4. Find out the MAC address which is same as the one provided and stated on the label pasted on the bottom of VigorAP 910C. And, find out the IP address of VigorAP 910C.
- Page 13 1. Connect one end of an Ethernet cable (RJ-45) to one of the LAN ports of the VigorAP and the other end of the cable (RJ-45) into the Ethernet port on your computer. 2. Connect one end of the power adapter to VigorAP’s power port on the bottom of the device, and the other side into a wall outlet 3.
- Page 14 SSID and Security setting for 2.4G and 5GHz. Administrator’s name and password. Time and date. 1. Open main screen of VigorAP 910C. 2. Open LAN>>General Setup. Type the IP address (assigned by DHCP server or static IP address) for VigorAP according to your network environment.
- Page 15 3. Open Wireless Setting (2.4GHz)>>General Setup to configure wireless network. Type new SSID in the field of SSID1 and click OK to save the settings. 4. Open Wireless Setting (2.4GHz)>>Security. The default security mode is Mixed (WPA+WPA2)/PSK. For the wireless client who wants to access into Internet through such router, please input the default PSK value for connection.
- Page 16 If WEP mode is selected, only one of four preset keys can be selected at one time. Contacting DrayTek If the router still cannot work correctly after trying many efforts, please contact your dealer for further help right away.


