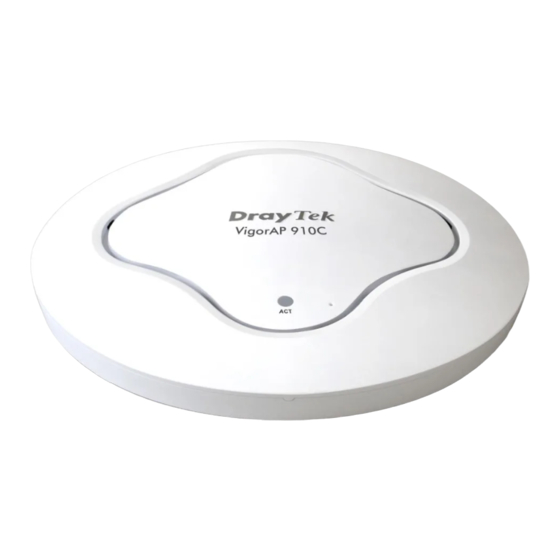
Draytek VigorAP 910C Quick Start Manual
Ceiling-mount access point
Hide thumbs
Also See for VigorAP 910C:
- User manual (223 pages) ,
- Quick start manual (18 pages) ,
- Quick start manual (16 pages)
Table of Contents
Advertisement
Quick Links
Download this manual
See also:
User Manual
Advertisement
Table of Contents

Related Manuals for Draytek VigorAP 910C


Summary of Contents for Draytek VigorAP 910C
-
Page 2: Quick Start Guide
No. 26, Fu Shing Road, HuKou Township, HsinChu Industrial Park, Hsin-Chu, Taiwan 303 Product: VigorAP 910C DrayTek Corp. declares that VigorAP 910C is in compliance with the following essential requirements and other relevant provisions of R&TTE Directive 1999/5/EEC ErP 2009/125/EC and RoHS 2011/65/EU. -
Page 3: Package Content
Package Content VigorAP 910C Main Unit Ceiling mount bracket T-Rail Mounting Kits Fixings and Screws (Used for suspended ceiling) (for ceiling mounting) Quick Start Guide RJ-45 Cable (Ethernet) Screw set (for wall mounting) The type of the power adapter depends on the country that the AP will be installed:... -
Page 4: Descriptions Of Components
Descriptions of Components Factory Reset Ethernet Port Power Jack (DC IN) Status Explanation Blue LED Blinking VigorAP is ready and can work normally. VigorAP is not ready or fails. Purple LED Power adapter is plugged in and VigorAP is initializing Orange LED Blinking The firmware upgrade is in process. -
Page 5: Installation
Installation VigorAP can be installed under certain locations: wooden ceiling, plasterboard ceilings, light-weighted steel frame and wall. 1. Place the bracket under the wooden ceiling and fasten two screws firmly (as shown in Figure below, Step 1). 2. When the bracket is in place, fasten two screws firmly (as shown in Figure below, Step 2) on the bottom of VigorAP. - Page 6 1. Place the bracket under the plasterboard ceiling and fasten two turnbuckles firmly (as shown in Figure below, Step 1). 2. Make the screws pass through the bracket and insert into the turnbuckles (as shown in Figure below, Step 2). Fasten them to offer more powerful supporting force.
- Page 7 You cannot screw into ceiling tiles as they are weak and not suitable for bearing loads. Your VigorAP is supplied with mounts (T-Rail brackets) which attach directly to the metal grid (‘T-Rail’) of your suspended ceiling. 1. Choose one set of T-Rail mounting kits from the bundled package. 2.
- Page 8 4. Attach the T-Rail brackets to the ceiling frame. Warning: The screw set shown below is for wall mounting only. Do not use such set for ceiling mounting due to the danger of falling.
- Page 9 For wall-mounting, the VigorAP has keyhole type mounting slots on the underside. You can fit the AP at any axis (i.e. 12, 3, 6 or 9 O’Clock) to allow for cable entry from the most convenient location if you are using side entry – note the position of the side entry cable cutout.
-
Page 10: Connection And Configuration
Connection and Configuration If required, remove the protective cap of VigorAP to create extra space for the cables to pass through. Connect VigorAP to Vigor router (via LAN port) with Ethernet cable. - Page 11 Connect VigorAP to PoE switch (via LAN port) with Ethernet cable. For connecting with PoE switch, do not connect the power adapter. VigorAP will get the power from the switch directly.
- Page 12 2. Access into the web user interface of Vigor router. Here we take Vigor2860 as an example. Open Central AP Management>>Status. 3. Locate VigorAP 910C. Click the IP address assigned by Vigor router to access into web user interface of VigorAP 910C.
- Page 13 3. Check the box of External Device Auto Discovery and click OK. When the IP address assigned by Vigor router appears, click it to access into web user interface of VigorAP 910C. 4. After typing username and password (admin/admin), the main screen will be...
- Page 14 Once you have the VigorAP’s IP address, you can access its own web interface, as shown in section 4.6 4. After getting the IP address of VigorAP 910C, access into the web user interface of VigorAP 910C through the web page of non-Vigor router.
- Page 15 1. Connect one end of an Ethernet cable (RJ-45) to one of the LAN ports of the VigorAP and the other end of the cable (RJ-45) into the Ethernet port on your computer. 2. Connect one end of the power adapter to VigorAP’s power port on the bottom of the device, and the other side into a wall outlet 3.
- Page 16 Administrator’s name and password. Time and date. 1. Open main screen of VigorAP 910C. 2. Open LAN>>General Setup. Type the IP address (assigned by DHCP server or static IP address) for VigorAP according to your network environment. Click OK to save the settings.
- Page 17 Note: If the IP address has been modified, use the new LAN IP address for accessing into the web user interface of VigorAP. 3. Open Wireless Setting (2.4GHz)>>General Setup to configure wireless network. We recommend changing the default SSID (the wireless network name which is visible to users).
- Page 18 Under System Maintenance you can change the access point’s default admin password. You should do this immediately in order to prevent users from accessing the VigorAP’s management interface and changing settings. Contacting DrayTek...
- Page 19 If the access point still cannot work correctly after trying many efforts, please contact your dealer for further help right away. For any questions, please feel free to send e-mail to support@draytek.com. Read the installation guide thoroughly before you set up the access point.