Makita DFS250 Instruction Manual
Hide thumbs
Also See for DFS250:
- Instruction manual (65 pages) ,
- Instruction manual (13 pages) ,
- Instruction manual (57 pages)
Table of Contents
Advertisement
Quick Links
Download this manual
See also:
Instruction Manual
Advertisement
Table of Contents

Related Manuals for Makita DFS250


Summary of Contents for Makita DFS250
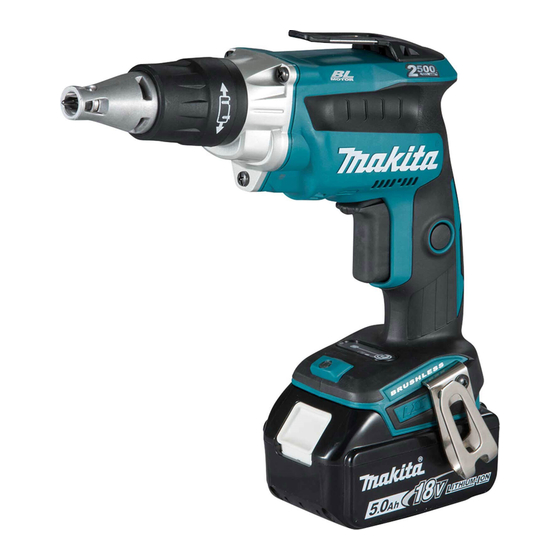
- Page 1 INSTRUCTION MANUAL Cordless Screwdriver DFS250 DFS251 Read before use.
-
Page 2: Specifications
SPECIFICATIONS Model: DFS250 DFS251 Fastening Self drilling screw 6 mm capacities Drywall screw 5 mm No load speed (RPM) 0 - 2,500 min Overall With short locator 223 mm length With long locator 239 mm Overall length 217 mm Rated voltage D.C. - Page 3 If operating a power tool in a damp location breakage of parts and any other condition that is unavoidable, use a residual current device may affect the power tool’s operation. If dam- (RCD) protected supply. Use of an RCD reduces aged, have the power tool repaired before use.
-
Page 4: Cordless Screwdriver Safety Warnings
WARNING: DO NOT let comfort or familiarity also void the Makita warranty for the Makita tool and with product (gained from repeated use) replace charger. strict adherence to safety rules for the subject product. - Page 5 Press the check button on the battery cartridge to indi- Installing or removing battery cate the remaining battery capacity. The indicator lamps cartridge light up for few seconds. Indicator lamps Remaining CAUTION: Always switch off the tool before capacity installing or removing of the battery cartridge. CAUTION: Hold the tool and the battery car- Lighted...
- Page 6 NOTE: If the tool does not run for about 8 hours in push drive mode with the trigger locked on, tool is shutdown. In such a case, release and pull the trigger again for restarting. Lighting up the front lamp CAUTION: Do not look in the light or see the source of light directly.
- Page 7 The depth can be adjusted by turning the locator. Turn it in "B" direction for less depth and in "A" direction for more depth. One full turn of the locator equals 2 mm (1/16") change in depth. For DFS250 3 mm (1/8") Fig.10 ► 1 . Hook The hook is convenient for temporarily hanging the tool.
- Page 8 Installing or removing driver bit/ socket bit For DFS250 Fig.14 ► 1 . Locator 2. Socket bit To remove the socket bit, pull the locator, and then pull the socket bit. To install the socket bit, push it firmly into the sleeve. Then install the locator by pushing it firmly back. Fig.11 ► 1 . Locator Hook Fig.12 Fig.15 ► 1 . Locator 2. Driver bit 3. Magnetic bit holder ► 1 .
-
Page 9: Operation
OPTIONAL ACCESSORIES Screwdriving operation CAUTION: These accessories or attachments are recommended for use with your Makita tool specified in this manual. The use of any other accessories or attachments might present a risk of injury to persons. Only use accessory or attachment for its stated purpose. If you need any assistance for more details regard- ing these accessories, ask your local Makita Service Center. - Page 12 Makita Corporation 885536-8 20160707 www.makita.com...