Makita pj7000 Instruction Manual
Hide thumbs
Also See for pj7000:
- Instruction manual (60 pages) ,
- Instruction manual (49 pages) ,
- Instruction manual (29 pages)

Related Manuals for Makita pj7000


Summary of Contents for Makita pj7000
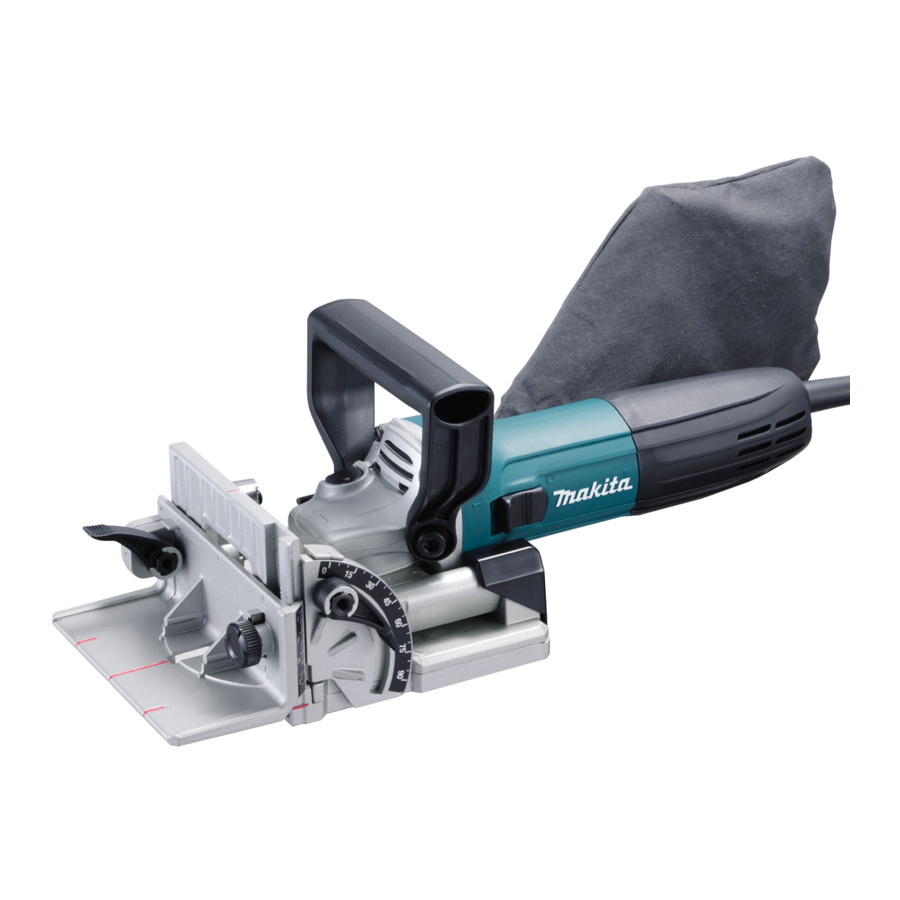
- Page 1 INSTRUCTION MANUAL Plate Joiner PJ7000 012251 DOUBLE INSULATION IMPORTANT: Read Before Using.
-
Page 2: Specifications
ENGLISH (Original instructions) SPECIFICATIONS Model PJ7000 Type of blade Plate joiner Max. grooving depth Plate joiner blade 20 mm No load speed (min 11,000 Overall length 302 mm Net weight 2.5 kg Safety class • Due to our continuing programme of research and development, the specifications herein are subject to change without notice. - Page 3 If operating a power tool in a damp location is accessories, or storing power tools. Such unavoidable, use a residual current device preventive safety measures reduce the risk of (RCD) protected supply. Use of an RCD reduces starting the power tool accidentally. the risk of electric shock.
-
Page 4: Functional Description
Check the blades carefully for cracks or FUNCTIONAL DESCRIPTION damage before operation. Replace cracked or damaged blades immediately. Make sure that the flange fits in the arbor hole CAUTION: when installing the blade. Always be sure that the tool is switched off and •... - Page 5 bottom of the blade cover are 10 mm. 1. Knob Set plate 2. Down 3. Up 1. Lock lever 4. Center of blade 2. Pointer thickness 3. Angle scale 10mm 4. Set plate 5. Thickness of set plate 6. Center of blade 012255 thickness Then tighten the lock lever up to secure the angle guide.
-
Page 6: Operation
NOTE: ASSEMBLY If you connect a Makita vacuum cleaner to your • plate joiner, more efficient and cleaner operations CAUTION: can be performed. Always be sure that the tool is switched off and • OPERATION unplugged before carrying out any work on the tool. - Page 7 Corner Joint (Fig. A) T-Butt Joint (Fig. B) Fig. B Fig. A 004584 004585 012263 012261 012262 012263 Miter Joint (Fig. C) Fig. C 004586 012264...
- Page 8 Frame Joint (Fig. D) To make joints, proceed as follows: Fit the two workpieces together as they will appear in the finished joint position. Fig. D Mark the center of the intended biscuit grooves on the workpiece using a pencil. NOTE: The center of grooves should be at least 50 •...
-
Page 9: Optional Accessories
Fit the two workpieces together as they will appear If you need any assistance for more details regarding • in the finished joint position. these accessories, ask your local Makita Service Center. Lay the vertical workpiece on the horizontal one. Angle guide •... - Page 12 Makita Corporation www.makita.com 885075B8...