Advertisement
Precautions and Maintenance
- Do not attempt to disassemble or modify any part of the machine.
- If the product has been dropped or damaged, please do not touch the inside of the scanner to avoid injury.
- If the product emits smoke, odor or there is any other abnormality during use, please stop using it immediately.
- Do not use organic solvents such as alcohol, benzine, or thinner to clean the equipment.
- Do not use it in humid and dusty areas.
- Do not insert too many computer peripheral products powered by USB port, so as to avoid overloading, otherwise the product will not run smoothly.
- Please use a film that conforms to the standard size.
- Cleaning: In order to scan the best effect picture, please make sure it's clean before use.
- Non-use period: When the product is not used for a long time, please remove the power supply.
- The machine supports a maximum of 128GB SD card, but it is recommended to use an SD card with a capacity of 16GB or less, because a SD card with too much capacity may extend the boot time, and may cause a card jam as the machine reads the inserted SD card and calculates the maximum number of accessible photos immediately. If a card jam or crash occurs, please remove the SD card, and then unplug the power supply and turn it on again.
In order to protect the machine and save energy, if there is no operation over 30 minutes under the power-on state, the product w
Packing List
- Scanner
- 135 film holder
- Positive film holder
- 110 Positive film holder
- 110 negative film holder
- Super8 clip
- AC / DC power adapter
- USB cable
- Cleaning brush
- User's Manual
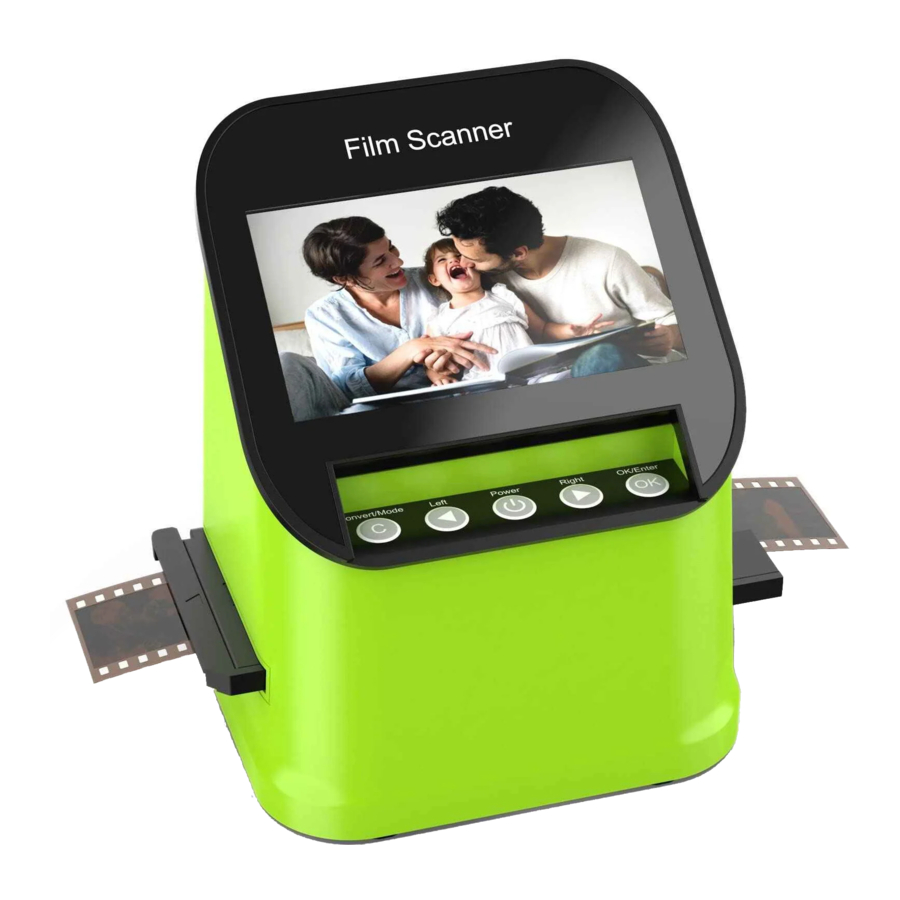
Product Schematic

- To clean the backlight, please insert the cleaning brush from the side of the product.
How to use negative clip
- Hold the negatives against the light, and place the negatives facing you correctly.

- Put the 135 film holder into the positive film holder, close the positive film holder, and then insert 135 negatives into the film holder.

- Insert the positive clip into the scanner for scanning.


How to use the positive clip
- Hold the positive clip to the light, and place the positive clip facing you correctly.

- Remove the positive film holder, with the silk-screened side facing up, Open the positive clip, put it into the installed positive clip, close the film holder, and press the buckle tightly.

- Insert the positive clip into the scanner for scanning.


- Take care not to scratch or touch the image area when handling the positive clips (preferably wearing gloves). If cleaning the positive clip, it is recommended to wipe the dust with a compressed cotton cloth!
Operation Guide
Introduction to Main Menu Settings

- Language Mode
- USB Mode
- Photo mode
- Playback mode
- Film mode
- Format
- Resolution
Image Capture
- Before scanning photos, please confirm whether the backlight of the product is clean. When cleaning the backlight, please extend the cleaning brush from the right side of the product.

- After confirming that the backlight is clean, press the "OK / Enter" key in the main menu scan mode to enter the scan mode. In the scan mode, press the "Convert / Mode" key and the "OK / Enter" key in order to scan the current image. Press "Convert / Mode" twice in scan mode to exit back to the main menu mode.


If any image requires for Mirror or Flip before capture, press LEFT/RIGHT button for Mirror/Flip function, the live view will be adjusted accordingly(This step is to correct user misplaced the film/photo either upside down or flip). Mirror and Flip function can only be used while in the live view mode.
Negative film mode selection
After entering the film mode, the user can select the corresponding film to scan by entering the film type, select the corresponding film type with the left and right buttons, and then press "OK / ENTER" to confirm.

- Negatives: Select negatives when the negatives loaded in the film holder.
- Positive: Select the positive when the positive is loaded in the film holder.
- Black and white film: select black and white film when the negative is loaded into the clip.
Photo Preview
In the main menu mode, press ◄ or ► to find the photo preview mode, press "OK / Enter" to enter the auto play of scanned photos, then press "OK / Enter" to enter the manual selection of preview photos, press "OK / Enter" again You can enter selections: exit, delete, return to the main menu.


- Press the left and right keys to select this icon and press OK / Enter to return to the preview autoplay screen.
- Press the left and right keys to select this icon and press OK / Enter to delete the current photo.
- Press the left and right keys to select this icon and press OK / Enter to return to the main menu.
Language selection setting
In the main menu mode, press ◄ or ► key to select the language setting mode. Press "OK / Enter" to enter the language setting. You can set the product to: English, French, German, Italian, Spanish, Pусский, Simplified Chinese, Japanese.

Format
In the main menu mode, press ◄ or ► key to select to format mode, press "OK / Enter" key to format all photos on your machine.

Note: After using this function, all data on the SD card will be erased. Please remember to backup your data!
USB connection to computer
In the main menu mode, press the ◄ or ► key to select the USB mode. Press the "OK / Enter" key to view the scanned photos on the computer.

Product Specifications
| Features: | Film Scan / Removable Disk |
| Interface: | USB 2.0 |
| Sensor: | 14 million pixel CMOS sensor |
| Monitor: | 4.3 "TFT color screen |
| Negative film model: | Negative, black and white, slide |
| Negative film type: | 135 negatives (36 * 24mm), 126KPK negatives (27 * 27mm), 110 negatives (17 * 13mm), Super8 negatives (4.01 * 5.79mm), positive, negative, black and white |
| Light source: | Backlight board |
| File format: | Picture: JPEG |
| Built-in memory: | 128M |
| External memory card: | Memory card supports up to 128GB |
| Power supply: | DC 5V ( USB adapter) |
| Language: | English / French / German / Italian / Spanish / Pусский / Simplified Chinese / Japanese |
| Support system: | Windows XP/vista/Windows7/Windows10/Mac |
| Product dimension: | L122 x W102 x H142mm |
| Weight: | 322g |
Documents / ResourcesDownload manual
Here you can download full pdf version of manual, it may contain additional safety instructions, warranty information, FCC rules, etc.
Advertisement
Thank you! Your question has been received!


Need Assistance?
Do you have a question about the C198-B that isn't answered in the manual? Leave your question here.