Advertisement
INTRODUCTION
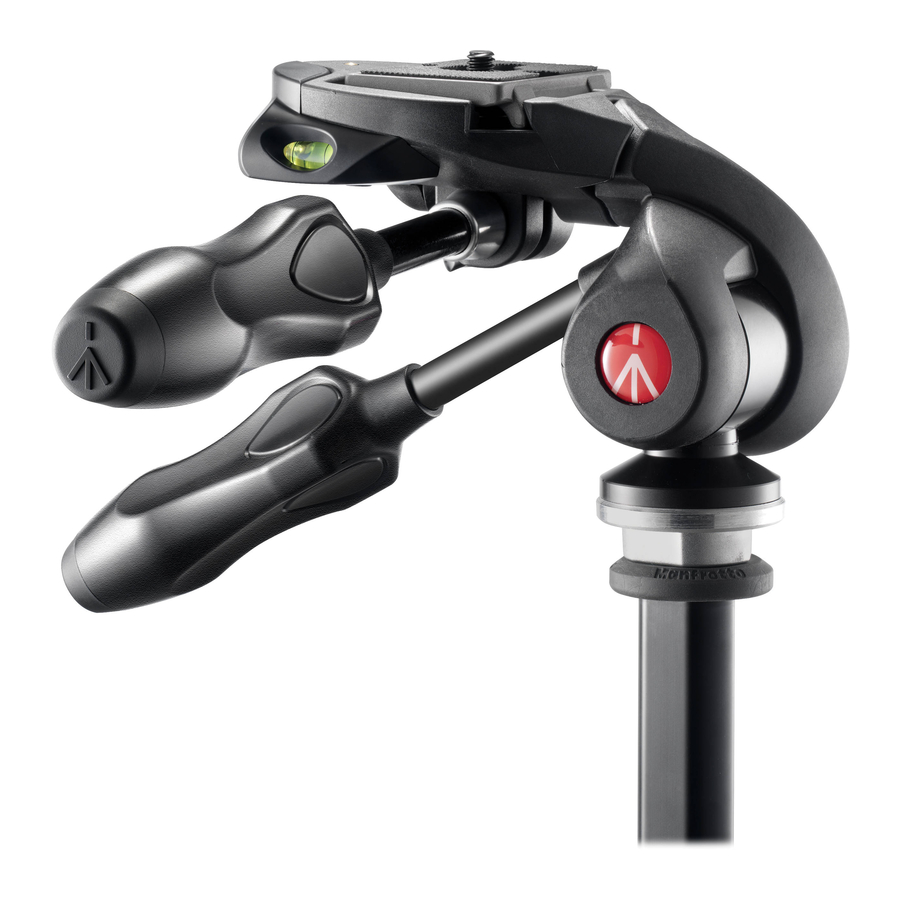
The MH293D3-Q2 3-way head is ideal for DSLR cameras. Its folding handles make it especially suitable for travelling photographers.
KEY FEATURES
- Repositionable handle optimizes space during transportation
- Ergonomically designed control handles
- Quick release plate
- 3 leveling bubbles (not included in the MK290LTA3-3W)
SET UP
FITTING THE HEAD TO A TRIPOD

Move the levers to their working positions:
- Loosen handgrip "B" by turning it anticlockwise
- Move handgrip "B" round to its working position, as shown in figure 1
- Tighten handgrip "B" by turning it clockwise
The head's 3/8" female thread "E" fits any standard tripod's 3/8" male screw. The handles can be used to tighten the head on the tripod. If the tripod plate has anti-rotation screws, these can be tightened against the base of the head.
REMOVING THE QUICK RELEASE PLATE FROM THE HEAD

Turn lever "P" fully in the direction of the arrow in order to release plate "L".
ATTACHING THE QUICK RELEASE PLATE TO A CAMERA

Plate "L" is fastened to a camera by screw "M", which fits the ¼" female thread on the underside of the camera body. Align the camera lens with the "LENS" arrow marking on the bottom of the plate "L". Ring "Q" is used to fasten the plate against the camera body; before use, the plate should be securely tightened against the camera, but WITHOUT APPLYING FORCE which could damage the camera thread.
MOUNTING THE CAMERA ON THE HEAD


Push ring "Q" (figure 3) down so that it lies flat against the plate "L".
Open lever "P" and hold it open whilst attaching the camera by slotting camera plate "L" into the top of the head as shown in figure 4.
 Release lever "P" and push it closed to ensure that plate "L" is firmly held in place and the camera is fitted securely to the head (figure 5).
REMOVING THE CAMERA FROM THE HEAD

To remove plate "L" turn lever "P" fully in the direction of the arrow.
USING AND POSITIONING THE HEAD

Handgrip "A" controls and locks both pan and vertical tilt movements.
Handgrip "B" controls and locks leveling movements.
Turn the control handle(s) anticlockwise to loosen the head and allow the camera to be rotated to the desired position. Lock the head and camera in position by turning the handle(s) clockwise.
FOLDING THE HANDLES FOR TRANSPORTATION

Move the levers to their compact positions for transportation:
- Loosen handgrip "B" by turning it anticlockwise
- Move handgrip "B" round to its folded position, as shown in figure 8
- Tighten handgrip "B" by turning it clockwise
SPECIFICATIONS
 : 9 cm 3.5"
 0,57 kg 1.25 lbs
 4 kg 8.8 lbs

Documents / ResourcesDownload manual
Here you can download full pdf version of manual, it may contain additional safety instructions, warranty information, FCC rules, etc.
Advertisement
Thank you! Your question has been received!


Need Assistance?
Do you have a question about the MH293D3-Q2 that isn't answered in the manual? Leave your question here.