
Related Manuals for pottery barn kids EMERSON


Summary of Contents for pottery barn kids EMERSON
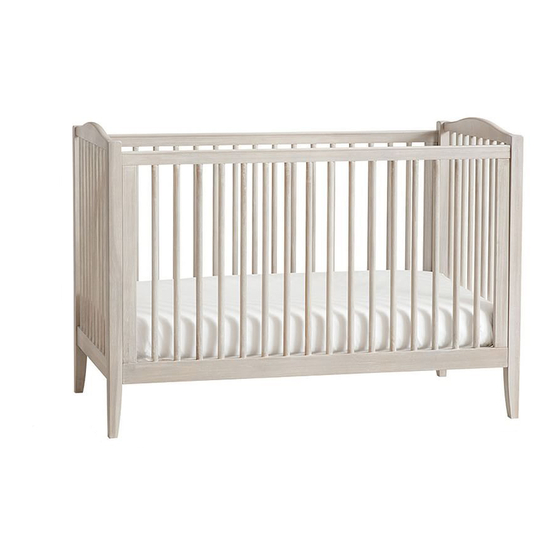
- Page 1 pottery barn kids EMERSON CRIB ...
- Page 2 Do not use it if any parts are loose or missing or if there are any signs of damage. Do not substitute parts. Contact the Pottery Barn Kids if replacement parts or additional instructions are needed.
-
Page 3: Important Safety Instructions
If refinishing, use a non-toxic finish specified for children’s products. Do not remove the metal brackets from the mattress base after installation. NOTE: This is only for cribs supplied with a wooden mattress base. Follow warnings on all products in a crib. 04-000056-7 CAUTION: ANY MATTRESS USED IN THIS CRIB MUST BE AT LEAST 27 ¼”... - Page 4 Product labeling for Crib configuration with slatted crib ends. Crib is depicted upside down. 04‐000141 04-000141-1 04-000141-1 04‐000141 Warning Label Warning Label Warning Label Warning Label Étiquette de Mise en Garde Étiquette de Mise en Garde Date: 7‐Aug‐14 www. potterybarnkids.com ...
-
Page 5: Parts Included
PARTS INCLUDED: PART 1)- CRIB END (2x) PART 2)- CRIB SIDE (2x) PART 3)- MATTRESS BASE (1x) Date: 7‐Aug‐14 www. potterybarnkids.com Page 5 of 11 ... -
Page 6: Hardware Included
HARDWARE INCLUDED: A- Bolt- M6 x 60mm (4x) B- Bolt- M6 x 55mm (4x) C- Half Moon Washer (4x) D- Bolt- M6 x 20mm (4x) E- Short Allen Bolt M6×10mm (8x) F- Left Crib Bracket (2x) G- Right Crib Bracket (2x) TOOLS REQUIRED H- Allen Key- 4mm (1x) Date: 7‐Aug‐14... - Page 7 ASSEMBLY INSTRUCTION STEPS: 1. Attach Left/Right Crib Brackets (F&G) to the crib Mattress Base (PART 3) using Short Allen Bolts (E-8pcs). Make sure the crib brackets point outwards. Tighten using Allen Key (H). Note: Do not remove the metal crib brackets (F&G) from the mattress base upon installation. (F) Left Crib (G) Right Crib (E) Short Allen Bolt 8x...
- Page 8 2. Assemble the Crib Side (PART 2) to the Crib Ends (PART 1) using Bolts (A), Bots (B) and Half Moon Washers (C) as shown, tighten with Allen Key (H). Do not fully tighten bolts (A&B) at this point to make installation of the Mattress Base and the remaining Crib Side easier. (A) Bolt- M6 x 60mm 2x (B) Bolt- M6 x 55mm 2x (C) Half Moon...
- Page 9 3. Determine the desired height of the mattress base. Using two adults carefully place mattress base into the crib taking care not to scratch the finish. Note: The mattress base may be at the highest level when the child is born. It must be at the lowest level before the child can stand up.
- Page 10 4. Attach the remaining Crib Side (PART 2) to Crib Ends (PART 1) using Bolts (A) with Allen Key (H). (A) Bolt- M6 x 60mm 2x Arrow sticker side down. Arrow points inside Date: 7‐Aug‐14 www. potterybarnkids.com Page 10 of 11 ...
-
Page 11: Care Instructions
5. Carefully turn the crib lying down on its side (the final installed Crib Side facing down). Insert the Bolts (B) thru Half Moon Washers (C) into cavity as shown, and align the bolts with the holes on Crib Side, tighten all connections with Allen Key (H). (B) Bolt- M6 x 55mm 2x (C) Half Moon ...
Need help?
Do you have a question about the EMERSON and is the answer not in the manual?
Questions and answers