Advertisement
Quick Links
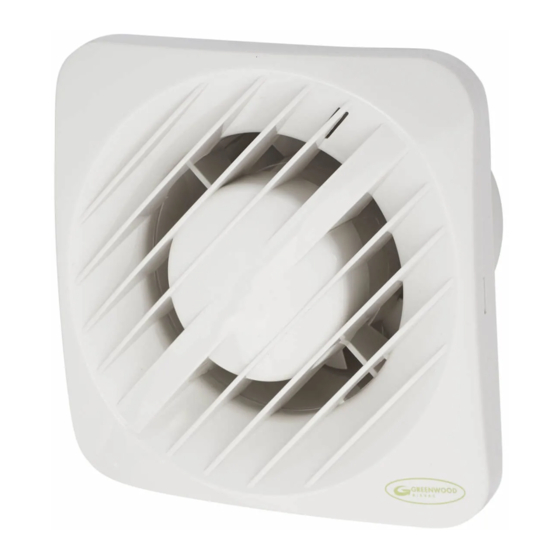
installation instructions for axial fans
for bathroom, toilets, utility Rooms and Kitchens
AXS100, AXS100SELV, AXS125, AXS150 & AXSK
Wall mounting
(using ed wall duct and eg external grille, 100mm and 150mm only)
1
Remove one piece Internal Grille using
screwdriver. Push in to free catch then
twist to remove grille.
3
Fill in any gaps with mortar or foam and
make good internal and external walls.
Make sure that ducting remains circular
and screw holes are horizontal.
5
Replace internal grille ensuring no wires
are trapped.
2
AXS100 Ø = 125mm
AXSK/150 Ø = 170mm
Cut the duct to width of the plasterboard
or tiled wall with slight fall to exterior.
(Make provisions for cable).
4
Using No 8 screws, secure fan body to
ducting first making sure back draught
shutter is fitted, if required, and electrical
cable passes through as appropriate. Wire
fan (See wiring details).
6
Screw the protective wall grille over the
external duct opening.
Read all instRuctions befoRe commencing installations
Warning: The appliance is not intended
for use by young children or infirm persons
unless they have been adequately supervised
by a responsible person to ensure that they
can use the appliance safely. Young children
should be supervised to ensure that they do
not play with the appliance.
Observe appropriate safety precautions
l
if working on steps or ladders. Wear
eye protection when breaking out wall
or window materials etc.
Siting Notes:
l
Where an open-flued oil or gas- fuelled
appliance is installed in the kitchen,
extract ventilation can cause the
spillage of flue gases. Care must be
taken to ensure ventilation is reduced
as appropriate, as set out in the
building regulations. The guide to the
regulations suggests that the reduced
provision should be an extract rate
ceiling mounting
1
Remove one piece Internal Grille using
screwdriver. Push in to free catch then
twist to remove grille.
2
Ø 12 for cable
X
Ø
X = 67mm for AXS100
X = 78mm for AXS125
Ø = 105mm for AXS100
Ø = 130mm for AXS125
Cut an opening through the ceiling for the
fan and electrical cable.
3
Secure to ceiling using suitable screws
first making sure backdraught shutters
are removed but shutter spider is left in
position. Wire fan (See wiring details).
4
Place flexible ducting over the spigot of
the fan.
20 l/s (72 m
/h) maximum. Kitchens
3
with solid-fuel appliances should not
have extract fans fitted.
The fans should not be sited where
l
it would be subject to a direct source
of heat in excess of 40ºC.
When installing wall mounted fans,
l
ensure that there are no buried cables
or pipes in the way. It is recommended
that this fan is mounted 1.8m above
floor level.
A clearance of 75mm to be allowed
l
on at least one side of the fan for
the removal of the internal grille.
Cleaning Notes:
l
Always isolate from the mains before
cleaning. Do not use solvents to clean
the fan. Wipe the front grille clean
using a damp cloth avoiding getting
any water into the internal fan unit.
5
Fit ducting to spigot using ties supplied,
making sure impeller rotates freely.
Maximum duct length to comply with
Building Regulations:
AXS100:
3m
AXSK/150: Wall mounting only
6
Detach the cord from the PCB by pulling
the cord through the pull cord's link.
7
Replace internal grille ensuring no wires
are trapped.
8
9
Advertisement

Related Manuals for Greenwood AXS100


Summary of Contents for Greenwood AXS100
-
Page 1: Wall Mounting
Rooms and Kitchens AXS100, AXS100SELV, AXS125, AXS150 & AXSK Read all instRuctions befoRe commencing installations Warning: The appliance is not intended 20 l/s (72 m /h) maximum. Kitchens for use by young children or infirm persons... -
Page 2: Wiring Diagrams
Greenwood House, Brookside Avenue, Rustington, West Sussex, BN16 3LF Tel: (01903) 771021 Fax: (01903) 782398 Web: www.greenwood.co.uk Email: info@greenwood.co.uk June 2010 (MCR499) 05.10.270 Issue 5 BP12895...
Need help?
Do you have a question about the AXS100 and is the answer not in the manual?
Questions and answers