Table of Contents
Advertisement
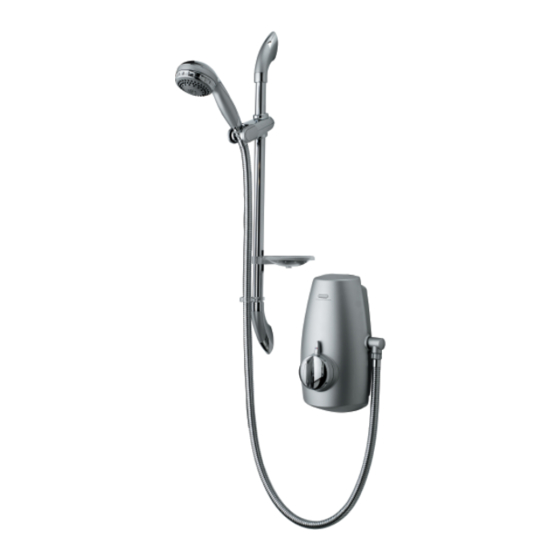
Aquastream
Thermo
Thermostatic integral power shower
The Waste Electrical and Electronic Equipment
(Producer Responsibility) Regulation 2004
This product is outside the scope of the European Waste Electrical and
Electronic Equipment Directive as interpreted within the UK.
In the UK this product can therefore be disposed of through
commercial non-WEEE waste facilities.
The original manufacturer does not accept any liability under the
WEEE directive.
Aquastream Thermo thermostatic integral power shower installation instuctions
®
page 1
Advertisement
Table of Contents

Related Manuals for Aqualisa Aquastream Thermo


Summary of Contents for Aqualisa Aquastream Thermo
- Page 1 Electronic Equipment Directive as interpreted within the UK. In the UK this product can therefore be disposed of through commercial non-WEEE waste facilities. The original manufacturer does not accept any liability under the WEEE directive. Aquastream Thermo thermostatic integral power shower installation instuctions page 1...
- Page 2 Aquastream Aquastream Thermostatic integral power shower Aquastream Thermo thermostatic integral power shower installation instuctions page 2...
- Page 3 Components Aquastream Thermo thermostatic integral power shower installation instuctions page 3...
-
Page 4: Important Information
(Vaseline or similar) prior to insertion into the fitting. Supply lines should be flushed clear of any debris prior to installation of the unit. The Aquastream Thermo is supplied for connection to conventional supplies with HOT on the LEFT and COLD on the RIGHT when viewed from the front. - Page 5 In the event of any difficulties please contact the Aqualisa customer helpline for assistance. Siting The Aquastream Thermo unit must be sited so that the top of the casing is below the underside of the cistern. The casing must not be sited where it is subjected to continuous spray from the shower head.
- Page 6 BS 7671 (Wiring Regulations) and certified to current building regulations. The Aquastream Thermo is supplied with universal fixings. Using the template provided, mark out the fixing points and entry point for the low voltage cable and rear entry pipe work as necessary.
- Page 7 Lubricate the supply pipe ends using a silicone based lubricant and carefully slide the Aquastream Thermo unit onto the pipes whilst feeding the low voltage cable through the cable entry point. Secure the unit to the wall using the screws provided.
- Page 8 Proceed to step 17. Bottom entry installation Prepare the bottom entry ports by holding down the locking collets on the inlet fittings and pulling the bungs free using a suitable long nosed tool. Aquastream Thermo thermostatic integral power shower installation instuctions page 8...
-
Page 9: Electrical Installation
Secure using the fixing screw at the top of the front cover ensuring not to overtighten. Aquastream Thermo thermostatic integral power shower installation instuctions page 9... - Page 10 THE POWER SUPPLY TO THE AQUASTREAM THERMO MUST BE ISOLATED BEFORE REINSTATING THE DOMESTIC ELECTRICAL SUPPLY. ALL COPPER PIPE WORK MUST BE CROSS BONDED AND CONNECTED TO A RELIABLE EARTHING POINT.
- Page 11 Connect the hose to the handset after passing it through the hose restraint (if required) and attach the other end of the hose to the Aquastream Thermo outlet. Aquastream Thermo thermostatic integral power shower installation instuctions...
- Page 12 BEFORE COMMISSIONING, ENSURE THAT THE POWER TO THE UNTI IS TURNED OFF AS THE PUMP MAY BE SERIOUSLY DAMAGED IF RUN DRY. Carefully attach the hose to the Aquastream Thermo outlet. Hand tight should be sufficient to achieve a seal. Hose washers are supplied and must be used.
- Page 13 Water output is not hot The temperature of the hot The cylinder temperature enough water cylinder is too low should be at least 15ºC hotter than the desired blend Aquastream Thermo thermostatic integral power shower installation instuctions page 13...
- Page 14 Brochure Hotline: 0800 652 3669 Website: www.aqualisa.co.uk Email: enquiries@aqualisa.co.uk Please note that calls may be recorded for training and quality purposes The company reserves the right to alter, change or modify the product specifications without prior warning ® Registered Trademark Aqualisa Products Limited...
Need help?
Do you have a question about the Aquastream Thermo and is the answer not in the manual?
Questions and answers