Table of Contents
Advertisement
Advertisement
Table of Contents

Related Manuals for HobbyKing J3 NAVY CUB


Summary of Contents for HobbyKing J3 NAVY CUB
-
Page 4: Table Of Contents
CONTENTS Introduction Features Specification Contents Tools And Items Assembly of the front landing gears Assembly of horizontal tail & vertical tail and tail wheel Assembly of main wings, front landing gear and propeller Centre of Gravity Pre-Flight Check Flight Tips Problem Solving Notes 11-12... -
Page 5: Introduction
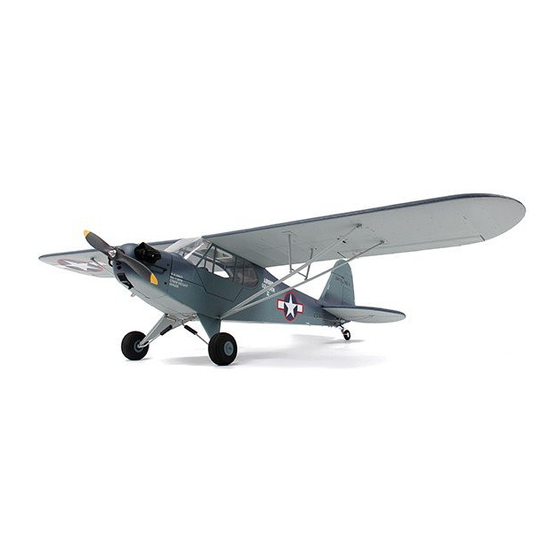
INTRODUCTION Thank you for purchasing H-king’s Piper J3 Navy Cub Electric R\C airplane, Piper is a Propeller airplane which is ideal for the beginners, seasoned flyer’s and scale enthusiasts. The Navy cub will perform most aerobatic manoeuvres from loops to stall turns, low slow flyby’s is the best thing about flying the navy cub. -
Page 6: Contents
CONTENTS 1. Cowl 6. Vertical Wing 11. Spare Parts 2. Fuselage 7. Propeller 12. ABS plastic wing support 3. Main Wing 8. Wing Rod 13. Inclined strut 4. Horizontal Wing 9. Prop Adaptor 5. Landing gear set 10. Motor... -
Page 7: Tools And Items
TOOLS AND ITEMS To assemble this airplane you need to prepare some tools. Cutter Knife Pliers Triangle Scissors Screwdriver Nippers... -
Page 8: Assembly Of The Front Landing Gears
ASSEMBLY OF THE FRONT LANDING GEARS: Glue the steel wire to Glue the front wheel to the steel wire. Glue the stand of the the Gear cover of front front landing gears to landing gear. the gear cover. Attach springs to landing gear and use heatshrink to cover springs. -
Page 9: Assembly Of Horizontal Tail
ASSEMBLY OF HORIZONTAL TAIL & VERTICAL TAIL & TAIL WHEEL: Install the screw horns in the steering holder with screw. (PA1.7X15mm 2pcs) Install the screw horns Install the Rudder plate in the horizontal tail. in the vertical tail. (PA1.7X15mm 4pcs) Install the horizontal tail in fuselage with screw. -
Page 10: Assembly Of Main Wings
ASSEMBLY OF MAIN WINGS, PROPELLER: FRONT LANDING GEAR AND Install the control leveling aileron. horns of aileron. (1.2X65mm 2pcs) (PA1.7X15mm 8 pcs) Install the steel wire with the second hole on servo arm, close the chuck after. Put reinforcing rod into the holes on left and right wing with two ends. Then fasten reinforcing rod with screws. -
Page 11: Centre Of Gravity
Tighten diagonal draw bar and dam-board with screws. (PA2.6X20mm) Fix the horizontal wing and vertical wing with stree wire. (Spring: 0.5X4X24.1mm 8pcs) (For horizontal 1.0X94mm 2pcs For vertical 1.0*94mm 2 pcs) Fix propeller into the spindle of motor. Then tighten it up with spacer and screw. CENTER OF GRAVITY PRE-FLIGHT CHECK 1. -
Page 12: Pre-Flight Check
5. Switch the transmitter on, then switch the receiver on. 6. Always perform a range check with your transmitter. Make sure your plane is secure to prevent damage to people and property. 7. Check plane responds properly to control signals. 8. -
Page 13: Tips
TIPS 1. Train yourself with an RC flight model simulator, before you fly the H-King J3 Navy Cub electric RC airplane. It will help you with coordination for when fly your model. -
Page 14: Motor
1. Swap around any 2 of Cannot fly in 1. Motor/esc connection error the 3 ESC/motor wire a line connections 1. The servo lead is connected to 1. Make sure the servo leads Rx incorrectly. are connected properly. Cannot climb 2.
Need help?
Do you have a question about the J3 NAVY CUB and is the answer not in the manual?
Questions and answers