Advertisement
Quick Links
Advertisement

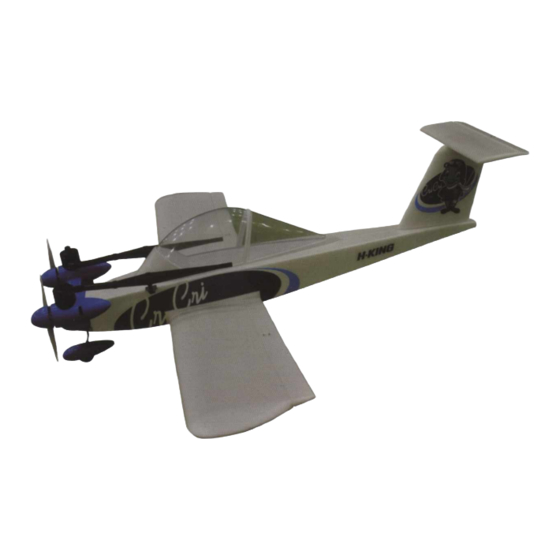
Related Manuals for HobbyKing H-KING Cri Cri


Summary of Contents for HobbyKing H-KING Cri Cri
- Page 2 WARNING: Read this instruction manual fully so as to become completely familiar with the features of this product before operating. Failure to operate this product correctly could result in damage to the product, personal property and cause serious injury. This is a sophisticated hobby product and is NOT a toy.
-
Page 3: Table Of Contents
CONTENTS *Specification..................1 *Spare parts listing................2 *Assembly..................3-9 *CG location..................10 * T rouble shooting................11 *Model flying precautions..............12 *Pre-flight checks................13... -
Page 4: Specification
SPECIFICATION: Length :850mm Flight weight: 1100g Wingspan: 1150mm Servos: 9G servos x4 Motor: Brushless Motor 2825 Outrunner KV1850 Battery: 11.1V-1300-1800mAh 20C LiPo Battery ESC: 20Ax2... -
Page 5: Spare Parts Listing
SPARE PARTS LISTING: Horizontal stab Fuselage Wing set Cowls Canopy hatch Vertical stab Prop adaptor Propeller Exhaust stacks Engine nacelles Spinner Main gear... -
Page 6: Assembly
ASSEMBLY: 1. Locate aileron control horns and push rods. Install the aileron control horn using the screws and screw driver provided. Now connect the pushrod to the aileron servo horn as shown. Repeat this step for the remaining wing panel. Then using Y- lead connect the aileron servos. - Page 7 Install the main landing gear using the screws and screw driver provided. Then install the main to the fuselage as shown.
- Page 8 3. Locate the elevator control horns using the screws and screw driver provided. Then install the elevator to the tail wing using the screws and screw driver as shown. Now connect the pushrod to the elevator servo horn as shown.
- Page 9 4. Pull forward into the fuselage as much of the rudder I-lead as possible. Then with the tail plane turned over, apply glue to the entire portion of the fuselage shown. 5. Fit and install the engine nacelle using the screws and screw driver fix the engine nacelle on the fuselage front as shown.
- Page 10 6. Fit the props and spinners. Once you have established propeller orientation, offer each prop up to the prop shafts and locate into position on the spinner blue plate. Use the nut from the prop shaft to secure the prop in place on the shaft.
- Page 11 Assembly of your CRI CRI is complete. Now perform a final check on all screws, bolts and components, ensuring all are secure and firmly in place.
-
Page 12: Cg Location
CG LOCATION: Make sure the center of gravity(CG) is as indicated in the following diagram. -
Page 13: Trouble Shooting
TROUBLE SHOOTING: Problem Cause Solution 1. Charge the batteries. 2. Install a full charged battery. 1. Battery is not fully charged. 3. Check for connection 2. Transmitter battery low. between the ESC and motor. 3. Motors not connected. Motor does 4. -
Page 14: Model Flying Precautions
MODEL FLYING PRECAUTIONS: Select your flight area carefully. Always choose an open space that is unobstructed from trees and buildings and away from crowed area. Avoid flying in area with roads, electric/telephone poles/wires and water near by or within close proximity to full size air traffic. -
Page 15: Pre-Flight Checks
PRE-FLIGHT CHECKS: 1. Always range check your model before any flight (especially when flying a new model for the first time). Follow your radio manufacturers guidelines for performing this check. 2. Check all screw/bolts and mounting points are firmly secured, including control horns and clevises. - Page 16 Happy Flying!
Need help?
Do you have a question about the H-KING Cri Cri and is the answer not in the manual?
Questions and answers