Makita 4101RH Instruction Manual
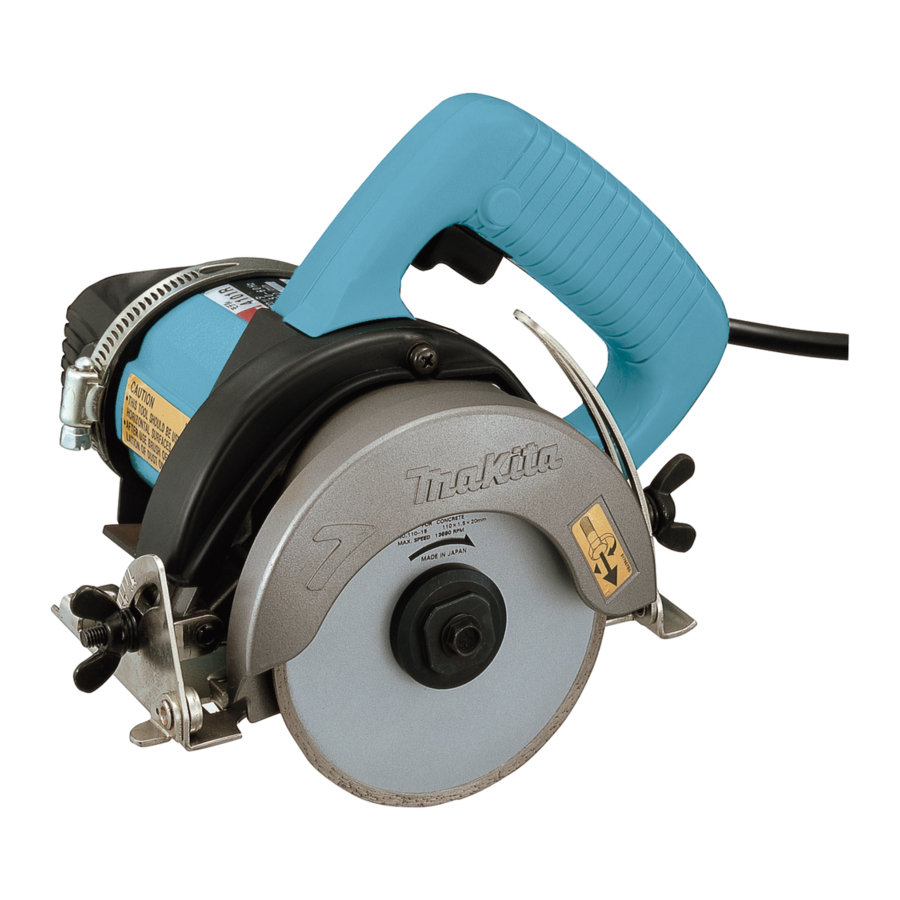
Makita 125 mm (5") tile cutter instruction manual 4101rh
Hide thumbs
Also See for 4101RH:
- User manual ,
- Instruction manual (64 pages) ,
- Technical information (4 pages)
Table of Contents

Related Manuals for Makita 4101RH


Summary of Contents for Makita 4101RH
- Page 1 Tile Cutter 125 mm (5”) MODEL 4101RH 003504 I N S T R U C T I O N M A N U A L WARNING: For your personal safety, READ and UNDERSTAND before using. SAVE THESE INSTRUCTIONS FOR FUTURE REFERENCE.
-
Page 2: Specifications
Never remove the grounding prong or modify the plug in any way. Do not use any adaptor plugs. Check with a qualified electrician if you are in doubt as 4101RH 125 mm (5”) 41.5 mm (1-5/8”) 26 mm (1”) 12,000/min. - Page 3 whether outlet grounded. If the tools should electrically mal- function or break down, grounding provides a low resistance path to carry electricity away from the user. 5. Avoid body contact with grounded sur- faces such as pipes, radiators, ranges and refrigerators.
- Page 4 model. Accessories that may be suitable for one tool, may become hazardous when used on another tool. SERVICE 23. Tool service must be performed only by qualified repair personnel. Service or main- USE PROPER EXTENSION CORD: Use only three-wire extension cords that have three- prong grounding-type plugs and three-pole receptacles that accept the tool's plug.
-
Page 5: Specific Safety Rules
An adapter Fig. “B” and “C” is available for connecting Fig. “A” type plugs to two-prong receptacles. The green-colored rigid ear, lug, etc., extending from the adapter must be con- nected to a permanent ground, such as a properly grounded outlet box. Grounding Blade Fig. - Page 6 7. When ripping always use a rip fence or straight edge guide. This improves the accuracy of cut and reduces the chance for wheel binding. 8. Always use wheels with correct size and shape (diamond vs. round) arbor holes. Wheels that do not match the mounting hard- ware of the tool will run eccentrically, causing loss of control.
- Page 7 12. Use only diamond wheels. NEVER use tool with wood cutting blades or other sawblades. Such blades when used on this tool frequently kick and cause loss of control leading to personal injury. 13. Check the wheel carefully for cracks or damage before operation.
- Page 8 SYMBOLS USD101-2 The followings show the symbols used for tool. V ... volts ...alternating current A ... amperes ...no load speed ˚ Hz ... hertz .../min...revolutions or reciprocation per minute...
-
Page 9: Functional Description
FUNCTIONAL DESCRIPTION 003508 1. RESET (R) Button 2. Pilot lamp 3. TEST (T) Button 003510 1. Wing bolt 2. Base 003515 1. Wing nut CAUTION: • Always be sure that the tool is switched off and unplugged before adjusting or checking function on the tool. - Page 10 003516 1. Wing bolt 2. End of blade case 3. Red line 003520 1. Base 2. Top guide 003523 1. Switch trigger 2. Lock-off button Loosen the wing bolt on the depth guide and move the base so that the end of the blade case is above the red line on the depth guide.
-
Page 11: Pressure Regulator Assembly
BE SURE TO TIGHTEN THE HEX SOCKET HEAD BOLT SECURELY. CAUTION: • Use only the Makita wrench to install or remove the wheel. Pressure regulator assembly Use the pressure regulator assembly to connect to water source. It consists of the following parts. - Page 12 003535 1. Pressure regulator assembly 2. Pressure regulator 3. Adaptor 4. Vinyl tube 5. Water pipe 003536 1. Wing bolt 2. Blade case 3. Water pipe 003537 1. Faucet 2. Pressure regulator assembly 3. Water cock 4. Water pipe Assemble the above parts hand tight as follows. 1.
-
Page 13: Operation
003543 1. Clamp 2. Cover (A) OPERATION 003545 MAINTENANCE Installing cover (A) Install the cover (A) on the tool so that its side with “Upside ” mark faces upward. Adjust the amount of water flow. Hold the tool firmly. Set the base plate on the workpiece to be cut without the wheel mak- ing any contact. -
Page 14: After Use
003543 1. Clamp 2. Cover (A) 003549 1. Cover (B) 2. Screw 001145 1. Limit mark crete block to dress the diamond wheel. To do this, tightly secure the bench grinder wheel or concrete block and cut in After use Blow away dust from the inside of the tool by running the tool at an idle for a while. - Page 15 CAUTION: • These accessories or attachments are recommended for use with your Makita tool specified in this manual. The use of any other accessories or attachments might present a risk of injury to persons. Only use accessory or attachment for its stated purpose.
- Page 16 Memo...
- Page 17 First-Class Postage Required Post Office will not deliver without proper postage. Makita U.S.A., Inc. 14930 Northam Street La Mirada, CA 90638-5753 Fold...
- Page 18 Paste 3. How did you learn about this product: Magazine From Dealer Newspaper Store Display Catalog 4. Most favored points are: Design Features Size Price Makita Brand MODEL NO. YEAR SERIAL NO. PHONE 20-29 30-39 40-49 Paste Paste Radio Exhibition...
-
Page 19: Factory Service Centers
Date Purchased When you need service: Send complete tool (prepaid) to one Dealer’s Name & Address of the Makita Factory Service Centers listed, or to an Authorized Makita Service Center. Be sure to attach a letter to the outside of Model No. -
Page 20: Warranty Policy
MAKITA LIMITED ONE YEAR WARRANTY Warranty Policy Every Makita tool is thoroughly inspected and tested before leaving the factory. It is warranted to be free of defects from workmanship and materials for the period of ONE YEAR from the date of original purchase.