Table of Contents
Advertisement
Advertisement
Table of Contents

Related Manuals for AEG ECLIPSE 10


Summary of Contents for AEG ECLIPSE 10
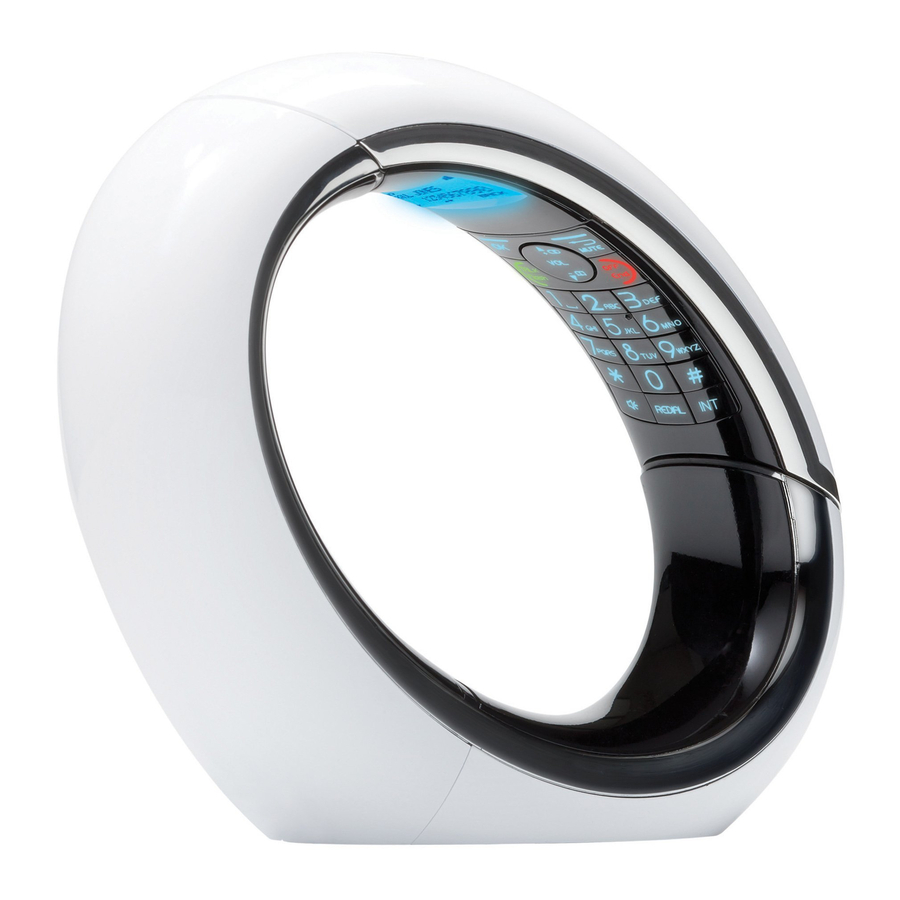
- Page 1 USER GUIDE DECT PHONE ECLIPSE 10/15...
-
Page 3: Important Safety Instructions
BECAUSE WE CARE Thank you for purchasing this product. This product has been designed and assembled with utmost care for you and the environment. This is why we supply this product with a quick installation guide to reduce the number of paper (pages) and therefor save trees to be cut for making this paper. A full and detailed user guide with all the features descripted can be found on our website www.aegtelephones.eu. -
Page 4: Package Content
PACKAGE CONTENT The package contains the following items: 1 Eclipse Handset 1 Base Station 1 Mains Power Adapter 1 Telephone Line Cord 2 AAA NiMH Rechargeable Batteries 1 Back Cover for the Eclipse Handset 1 Back Cover Unlock Tool 1 User Guide HANDSET &... -
Page 5: Installing Your Phone
INSTALLING YOUR PHONE Connecting the Base Station (See P4) Plug the mains power cable (15) and telephone line cord (16) into the base station. Plug the power adapter into a 100 - 240Vac, 50 - 60Hz mains power socket and the telephone line cord into a telephone line socket. -
Page 6: Getting To Know Your Phone
GETTING TO KNOW YOUR PHONE Overview of the Handset and Base Station Icon Meaning In standby mode, press to enter the Main Menu list. Press to select an item, or to save an entry or setting. In menu mode, press to scroll up. During a call or message playback, press to increase the volume. - Page 7 Display Icons and Symbols on the handset (See P2) Icon Meaning Displays when the battery is fully charged. Internal segments cycle while charging. Displays when the line is in use. Flashes when there is an incoming call. Flashes when you have a new voicemail message. (This is a network service) Displays when you have new missed calls, or the call log is being viewed.* Displays when the phonebook is accessed.
-
Page 8: Clock And Alarm
Menu Map and Menu From the home screen of the handset, press to access “ANS. SYSTEM“, the first option in the main menu list. Press to go to other options in the menu list. Press to enter a sub-menu or function. Press to go back to the previous level. - Page 9 Text and Number Entry You can select different characters by using repeated presses of the alphanumeric keypad. This will be helpful when storing a name in the phonebook or renaming your handset. The characters are printed on the keys. For example, to enter the name Tom: Press 8 once Press 6 three times Press 6 once...
-
Page 10: Using Your Phone
USING YOUR PHONE Make a Call 8.1.1 Pre-dialling Enter the phone number (maximum 24 digits). If you make a mistake, press to delete the last entered number. Press to dial the phone number. 8.1.2 Direct Dialling Press on your Handset. Dial the number. - Page 11 Adjust Earpiece Volume There are 5 levels of earpiece volume on your Handset. During a call, press to select from “VOLUME 1” to “VOLUME 5”. >The current setting is shown. >When you end the call, the setting will remain at the last selected level. Adjust Speaker Volume There are 5 levels of speaker volume.
- Page 12 8.10 Make an Internal Call (Multi - handset models only) The system allows an intercom call between any two handsets registered to the same base. It also allows you to transfer external calls from one handset to another and set up a 3-way conference with two handsets and an external call.
-
Page 13: Direct Access Memory
8.14 Transfer an External Call to another Handset During the call, press to put the external call on hold. >Intercom is established immediately if there are only 2 registered handsets. >If there are more than 2 registered handsets, the handset numbers which are available for intercom will be displayed. - Page 14 PHONEBOOK The unit can store up to 200 phonebook entries. Each phonebook entry can have a maximum of 24 digits for the phone number and 12 characters for the name. 10.1 Store a Contact in the Phonebook From the home screen, press Press to “PHONEBOOK”...
-
Page 15: Caller Display (Network Dependent)
10.4 Delete a Phonebook Entry From the home screen, press to open the phonebook list. Press to select the entry you want to delete. Press to open the phonebook menu options. Press to “DELETE” and then press to select. >“CONFIRM?” is displayed. Press again to confirm. - Page 16 11.1.2 Save a Call Log Entry into the Phonebook From the home screen, press Press to select an entry and then press Press M again to select “SAVE NUMBER”. Enter the name of the contact (maximum 12 characters) and then press to save.
-
Page 17: Clock And Alarm Settings
11.3.3 Edit a Redial Number “EDIT ENTRY” >A confirmation tone is played. 11.3.4 Delete a Redial Number From the home screen, press Press to select an entry and then press Press to “DELETE” and then press to select. >“CONFIRM?” is displayed. Press again to confirm. -
Page 18: Change The Time Format
12.1.1 Change the Time Format The time can be displayed either as 12-hour or 24-hour. The default setting is 24 HOURS. From the home screen, press Press to “CLOCK&ALARM“ and then press to select. Press to “SET FORMAT” and then press to select. - Page 19 12.2.1 Set the Alarm Tone You can select from 3 alarm melodies. From the home screen, press Press to “CLOCK&ALARM“ and then press to select. Press to “ALARM MELODY” and then press to select. Press to select the desired alarm tone (each tone will sound as it is selected) and then press to confirm.
- Page 20 13.3 Set the Key Tone The handset emits a tone with each key press. You can choose to turn this tone on or off. The default setting is ”ON”. From the home screen, press Press to “HANDSET OPTS” and then press to select.
- Page 21 13.7 Handset Registration IMPORTANT: When you purchase your unit, all handsets are already registered to your base, so you do not need to register them. Handset registration is only necessary when you buy extra handsets or if a handset has become faulty. You can register up to four handsets to one base station, with each handset’s number (1 to 4) shown on its display.
-
Page 22: Change The Master Pin
13.10 Change the Master PIN The Master PIN is used for registration/deregistration of handsets and for accessing the answering machine remotely. The default Master PIN number is 0000. The maximum length of the Master PIN is 8 digits. Note: If you forget your PIN code, you can reset it to its default 0000 using a handset Reset. From the home screen, press Press to “SETTINGS”... -
Page 23: Answering Machine
ANSWERING MACHINE Your phone includes a telephone answering machine that records unanswered calls when it is on. The answering machine can store up to 59 messages within the maximum recording time of approximately 30 minutes and each message can be up to 3 minutes long. When the answering machine is on, calls are answered after the set “RING DELAY”. -
Page 24: Activate/Deactivate Remote Access
14.3 Answering Machine Settings 14.3.1 Set the Ring Delay You can select the number of rings before the answering machine answers a call and starts playing the announcement. You can set the delay from 2 to 7 rings or “TOLL SAVER“. From the home screen, press Press again to select “ANS. - Page 25 14.4 Message Playback When there are new messages on the answering machine, flashes on the handset screen. From the home screen, press Press again to select “ANS. SYSTEM”. Press again to select “PLAY”. >Your messages will automatically playback through the handset’s speakerphone. >The display will show the message number and the date and time of the call.
-
Page 26: Delete A Personal Announcement
14.6.1 Record a Personal Announcement You can choose to replace the default announcement with your own personal announcements. Note: The maximum length of an announcement is 2 minutes. From the home screen, press Press again to select “ANS. SYSTEM”. Press to “ANNOUNCEMENT”... - Page 27 14.7.1 Access the Answering Machine Remotely Dial your phone number from any touch-tone phone. When your answering machine answers your call and starts playing your announcement, press the # key. >The announcement will stop playing. Enter your Remote Access Code (same as your Master PIN code) within 8 seconds using the numeric keypad on the touch-tone phone.
-
Page 28: Troubleshooting
TROUBLESHOOTING 15.1 ALWAYS check that: You have followed all the steps listed in the user guide to install and set up your telephone. All connectors are securely inserted into their sockets. Mains power for the base unit is switched on at the socket. The handset’s batteries are correctly and securely installed and are sufficiently charged. - Page 29 “The Caller Display feature isn’t working” You need to subscribe to the Caller Line Identification service from your network service provider. The caller may have withheld their number .Or they may be calling from a network that does not transmit the caller’s number (e.g.
- Page 30 15.7 If the fault persists... Disconnect all other instruments connected to the same line and try to make a call. Disconnect the base unit from the telephone line and plug a different phone. Try making a call. If this works, the line is OK. If the call does not work and you are using a two-way socket adapter, remove it and plug a telephone directly into the socket.
-
Page 31: Cleaning And Care
CLEANING AND CARE Do not clean any part of your unit with benzene, thinners or other solvent chemicals as this may cause permanent damage which is not covered by the Guarantee. When necessary, clean it with a damp cloth. Keep your phone system away from hot, humid conditions or strong sunlight, and don‘t let it get wet. GUARANTEE AND SERVICE The unit is guaranteed for 24months from the date of purchase shown on your sales receipt. -
Page 32: Disposal Of The Device (Environment)
DISPOSAL OF THE DEVICE (ENVIRONMENT) At the end of the product lifecycle, you should not throw this product into the normal household garbage but bring the product to a collection point for the recycling of electrical and electronic equipments. The symbol on the product, user guide and/or box indicate this. - Page 34 © 2012 Binatone Electronics International Limited All rights reserved Subject to avaibility. Rights of modification reserved. AEG is a registered trademark used under license from AB Electrolux (publ) www.aegtelephones.eu...