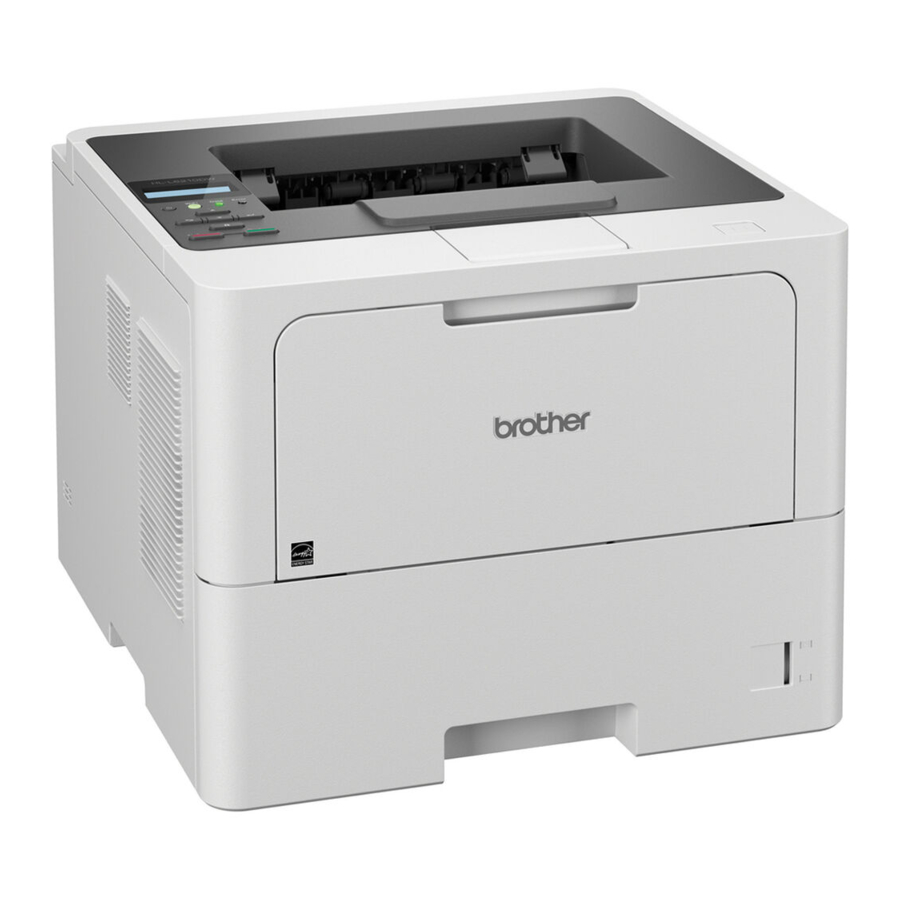
Brother HL-L5210DN / HL-L5210DW / HL-L5215DN / HL-L6210DW / HL-L6410DN / HL-L6415DN - Laser Printer Setup Manual
- Product safety manual (22 pages) ,
- Quick setup manual (2 pages) ,
- Product safety manual (21 pages)
Advertisement
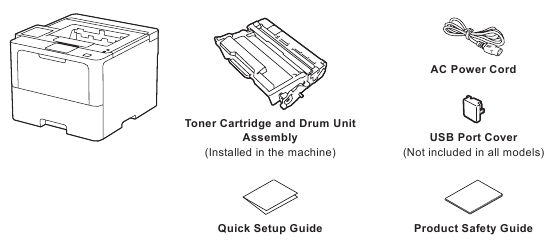
- 1 Unpack the machine and check the components
- 2 Remove the packing materials and re-install the toner cartridge and drum unit assembly
- 3 Load paper in the paper tray
- 4 Connect the power cord and turn the machine on
- 5 Select your language (if needed)
- 6 Connect your computer or mobile device to your machine
- 7 Manual wireless setup (Wireless models)
- 8 Documents / Resources
Unpack the machine and check the components
NOTE:
- The components included in the box may differ depending on your country.
- The available connection interfaces vary depending on the model.
You must purchase the correct interface cable if you require one.- USB cable
We recommend using a USB 2.0 cable (Type A/B) that is no more than 2 metres long. - Network cable
Use a straight-through Category 5 (or greater) twisted-pair cable.
- USB cable
- The illustrations in this Quick Setup Guide show the HL-L6415DN.
- Brother aims to reduce waste and save both raw materials and the energy required to produce them. Read more about our environmental work at www.brotherearth.com.
Remove the packing materials and re-install the toner cartridge and drum unit assembly

Load paper in the paper tray

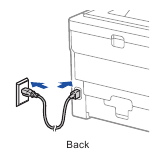
Connect the power cord and turn the machine on
NOTE:
Before connecting the power cord, locate the Serial Number label on the back or side of the machine. Record this number for Registration and Warranty support.

Power button location may vary depending on the model.

Select your language (if needed)
For LCD models
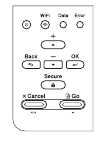
- Press ▼ or ▲ to select [Initial Setup], and then press OK.
- Press ▼ or ▲ to select [Local Language], and then press OK.
- Press ▼ or ▲ to select your language, and then press OK.
- Press Cancel.
For touchscreen models
- On the machine's touchscreen, press
![]() [Settings] > [All Settings] > [Initial Setup] > [Local Language].
[Settings] > [All Settings] > [Initial Setup] > [Local Language]. - Press your language.
- Press
![]() .
.
 [Settings] > [All Settings] >
  .
.Connect your computer or mobile device to your machine
Follow these steps to complete the setup using one of the connection types available on your machine.
Visit setup.brother.com to download and install Brother software.
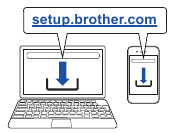


Follow the on-screen instructions and prompts.
Setup Finished
You can now print using your machine. To check for the latest firmware, visit support.brother.com/up7.
Important Notice for Network Security:
The default password to manage this machine's settings is located on the back of the machine and marked "Pwd". We recommend immediately changing the default password to protect your machine from unauthorized access.
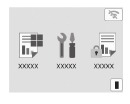
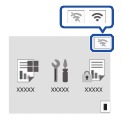
Can't Connect? Check the following:
 Wireless network*

Restart your wireless access point/ router (if possible).
Restart your machine and computer, and then go to "Connect your computer or mobile device to your machine"
If still not successful, go to "Manual wireless setup (Wireless models)".
 Wired network
 USB connection
Disconnect the cable.
Restart your machine and computer, and then go to "Connect your computer or mobile device to your machine"
If still not successful, visit support.brother.com for FAQs and Troubleshooting.
* For certain models, the wireless network connection can be used only when the optional Wireless Module is installed.
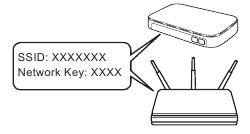
Manual wireless setup (Wireless models)
If the wireless setup is not successful, try to set up the connection manually. For certain models, the wireless network connection can be used only when the optional Wireless Module is installed.
Find your SSID (Network Name) and Network Key (Password) on your wireless access point/router and write them in the table provided below.
| SSID (Network Name) | |
| Network Key (Password) |
If you cannot find this information, ask your network administrator or wireless access point/router manufacturer.
For LCD models
To select menu options, press ▲ or ▼, and then press OK to confirm. Select [Network] > [WLAN(Wi-Fi)] > [Find Network]. Follow the LCD instructions.
For touchscreen models
Press  > [Find Wi-Fi Network]. Follow the LCD instructions.
Select the SSID (Network Name) for your access point/router and enter the Network Key (Password).
For LCD models
Press and hold (or press repeatedly) ▲/▼ to select one of the following characters: 0123456789abcdefghijklmnopqrstuvwxyz ABCDEFGHIJKLMNOPQRSTUVWXYZ (space)!"#$%&'()*+,-./:;<=>?@[\]^_'{|}~
When the wireless setup is successful, the touchscreen/LCD displays [Connected].
If setup is not successful, restart your Brother machine and your wireless access point/router, and repeat "Manual wireless setup (Wireless models)". If still not successful, visit support.brother.com.
Go to "Connect your computer or mobile device to your machine" to install software.
Video setup instructions: support.brother.com/videos

Documents / Resources
References
![www.brotherearth.com]() Brother Group SDGs Special Site: Brother SDGs story
Brother Group SDGs Special Site: Brother SDGs storysetup.brother.com | Official Machine setup site | Brother
Brother Solutions Center
Brother support website
Brother Solutions Center
Download manual
Here you can download full pdf version of manual, it may contain additional safety instructions, warranty information, FCC rules, etc.
Advertisement
Thank you! Your question has been received!


Need Assistance?
Do you have a question about the HL-L5210DN that isn't answered in the manual? Leave your question here.