Advertisement
Quick Links
Advertisement

Related Manuals for HIKVISION AE-VC143T-ITS


Summary of Contents for HIKVISION AE-VC143T-ITS
- Page 1 Vehicle-Mounted Camera User Manual UD13133B...
- Page 2 Hikvision marks are the property of Hikvision and are registered trademarks or the subject of applications for the same by Hikvision and/or its affiliates. Other trademarks mentioned in this manual are the properties of their respective owners. No right of license is given to use such trademarks without express permission.
- Page 3 Regulatory Information FCC Information FCC compliance: This equipment has been tested and found to comply with the limits for a digital device, pursuant to part 15 of the FCC Rules. These limits are designed to provide reasonable protection against harmful interference when the equipment is operated in a commercial environment.
- Page 4 Safety Instruction These instructions are intended to ensure that user can use the product correctly to avoid danger or property loss. The precaution measure is divided into “Warnings” and “Cautions” Warnings: Serious injury or death may occur if any of the warnings are neglected.
- Page 5 (which is not a malfunction), and affect the endurance of sensor at the same time. The sensor may be burned out by a laser beam, so � when any laser equipment is in using, make sure that the surface of sensor will not be exposed to the laser beam.
-
Page 6: Product Features
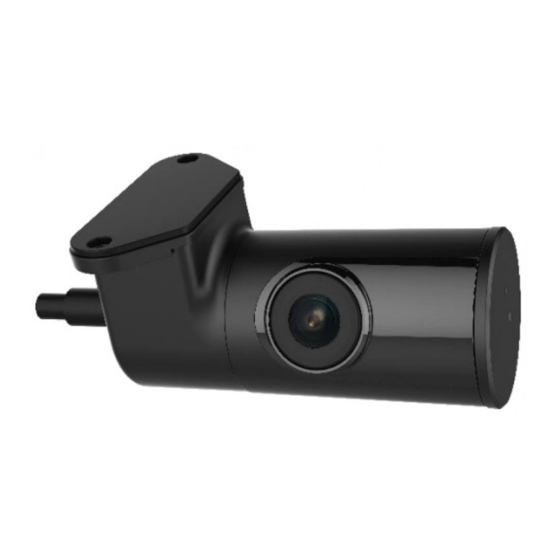
1 Introduction 1.1 Product Features This series of camera adopts new generation sensor with high sensitivity and advanced circuit design technology. It features high resolution, low image distortion and low noise, etc., which makes it suitable for monitoring system and image processing system. The main features are as follows: High performance CMOS sensor �... -
Page 7: Installation
2 Installation 2.1 Installation You can paste the camera with3M gum or fix it with screws. Choose the installation method according to the mounting place. Before you start: Please make sure that the device in the package is in � good condition and all the assembly parts are included. -
Page 8: Adjust Angle
Paste the Electrostatic Film 3. Peal the paster of the 3M gum. Paster Peal the Paster 4. Paste the camera onto the electrostatic film. 5. Let the camera stand for 12 h to make sure it’s secured. Screw Mounting Steps: 1. - Page 9 Mounting Base Anti-rotating Lock Install Anti-Rotating Lock Adjust the angle slightly if it can’t aim to the target direction. 4. Re-check the camera angle, repeat the steps above if it’s not placed properly. Peal the paster of the anti- rotating lock and clip it to the mounting base. If you need to remove the camera after installed the anti-rotating lock, please contact professional staff for help to avoid damaging the camera.