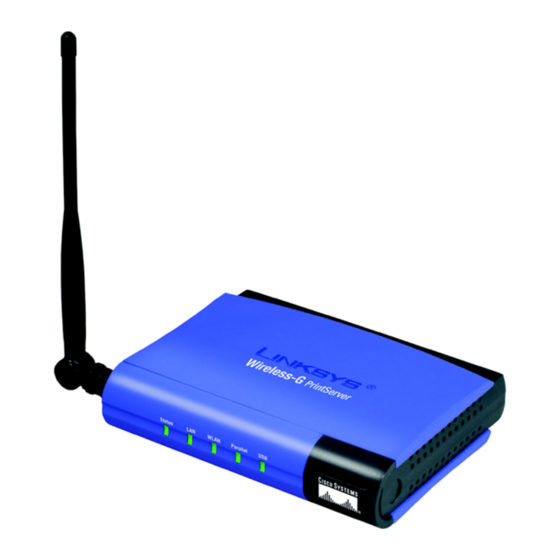
Linksys WPS54GU2 Quick Installation
2.4ghz 802.11g wireless-g printserver for usb 2.0
Hide thumbs
Also See for WPS54GU2:
- User manual (76 pages) ,
- Quick installation manual (48 pages) ,
- Product data (2 pages)
Advertisement
Quick Links
®
A Division of Cisco Systems, Inc.
Package Contents
• Wireless-G PrintServer for USB 2.0
• Setup Wizard CD-ROM
• User Guide on CD-ROM
• USB 2.0 Cable
• Network Cable
• Power Supply
• Quick Installation
• Registration Card
2.4
GHz
Wireless-G
802.11g
PrintServer for USB 2.0
Wireless
Quick Installation
Model No.
WPS54GU2
Model No.
1
Connect the PrintServer
Before starting the physical
installation, note the PrintServer's
Default Name, which is located on
the bottom of the PrintServer.
A
Plug one end of the Ethernet
network cable into the
PrintServer's LAN port.
B
Connect the other end to your
A
networked hub, switch, or
router.
C
Use the USB cable to connect
your USB printer to the
PrintServer's USB port.
D
Use the parallel printer cable
C
(not included) to connect your
parallel printer to the
PrintServer's parallel port.
E
Power on your printer.
F
Plug the power adapter's cord
into the PrintServer's Power port.
D
G
Plug the power adapter into
an electrical outlet.
F
2
Configure the PrintServer
A
Insert the Setup CD-ROM into
the computer's CD-ROM drive.
The Setup Wizard should run
automatically. If it does not,
click Start and choose Run. In
the box that appears, enter
D:\setupWizard.exe (if "D" is
the letter of your CD-ROM
drive).
B
On the Welcome screen, click
B
Setup Wizard.
C
The Setup Wizard will search for
the PrintServer. After it has been
found, the screen in Figure C
will appear. If this is the first time
you have run the Setup Wizard,
make sure that List only new
(unconfigured) Print Servers is
selected and your PrintServer is
C
listed by its default server
name. If you have previously
configured the PrintServer,
select List all compatible Print
Servers. Click Next.
D
On the Password screen, enter
the default password, admin.
D
Click Enter.
E
On the Basic Settings screen,
you may change the Device
Name and Domain Name
settings if you want. Then click
Next.
F
The IP Settings screen will
appear. If your network uses a
E
router that automatically
assigns IP addresses, select
Automatically obtain an IP
address (DHCP) and click
Next. If you need to assign the
PrintServer a static IP address,
select Set IP configuration
manually, and enter the IP
F
Address, Subnet Mask, and
Gateway in the fields provided.
Then click Next.
G
On the Set PrintServer's
Password screen, enter the
PrintServer's default password,
admin, in the Current
Password field. Enter a new
password in the New Password
field, and enter it again in the
Verify Password field. Click
Next.
G
H
On the Wireless Settings
screen, enter your wireless
network's SSID or name. If your
network is set to ad-hoc mode,
select the channel at which
the network broadcasts its
wireless signal. For the Network
Type setting, select
infrastructure if the PrintServer
will communicate using an
H
access point or wireless router.
Select Ad-Hoc if the PrintServer
will communicate directly with
wireless-equipped computers.
Click Next.
Advertisement

Summary of Contents for Linksys WPS54GU2
- Page 1 • Registration Card Wireless-G 802.11g PrintServer for USB 2.0 Wireless Quick Installation Model No. WPS54GU2 Model No. Configure the PrintServer Insert the Setup CD-ROM into the computer’s CD-ROM drive. The Setup Wizard should run automatically. If it does not, click Start and choose Run. In the box that appears, enter D:\setupWizard.exe (if “D”...
- Page 2 RMA (Return Merchandise Authorization) FTP Site Sales Information 800-546-5797 (800-LINKSYS) Linksys is a registered trademark or trademark of Cisco Systems, Inc. and/or its affiliates in the U.S. and certain other countries. Copyright © 2003 Cisco Systems, Inc. All rights reserved.


