Advertisement
Quick Links
1
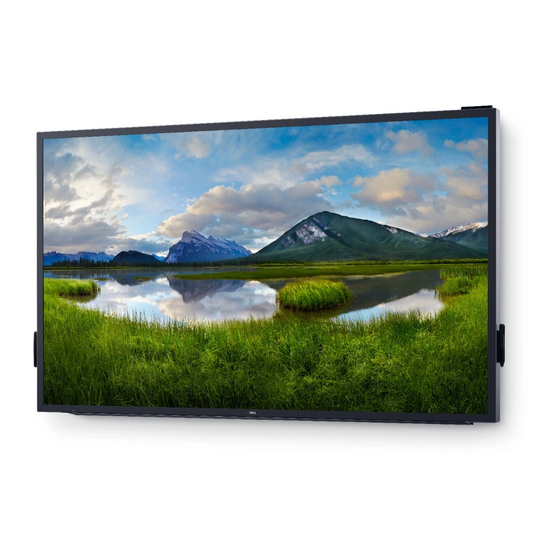
DELL C8618QT
Go to contents page
1. Disassembly Procedures:
Cut off 4pcs straps first ,then remove 12pcs carton
locks, then use a proper tool to open the carton, and
then remove the angle papers, top cartons and 2pcs
paper box. Tearing off the caution techsheet. Remove
S1
EPS-Tops with PC box, QSG and accessories PE
bag(CD, battery, 3pcs wire saddle, 2pcs stylus, Stylus
holder, remote control, remote control holder, VGA
cable, HDMI cable, DP cable and USB cables
EU+USA cable and power cable).
1
carton lock
Take out the whole monitor from the EPS-bottom.
S2
Remove the PE bag from top to bottom, and put the
monitor on ESD protection foam.
2
caution techsheet
Remove the 4pcs rubbers. Use a screwdriver to
remove 8pcs screws for releasing the
S3
(Torque:16±1kgf)
.
Remove 54pcs screws for unlocking
2pcs rear covers
(Torque: 3.8±0.3kgf)
Remove 27pcs black tapes for releasing the cables
S4
as the picture below shown.
Disconnect IR cable from the connectors of IR board
with main board. Disconnect the speakers' cable from
the connector of the main board. Disconnect function
key cable from the connector of the main board.
Disconnect LVDS cable from connectors of T-COB
board and main board. Disconnect touch&USB cable
S5
from the connectors of touch board with USB board.
Disconnect all the connector cables from the connector
of the power board and AC board and main board.
Use a screwdriver to remove 8pcs screws for
unlocking the two speakers, remove 1pcs grounding
screw for removing the AC
6
5
7
handles.
.
outlet.(Torque: 3.8±0.3kgf)
4
3
2
1
Advertisement

Summary of Contents for Dell C8618QT
- Page 1 DELL C8618QT Go to contents page 1. Disassembly Procedures: Remove the 4pcs rubbers. Use a screwdriver to Cut off 4pcs straps first ,then remove 12pcs carton remove 8pcs screws for releasing the handles. locks, then use a proper tool to open the carton, and (Torque:16±1kgf)
- Page 2 DELL C8618QT 5. Assembly and Disassembly Procedures (continued) Go to contents page Use a screwdriver to remove 39pcs(28+11) screws for Use a screwdriver to remove 20pcs screws for unlocking the irons. (Torque: unlocking main board, USB board, power board, AC 3.8±0.3kgf)
- Page 3 DELL C8618QT Go to contents page Remove electrolyte capacitors (red mark) from printed circuit boards S13-1 Cut the glue between bulk cap. and PCB with a knife S13-2 Ensure cutting path within the glue, don’t touch bulk cap. or PCB...
- Page 4 DELL C8618QT Go to contents page S13-4 Take out bulk cap. pin solder with soldering iron and absorber S13-5 Lift the bulk cap. up and away from the PCB...
- Page 5 DELL C8618QT Go to contents page 2. Product material information The following substances, preparations, or components should be disposed of or recovered separately from other WEEE in compliance with Article 4 of EU Council Directive 75/442/EEC. Capacitors / condensers (containing...


